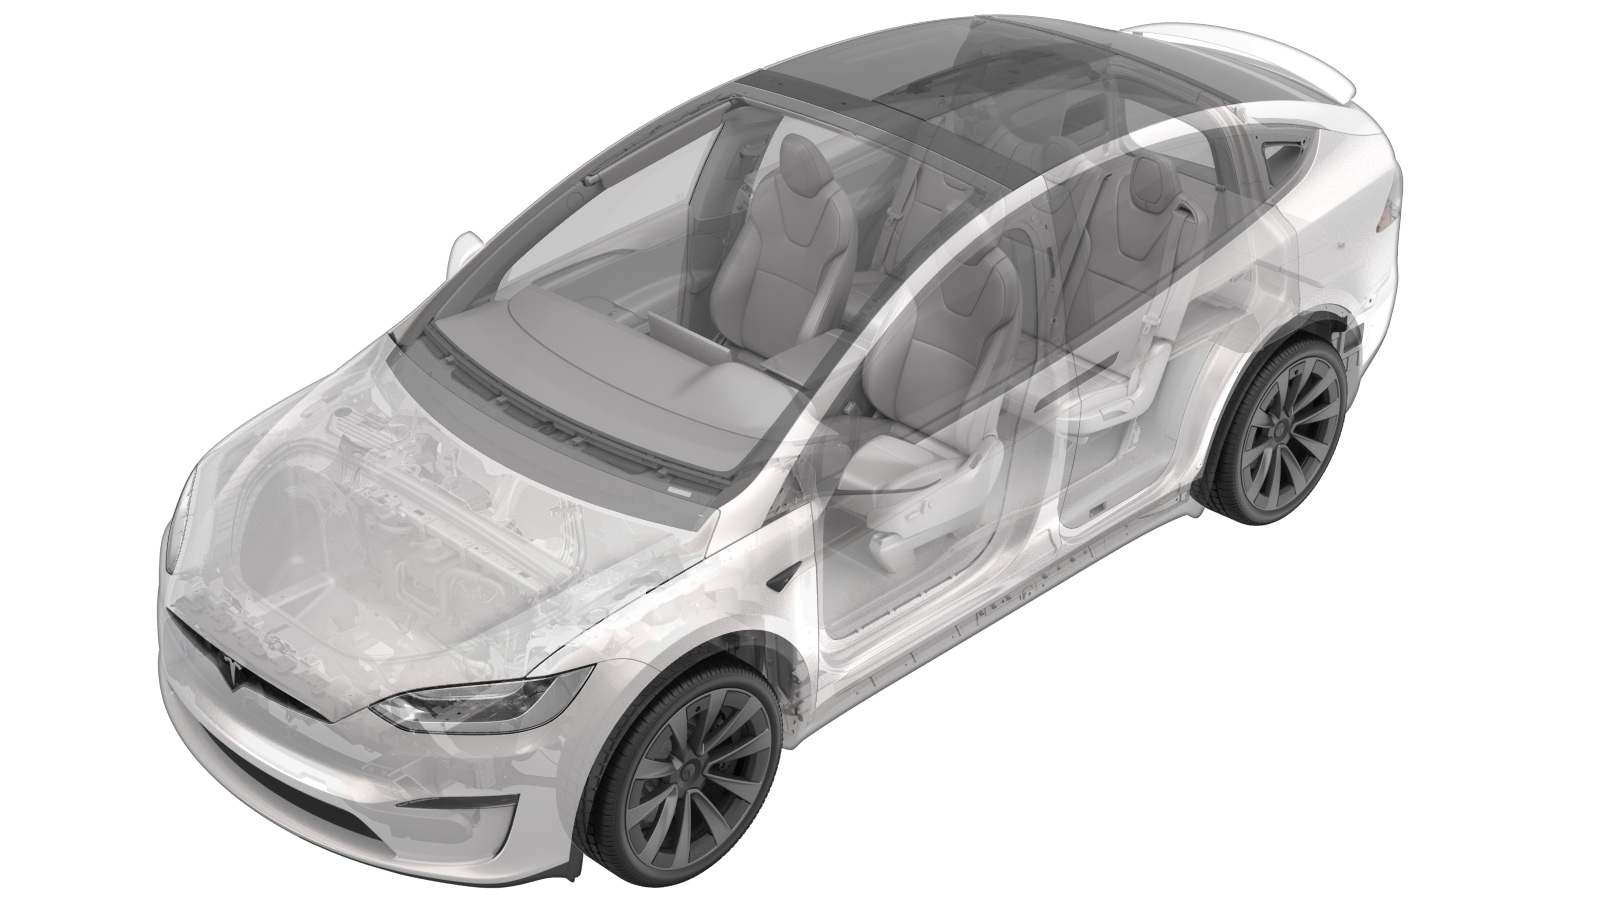
Buckle - 2nd Row - LH(6 Seat) (Remove and Replace)
 Correction code
20057002
0.42
NOTE: Unless otherwise explicitly
stated in the procedure, the above correction code and FRT reflect all of the work
required to perform this procedure, including the linked procedures. Do not stack correction codes unless
explicitly told to do so.
NOTE: See Flat Rate Times to learn
more about FRTs and how they are created. To provide feedback on FRT values, email ServiceManualFeedback@tesla.com.
NOTE: See Personal Protection to make sure proper PPE is worn when
performing the below
procedure.
Remove
- Open the LH front door.
- Lower the LH front window.
- Move the LH front seat forward.
- Open the LH falcon wing door.
- Remove the LH 2nd row seat seat back cover. See Cover - Seat Back - 2nd Row Seat - LH (6 Seat) (Remove and Replace).
-
Disconnect the LH 2nd row buckle assembly electrical connector from the seat
back.
- Remove the LH 2nd row seat underbelly trim. See Trim - Underbelly - 2nd Row Seat - LH (6 Seat) (Remove and Replace).
-
Release the tabs (x14) and J clips
(x2) that attach the lower cushion upholstery to the bottom of the seat frame.
CAUTIONUse the 90 degree pick to release the J clips only. The lower cushion upholstery could be damaged by poking a hole through it.NoteRelease the tabs and J clip at the outer LH rear corner of the seat frame first, and then work towards the inner RH rear corner.NoteSome vehicles may have tape in the seat frame area that must be cut to perform this step.NoteUse of the following tool(s) is recommended:
- 6 in 90 degree tip miniature soft grip pick
- Plastic trim tool
- Retractable blade/knife
-
Position the lower cushion upholstery away from the bottom of the seat frame.
-
Fold the seat cushion backwards.
-
Remove the bolt that secures the LH
2nd row buckle assembly to the seat frame, and then remove the buckle assembly from the
vehicle.
NoteUse of the following tool(s) is recommended:
- Flex head ratchet/flex head torque wrench
- Torx T50 socket
Install
-
Position the LH 2nd row buckle
assembly on the vehicle, and then install the bolt that secures the buckle to the
vehicle.
 45 Nm (33.2 lbs-ft)NoteUse of the following tool(s) is recommended:
- Flex head ratchet/flex head torque wrench
- Torx T50 socket
- Move the seat cushion forward.
- Position the lower cushion upholstery towards the bottom of the seat frame.
-
Install the tabs (x14) and J clips (x2) that attach the lower cushion upholstery to
the bottom of the seat frame.
NotePrior to installation, make sure that the tabs and J clips are spread evenly to avoid excess wrinkles in the lower cushion upholstery.NoteInstall the tabs and J clip at the inner RH rear corner of the seat frame first, and then work towards the outer LH rear corner.
- Install the LH 2nd row seat underbelly trim. See Trim - Underbelly - 2nd Row Seat - LH (6 Seat) (Remove and Replace).
-
Connect the LH 2nd row buckle assembly electrical connector to the seat back.
- Install the LH 2nd row seat seat back cover. See Cover - Seat Back - 2nd Row Seat - LH (6 Seat) (Remove and Replace).
- Close the LH falcon wing door.
- Move the LH front seat to original position.
- Raise the LH front window.
- Close the LH front door.