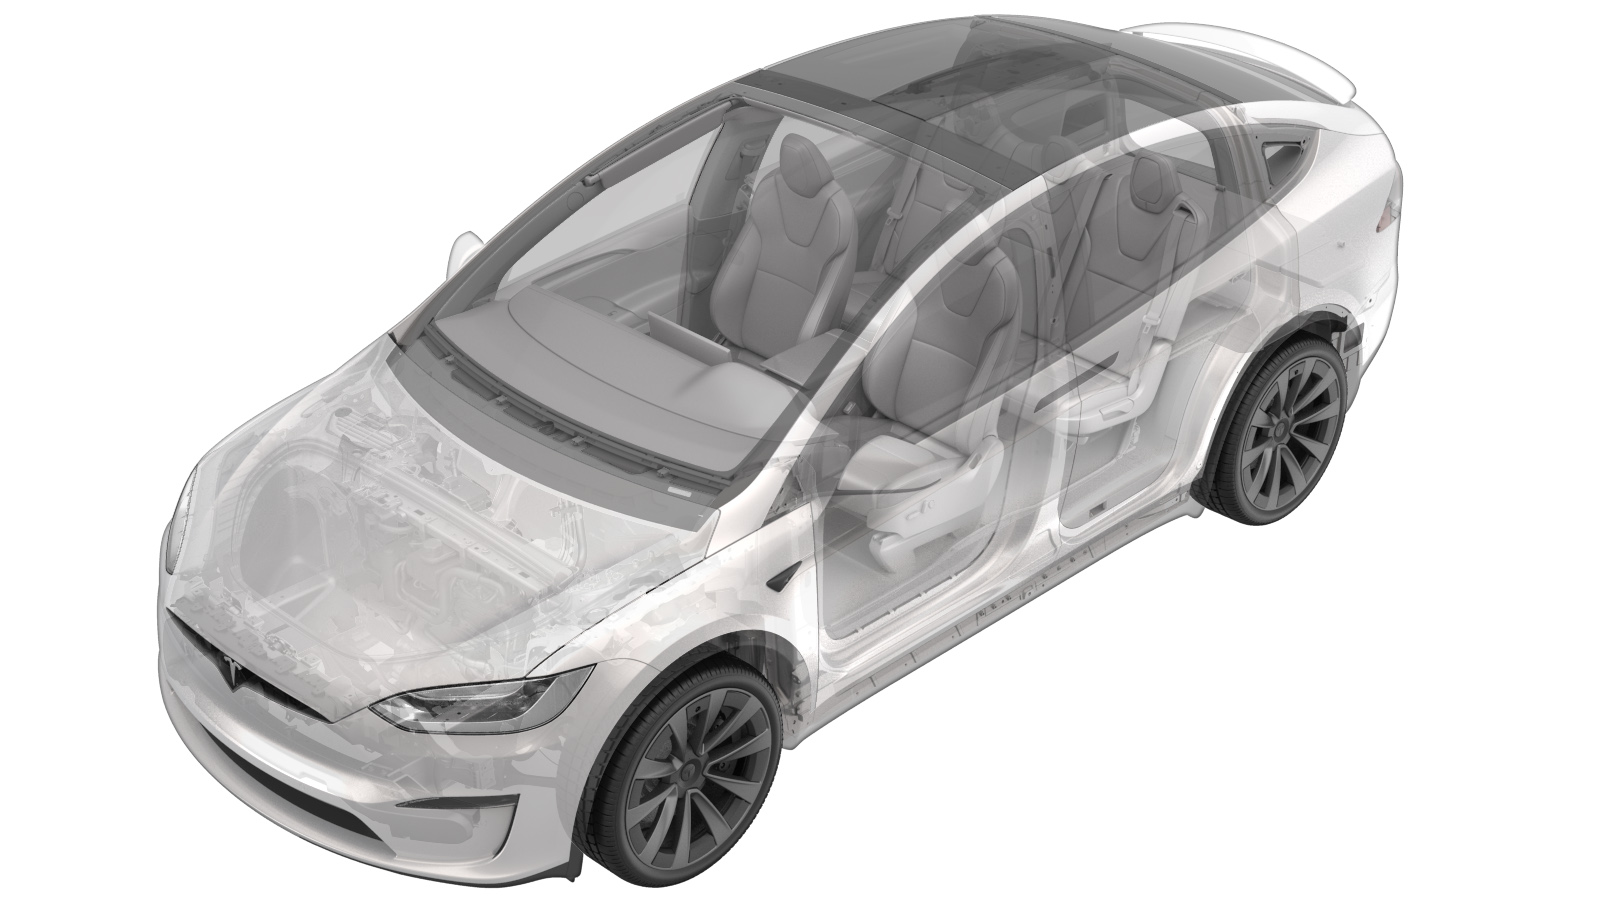
Strut - Rear Door - Secondary - LH - Forward (Remove and Replace)
 Correction code
11331602
0.24
NOTE: Unless otherwise explicitly
stated in the procedure, the above correction code and FRT reflect all of the work
required to perform this procedure, including the linked procedures. Do not stack correction codes unless
explicitly told to do so.
NOTE: See Flat Rate Times to learn
more about FRTs and how they are created. To provide feedback on FRT values, email ServiceManualFeedback@tesla.com.
NOTE: See Personal Protection to make sure proper PPE is worn when
performing the below
procedure.
Remove
- Open the LH falcon wing door.
- Remove the LH rear door trim lower garnish. See Garnish - Lower - Door Trim - Rear - LH (Remove and Replace).
- Remove the LH rear door trim upper panel. See Panel - Door Trim - Rear - Upper - LH (Remove & Replace).
-
Support the LH falcon wing door.
CAUTIONPlace protection between the stand and door.
-
Disconnect the LH falcon wing door secondary strut harness.
-
Release the clips (x2) that attach the LH falcon wing door secondary strut harness to the door assembly.
-
Release the forward LH secondary rear door strut from the door assembly.
NoteRelease the C-clip while pulling the strut away from the ball joint.NoteDo not fully remove the C-clip from the strut.
-
Release the forward LH secondary rear door strut from the body.
NoteRelease the C-clip while pulling the strut away from the ball joint.NoteDo not fully remove the C-clip from the strut.
Install
-
Position the forward LH secondary rear door strut into the vehicle, install the strut onto the body, and then secure the C-clip.
NoteAlign the strut to the ball joint and secure the C-clip.NotePerform a push-pull test to confirm the strut is fully installed.
-
Secure the clips (x2) that attach the LH falcon wing door secondary strut harness to the door assembly.
-
Connect the LH falcon wing door secondary strut harness.
-
Install the forward LH secondary rear door strut onto the door assembly, and then secure the C-clip.
NoteAlign the strut to the ball joint and secure the C-clip.NotePerform a push-pull test to confirm the strut is fully installed.
- Remove the support stand.
- Install the LH rear door trim upper panel. See Panel - Door Trim - Rear - Upper - LH (Remove & Replace).
- Install the LH rear door trim lower garnish. See Garnish - Lower - Door Trim - Rear - LH (Remove and Replace).
-
Calibrate the rear doors.
NoteIf the "Calibration Needed" message appears on the vehicle touchscreen, touch and hold Calibrate to calibrate the rear doors.