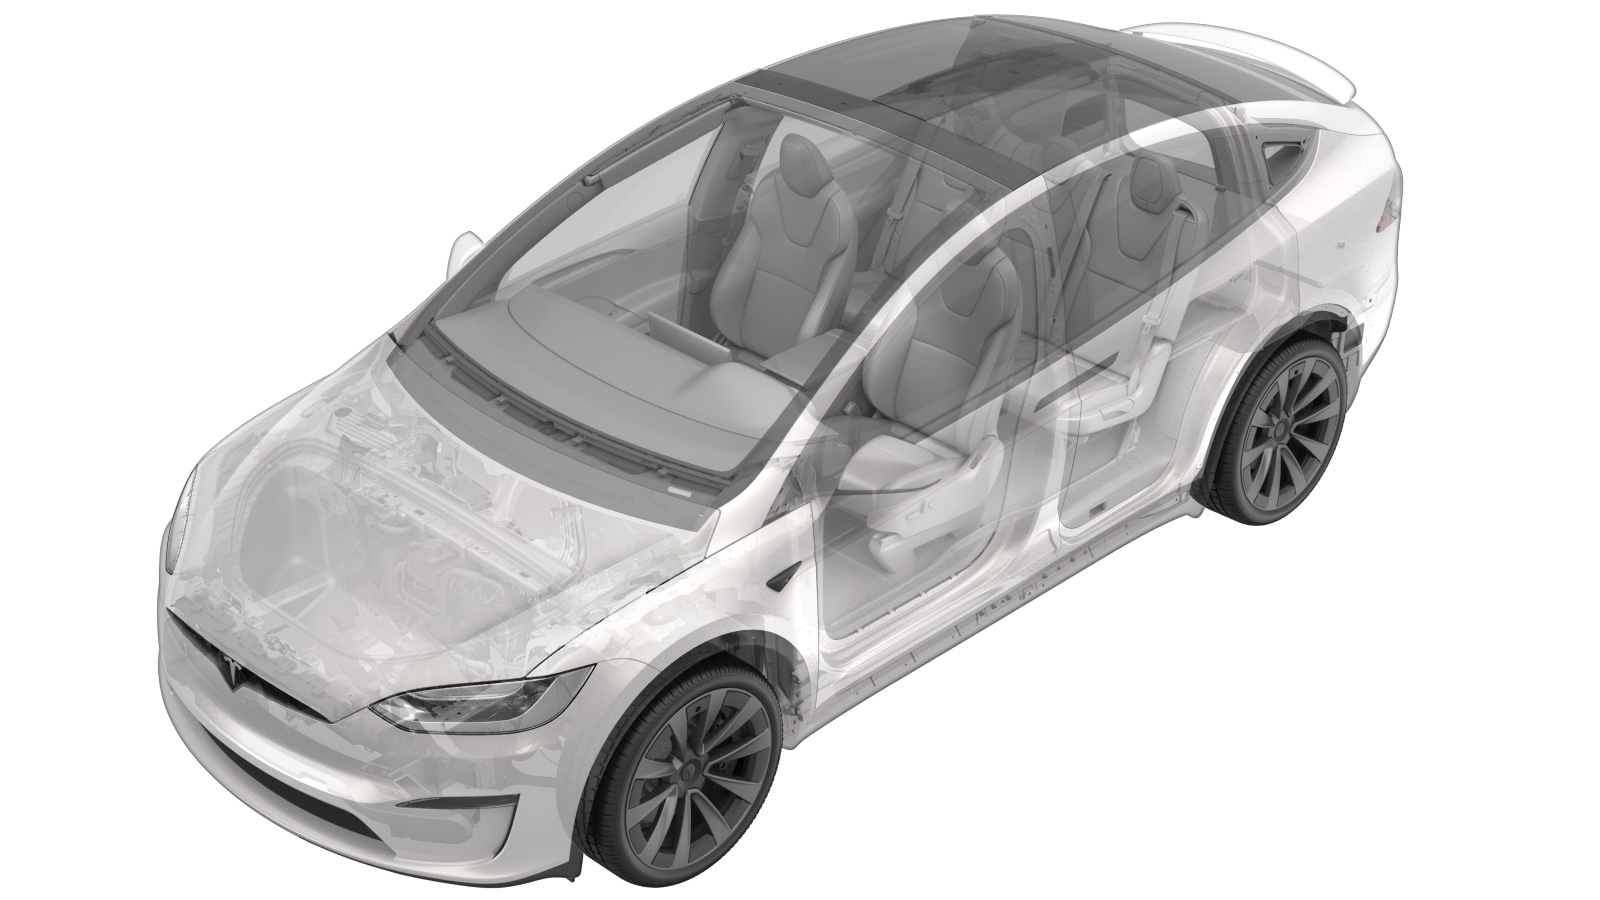
Motor - Pitch - 2nd Row - LH (6 Seat) (Remove and Replace)
 Correction code
13024002
0.60
NOTE: Unless otherwise explicitly
stated in the procedure, the above correction code and FRT reflect all of the work
required to perform this procedure, including the linked procedures. Do not stack correction codes unless
explicitly told to do so.
NOTE: See Flat Rate Times to learn
more about FRTs and how they are created. To provide feedback on FRT values, email ServiceManualFeedback@tesla.com.
NOTE: See Personal Protection to make sure proper PPE is worn when
performing the below
procedure.
Remove
- Open all the doors and lower the front windows.
- Move the driver seat forward.
- Remove the LH 2nd row seat underbelly trim. See Trim - Underbelly - 2nd Row Seat - LH (6 Seat) (Remove and Replace).
-
Starting from the LH outer rear
corner, release the tabs (x14) and J-clips (x2) that attach the LH 2nd row seat cushion
upholstery to the plastic base.
CAUTIONOnly use the 90 pick to release the J-clips.NoteSome vehicles may be equipped with upholstery tape. Cut the tape to release the upholstery as necessary.
-
Fold the seat cushion back.
-
Remove the screws (x4) that attach the
LH 2nd row seat plastic base to the seat frame.
 2 Nm (1.5 lbs-ft)TIpUse of the following tool(s) is recommended:
- Torx T25 socket
-
Use an inflatable air bag to separate
the LH 2nd row seat plastic base from the lower seat frame.
-
Remove the metal push nut and spacer
that secure the LH 2nd row seat motor drive shaft to the pitch motor.
NoteWork the nut from each side to remove it. Apply pressure to the top of strut rod to move it downward.NoteDiscard the metal push nut after removal.
-
Move the LH 2nd row seat motor drive
shaft away from the pitch motor until the lower fan nut is touching the pitch
gearbox.
NoteApply pressure to the top of the drive shaft to it move downward.
-
Disconnect the LH 2nd row pitch motor
electrical connector.
-
Remove the screws (x3) that attach the
LH 2nd row pitch motor to the seat assembly, and then remove the motor from the seat
assembly.
 7 Nm (5.2 lbs-ft)TIpUse of the following tool(s) is recommended:
- Torx T25 socket
Install
-
Position the LH 2nd row pitch motor into the seat assembly, and then install the
screws (x3) that attach the motor to the seat assembly.
 7 Nm (5.2 lbs-ft)TIpUse of the following tool(s) is recommended:
- Torx T25 socket
-
Connect the LH 2nd row pitch motor electrical connector.
-
Slide the LH 2nd row seat motor drive shaft through the pitch motor, and then install
the washer and new metal push nut.
NoteInstall the spacer then new push nut after the drive shaft has been pushed through the motor.NoteUse a clip prytool to push against the nut while applying pressure to the bottom side of drive shaft.
-
Remove the inflatable air bag from the LH 2nd row seat plastic base, and then install
the screws (x4) that attach the plastic base to the seat frame.
 2 Nm (1.5 lbs-ft)TIpUse of the following tool(s) is recommended:
- Torx T25 socket
-
Secure the tabs (x14) and J-clips (x2) that attach the LH 2nd row seat cushion
upholstery to the plastic base.
NoteSpread the upholstery evenly before securing the clips and tabs to minimize wrinkles.
- Install the LH 2nd row seat underbelly trim. See Trim - Underbelly - 2nd Row Seat - LH (6 Seat) (Remove and Replace).
- Move the driver seat to the original position.
- Connect a laptop with Toolbox to the vehicle.
- In Toolbox, click the Actions tab, and then search for "BCS2L".
-
Click PROC_BCS2L_R2-L_CALIBRATE-S2L-PITCHvia Toolbox: (link), and then click Run and allow the routine
to complete.
NoteClick the X at the top right corner of the window to close once complete.
-
Click PROC_BCS2L_R2-L_CALIBRATE-S2L-TRACKvia Toolbox: (link), and then click Run and allow the routine
to complete.
NoteClick the X at the top right corner of the window to close once complete.
- Disconnect the laptop from the vehicle.
- Raise the front windows and close the LH front door.