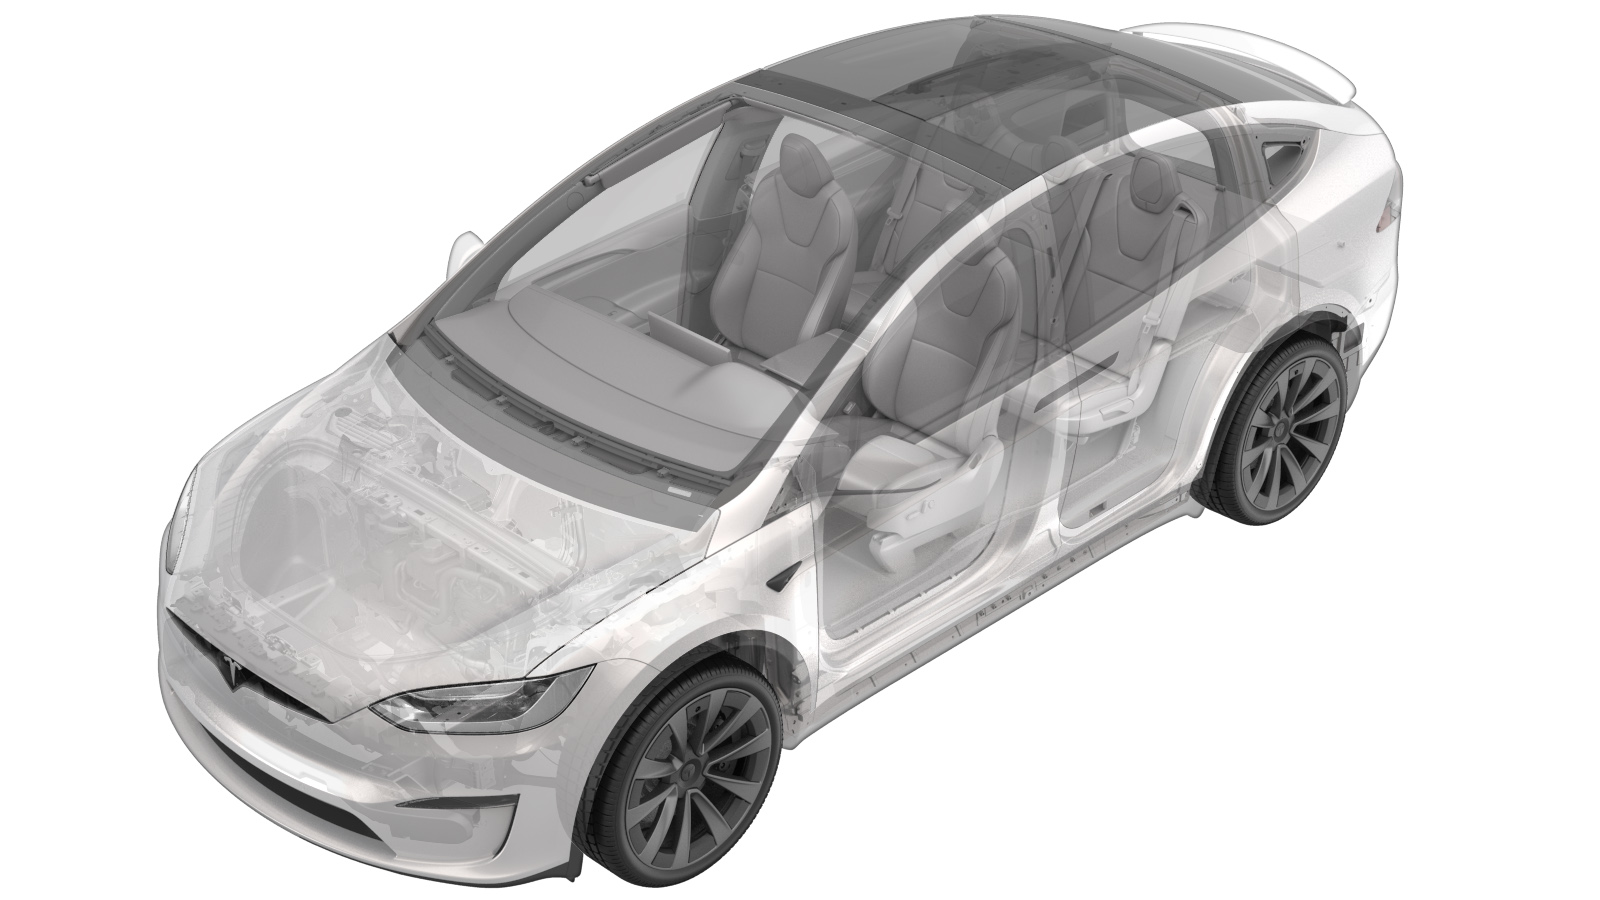
Harness - Pyrotechnic - HV Battery (Remove and Replace)
 Correction code
16300062
6.25
NOTE: Unless otherwise explicitly
stated in the procedure, the above correction code and FRT reflect all of the work
required to perform this procedure, including the linked procedures. Do not stack correction codes unless
explicitly told to do so.
NOTE: See Flat Rate Times to learn
more about FRTs and how they are created. To provide feedback on FRT values, email ServiceManualFeedback@tesla.com.
NOTE: See Personal Protection to make sure proper PPE is worn when
performing the below
procedure.
Correction code
16300062
6.25
NOTE: Unless otherwise explicitly
stated in the procedure, the above correction code and FRT reflect all of the work
required to perform this procedure, including the linked procedures. Do not stack correction codes unless
explicitly told to do so.
NOTE: See Flat Rate Times to learn
more about FRTs and how they are created. To provide feedback on FRT values, email ServiceManualFeedback@tesla.com.
NOTE: See Personal Protection to make sure proper PPE is worn when
performing the below
procedure.
Remove
- Move the vehicle to a 2 post lift. See Raise Vehicle - 2 Post Lift.
- Perform a cooling system thermal fill drain. See Thermal Fluid - Cooling System (Fill/Drain).
- Remove the LH and RH rocker panel moldings. See Molding - Rocker Panel - LH (Remove and Replace).
-
Position the 2 post lift pads for HV
battery removal.
- Remove the rear underhood apron. See Underhood Apron - Rear (Remove and Replace).
- Remove the underhood storage unit. See Underhood Storage Unit (Remove and Install).
- Remove the LH and RH sill panel trims. See Trim - Sill Panel - Rear - LH (Remove and Replace).
- Remove the 2nd row mid floor panel. See:
- Remove the LH and RH mid C-pillar trim. See Trim - C-Pillar - Mid - LH (Remove and Replace).
- Remove the LH and RH lower C-pillar trim. See Trim - C-Pillar - Lower - LH (Remove and Replace).
- Remove the 2nd row rear floor panel. See:
-
Remove the bolts (x2) that attach the
busbar duct to the body, and then remove the busbar duct from the vehicle.
- Remove the LH upper C-pillar trim. See Trim - C-Pillar - Upper - LH (Remove and Replace).
- Remove the trunk sill trim. See Trim - Sill - Trunk (Remove and Replace).
- Remove the trunk side trim bracket. See:
- Disconnect LV power. See LV Power (Disconnect and Connect).
- Remove the 3rd row seat cushion, if installed. See Cushion - Seat - 3rd Row (Remove and Replace).
- Remove the LH inner reinforcement. See Reinforcement - Inner - LH (Remove and Replace).
- Remove the mid aero shield panel. See Panel - Aero Shield - Rear (Remove and Replace).
- Perform Vehicle HV Disablement Procedure. See Vehicle HV Disablement Procedure.
- Remove the pyrotechnic battery disconnect. See Pyrotechnic Battery Disconnect (Remove and Replace).
- Remove the HV Battery. See HV Battery (AWD) (Remove and Install).
- Perform a power conversion system coolant drain. See Power Conversion System Coolant (Drain).
- Remove the HV battery front access cover. See Cover - Front Access - HV Battery (Remove and Install).
- Remove the power conversion system. See Power Conversion System (Remove and Replace).
-
Remove the bolts (x6) that attach the
power conversion system mounting tray to the HV battery, and then remove the tray from
the HV battery.
-
Peel the Kapton tape, and then remove
the mica shielding from the busbar and insulator.
-
Release the HV battery pyrotechnic
harness clip and patch anchor from the high voltage controller.
-
Disconnect the HV battery pyrotechnic
harness from the high voltage controller connector.
-
Disconnect the electrical harness from
the high voltage controller connector.
NoteDisconnecting the electrical harness permits easier removal of the HV battery pyrotechnic harness.
-
Carefully release the HV battery
pyrotechnic harness connector from the front tray housing.
-
Release the clips (x2) that attach the
HV battery pyrotechnic harness to the front tray housing on either side of the
busbar.
-
Remove the HV battery pyrotechnic
harness out from under the busbar, and out of the HV battery.
Install
-
Install the HV battery pyrotechnic
harness in under the busbar.
-
Fasten the clips (x2) that attach the
HV battery pyrotechnic harness to the front tray housing on either side of the
busbar.
-
Carefully fasten the HV battery
pyrotechnic harness connector into the front tray housing.
-
Connect the electrical harness to the
high voltage controller connector.
-
Connect the HV battery pyrotechnic
harness to the high voltage controller connector.
-
Use an alcohol wipe to clean the
adhesive patch area on top of the high voltage controller, and allow at least 1 minute
to dry.
-
Fasten the HV battery pyrotechnic
harness clip, peel the backing and apply the patch anchor to the high voltage
controller.
-
Install the mica shielding onto the
busbar and insulator.
NoteApply new Kapton tape if necessary.
-
Install the power conversion system
mounting tray into the HV battery, and then install the bolts (x6) that attach the tray
to the HV battery.
 8 Nm (5.9 lbs-ft)NoteMake sure that no wires are pinched beneath the tray.
 - Install the power conversion system. See Power Conversion System (Remove and Replace).
- Install the HV battery front access cover. See Cover - Front Access - HV Battery (Remove and Install).
- Measure the voltage across the pyrotechnic battery disconnect mount points, and then install the pyrotechnic battery disconnect. See Pyrotechnic Battery Disconnect (Remove and Replace).
- Perform a power conversion system coolant leak test. See Power Conversion System Coolant Leak Test (On Table).
- Perform an HV battery air leak test. See HV Battery Air Leak Test (On Table).
- Install the HV Battery. See HV Battery (AWD) (Remove and Install).
- Install the mid aero shield panel. See Panel - Aero Shield - Rear (Remove and Replace).
- Install the LH inner reinforcement. See Reinforcement - Inner - LH (Remove and Replace).
- Install the 3rd row seat cushion, if previously removed. See Cushion - Seat - 3rd Row (Remove and Replace).
- Connect LV power. See LV Power (Disconnect and Connect).
- Install the trunk side trim bracket. See:
- Install the trunk sill trim. See Trim - Sill - Trunk (Remove and Replace).
- Install the LH upper C-pillar trim. See Trim - C-Pillar - Upper - LH (Remove and Replace).
-
Install the busbar duct to the body,
and then install the bolts (x2) that attach the busbar duct to the body.2.5 Nm (1.8 lbs-ft)
- Install the 2nd row rear floor panel. See:
- Install the LH and RH lower C-pillar trim. See Trim - C-Pillar - Lower - LH (Remove and Replace).
- Install the LH and RH mid C-pillar trim. See Trim - C-Pillar - Mid - LH (Remove and Replace).
- Install the 2nd row mid floor panel. See:
- Install the LH and RH sill panel trims. See Trim - Sill Panel - Rear - LH (Remove and Replace).
- Install the underhood storage unit. See Underhood Storage Unit (Remove and Install).
- Install the rear underhood apron. See Underhood Apron - Rear (Remove and Replace).
- Install the LH and RH rocker panel moldings. See Molding - Rocker Panel - LH (Remove and Replace).
- Hold the LH and RH upper B-pillar buttons in the "Close" position to manually calibrate the LH and RH rear doors.
- Remove the vehicle from the 2 post lift. See Raise Vehicle - 2 Post Lift.