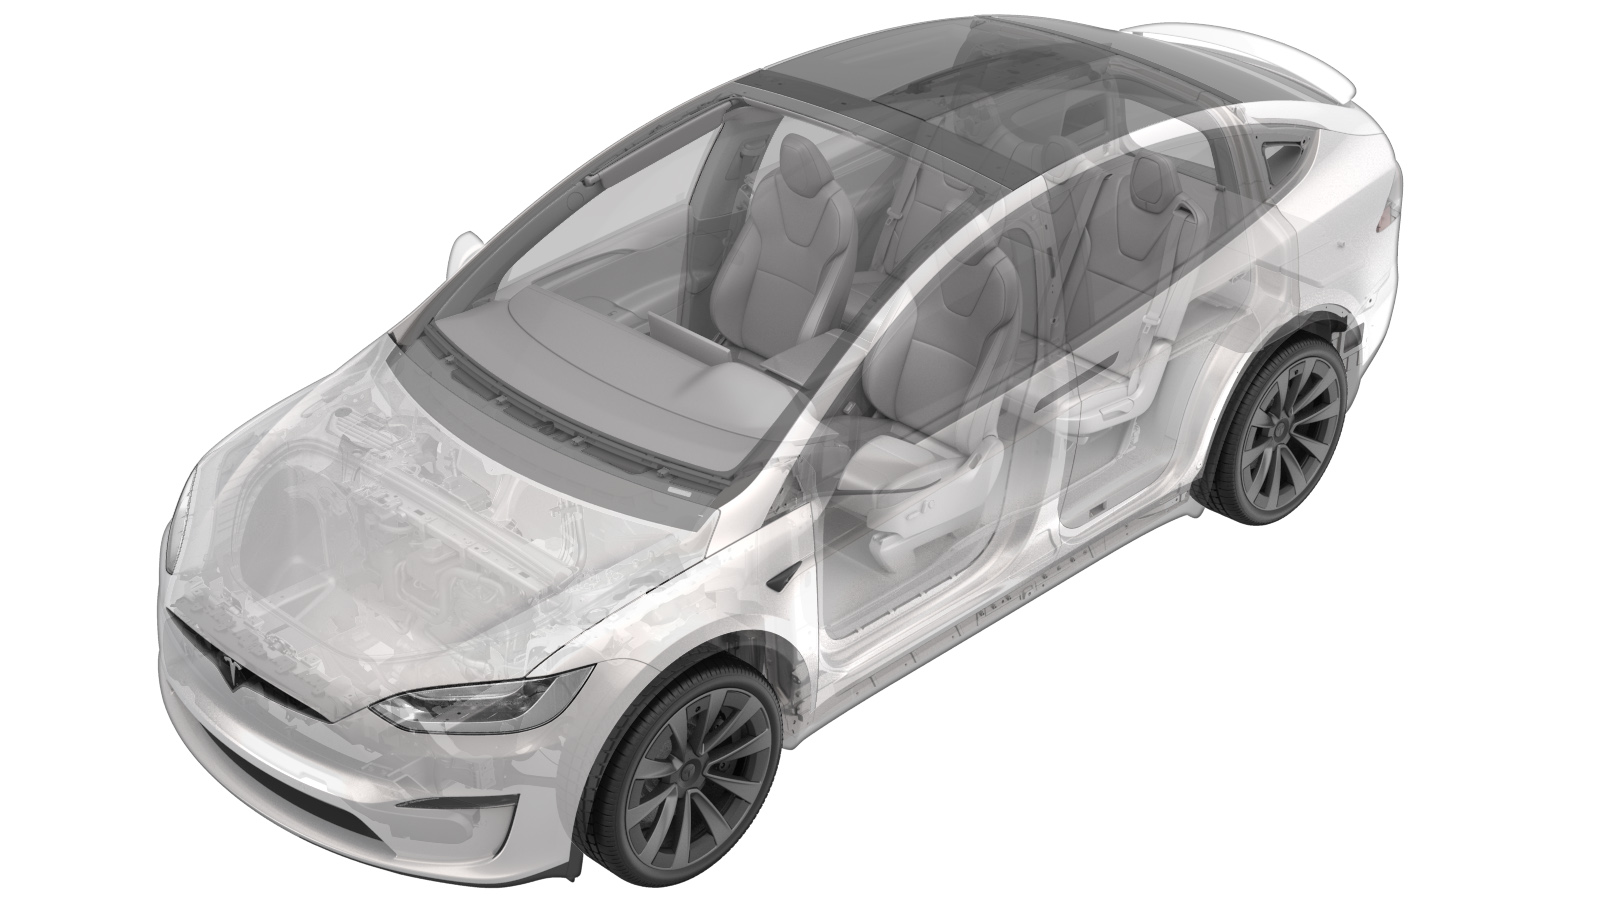
Steering Yoke/Wheel (Remove and Replace)
 Correction code
32051802
0.18
NOTE: Unless otherwise explicitly
stated in the procedure, the above correction code and FRT reflect all of the work
required to perform this procedure, including the linked procedures. Do not stack correction codes unless
explicitly told to do so.
NOTE: See Flat Rate Times to learn
more about FRTs and how they are created. To provide feedback on FRT values, email ServiceManualFeedback@tesla.com.
NOTE: See Personal Protection to make sure proper PPE is worn when
performing the below
procedure.
- 2026-01-02: Added more details on fitting yoke to 2025+ Model S and Model X.
- 2025-08-15: Added caution against installing the yoke on June 2025+ Model S and Model X.
- 2024-11-27: Updated the tools used to remove/install the bolt that attaches the steering yoke/wheel to the steering column.
- 2024-11-07: Added extra configuration instructions.
- 2024-09-23: Added a note about mechanical horn retrofit.
- 2023-11-08: Added a note to install the correct airbag variant.
- 2023-10-26: Added a warning.
- 2023-07-03: Updated tool.
- 2023-06-29: Updated firmware reinstall step; it is to be performed whenever the steering wheel/yoke is replaced.
Remove
-
On the vehicle touchscreen, touch , and then scroll down to display the vehicle software version.
- If the vehicle is operating with the software version 2024.2.7 (feature/das-fsd-eap-12-2-1 for Full Self Driving (Supervised) participants) or later, skip to step 2.
- If the vehicle is operating with a software version earlier than 2024.2.7 (feature/das-fsd-eap-12-2-1), perform a software update to version 2024.2.7 (feature/das-fsd-eap-12-2-1) or later, see Firmware Update, and then continue to step 2.
- Record the part number of the new replacement airbag for later in the procedure.
- On the vehicle touchscreen, touch , and then use the left steering wheel scroll wheel to adjust steering column fully forward, and middle height level.
- Remove the rear underhood apron. See Underhood Apron - Rear (Remove and Replace).
- Disconnect LV power. See LV Power (Disconnect and Connect).
- Remove the driver airbag. See Airbag - Driver (Remove and Replace).
-
Disconnect the electrical connector from the steering yoke/wheel.
TIpUse of the following tool(s) is recommended:
- Pick Miniature Soft Grip, 90 degree tip, 6 in
-
Remove and discard the bolt that attaches the steering yoke/wheel to the steering column.
 80 Nm (59.0 lbs-ft)NoteUse a Breaker bar (½ in) to break the initial bolt thread lock/torque.TIpUse of the following tool(s) is recommended:
- ½ in to 3/8 in adapter
- 10 mm hex (H10 bit) socket
- Breaker bar (½ in)
- Flex head ratchet/flex head torque wrench
-
Remove the steering yoke/wheel from the steering column splines.
Install
-
Install the steering yoke/wheel to the steering column.
NoteAlign the splines on the steering column.NoteThe splines are indexed and the steering yoke/wheel can only be installed in the correct position.
-
With a new bolt, install the steering yoke/wheel to the steering column.
 80 Nm (59.0 lbs-ft)NoteBolt PN - 1036655-00-A.NoteNote that the steering yoke/wheel is splined to the column.TIpUse of the following tool(s) is recommended:
- 10 mm hex (H10 bit) socket
- Flex head ratchet/flex head torque wrench
-
Connect the steering yoke/wheel electrical connector to the steering yoke/wheel.
-
Install the driver airbag. See Airbag - Driver (Remove and Replace).
NoteMake sure to install the compatible airbag. Airbags for round wheel and for yoke are not interchangeable. Please read the part label to confirm the airbag type.
- Connect LV power. See LV Power (Disconnect and Connect).
- Install the rear underhood apron. See Underhood Apron - Rear (Remove and Replace).
- Perform the following routine using Service Mode or Toolbox (see 0005 - Service Modes): PROC_GTW_X_STEERING-WHEEL-YOKE-SWAPvia Toolbox: (link)via Service Mode: Chassis ➜ SCCM ➜ Wheel / Yoke swap
- In the window that opens, type the part number of the new compatible replacement airbag installed.
-
From the Steering Wheel Type To Install drop down list, click the correct type , and then click Run
- For a round steering wheel with touch horn, select ROUND.
- For a round steering wheel with mechanical horn, select ROUND MECHANICAL HORN.
- For a steering yoke with touch horn, select YOKE.
- For a steering yoke with mechanical horn, select YOKE MECHANICAL HORN.
-
Read and confirm that a new compatible driver airbag has been installed, click OK, and allow the routine to complete.
- Perform a software reinstall. See Firmware Reinstall - Toolbox.
-
Calibrate the rear doors.
NoteIf the "Calibration Needed" message appears on the vehicle touchscreen, touch and hold Calibrate to calibrate the rear doors.
- Reinstall the vehicle software via touchscreen. See Firmware Reinstall - Touchscreen.
- On the vehicle touchscreen, touch , and then use the left steering wheel scroll wheel to adjust the steering column into original position.
- Raise the LH front window and close the LH front door.