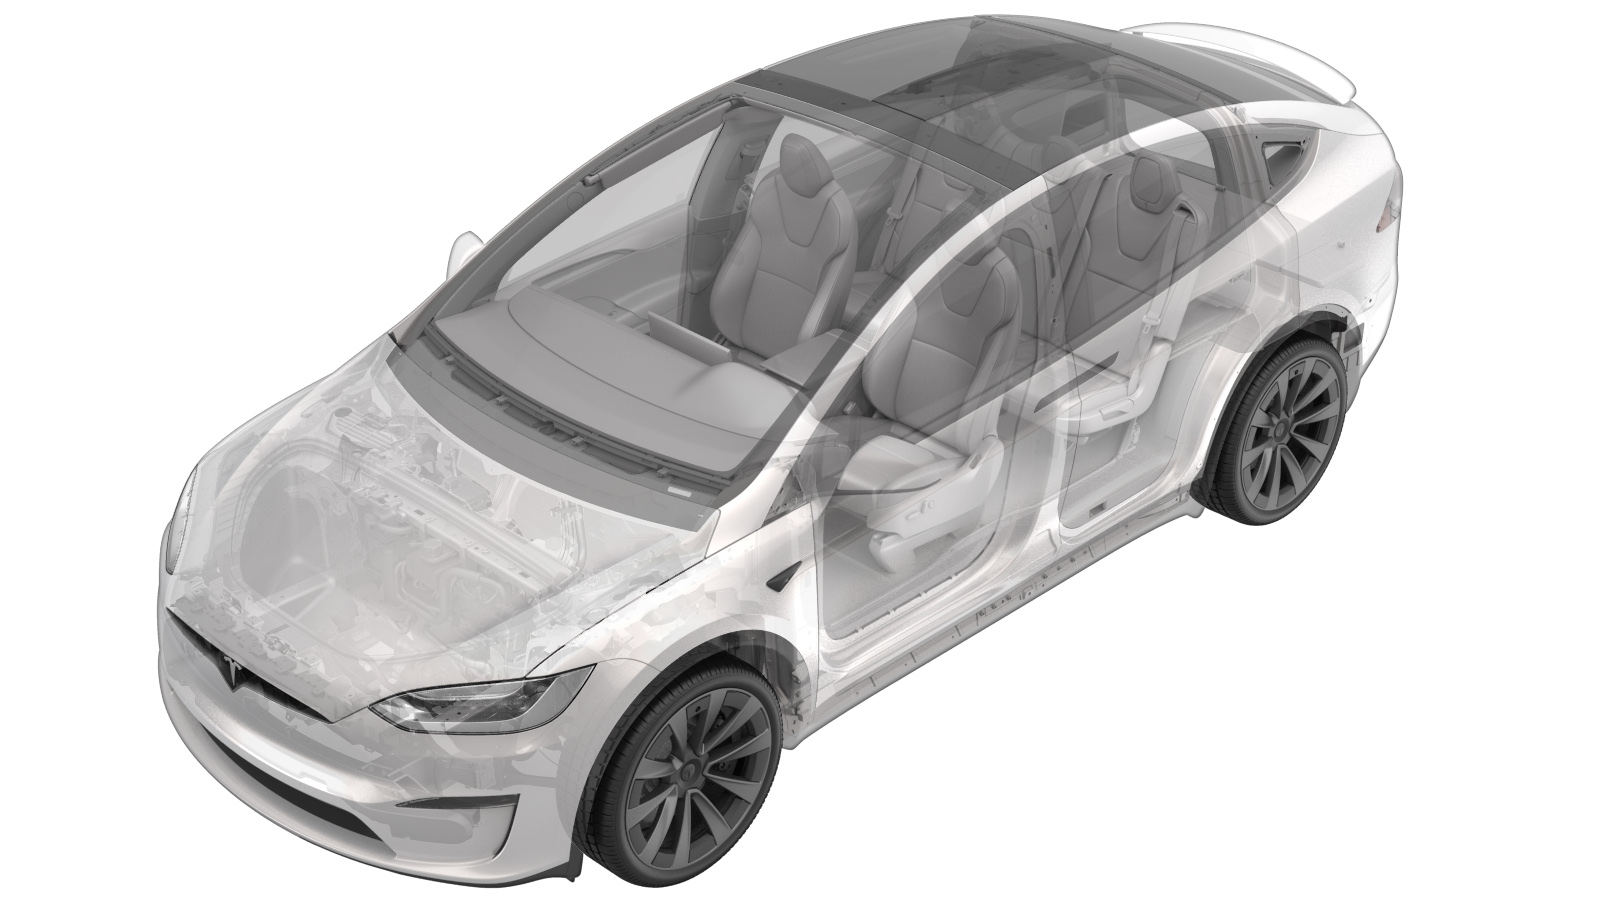
Flood Port Plunger Set (Remove and Replace)
 Correction code
16102712
0.60
NOTE: Unless otherwise explicitly
stated in the procedure, the above correction code and FRT reflect all of the work
required to perform this procedure, including the linked procedures. Do not stack correction codes unless
explicitly told to do so.
NOTE: See Flat Rate Times to learn
more about FRTs and how they are created. To provide feedback on FRT values, email ServiceManualFeedback@tesla.com.
NOTE: See Personal Protection to make sure proper PPE is worn when
performing the below
procedure.
- 2025-10-01: Added LV disable and enable steps. Added rear aero shield removal and installation.
- 2025-05-05: Remove unneeded HV disablement step.
- 2025-04-28: Update steps after latest round of plunger leak testing.
- 2025-04-11: Updated step for new plunger packaging and removal from housing.
- 2025-03-10: Updated procedure for flood port plunger.
- 2025-02-12: Updated entire procedure to replace all flood ports (x5).
Only technicians who have been trained in High Voltage Awareness and have completed all required certification courses (if applicable) are permitted to perform this procedure. Proper personal protective equipment (PPE) and insulating HV gloves with a minimum rating of class 0 (1000V) must be worn at all times a high voltage cable, busbar, or fitting is handled. Refer to Tech Note TN-15-92-003, High Voltage Awareness Care Points
for additional glove and safety information.
Remove
- Open all the doors and lower all the windows.
- Disconnect LV power. See LV Power (Disconnect and Connect).
- Remove the LH and RH rocker panel moldings. See Molding - Rocker Panel - LH (Remove and Replace).
- Raise and support the vehicle. See Raise Vehicle - 2 Post Lift.
- Remove the rear aero shield. See Panel - Aero Shield - Rear (Remove and Replace).
-
Use 6 inch needle nose pliers to remove the plunger from the LH front flood port.
Repeat this step for the remaining flood ports (x5).
NoteIf necessary, use a pick to clean the grooves before removal.CAUTIONDO NOT remove the flood port housing on the LH side of the vehicle. Removing the flood port housing on the LH side of the vehicle will cause the flood port to unseat from the flood port hat.CAUTIONUsing smaller needle nose pliers may be less effective.
Figure 4. LH side flood ports (2x) Figure 5. RH side flood ports (2x) Figure 6. Rear flood port (1x) Figure 7. Flood port plunger Figure 8. Flood port plunger removed
Install
-
Use an IPA wipe to thoroughly clean the LH front flood port seal.
NoteAllow 1 minute of dry time.
-
Make sure the spring on the inside of the flood port housing is correctly seated.
Reseat the spring if necessary.
Figure 9. Unseated spring Figure 10. Seated spring -
Inspect the new flood port plunger for
a printed QR code to ensure the correct part is being used.
-
Carefully remove the new flood port
plunger from the flood port housing.
- While holding the top and bottom of the flood port assembly, remove the blue tape that holds the plunger and housing together.
- Carefully orient the flood port assembly so that the housing is facing upward.
- Carefully remove the flood port plunger from the flood port housing.
- Discard the flood port housing after the plunger has been removed.
CAUTIONBe careful not to drop any wafers. If wafers are dropped, discard the plunger assembly and replace it with a new one. DO NOT reuse wafers that have been dropped.Figure 11. Flood port wafers -
Install the LH front flood port
plunger into the flood port housing.
NotePress firmly until there are audible clicks.NoteMake sure there is no gap between the plunger and housing once installed.NoteIf necessary, rotate the plunger clockwise during install.
-
Repeat step 1 through step 5 for the the remaining flood port plungers.
Figure 12. LH side flood ports (x2) Figure 13. RH side flood ports (x2) Figure 14. Rear flood port (1x) -
Perform HV battery air leak test. See
HV Battery Air Leak Test (In Vehicle).
CAUTIONWhile the HV battery is pressurized, inspect each flood port for escaping air. Perform this test regardless of leak test results.
- Place a hand over each flood port to feel for escaping air.
- Spray soapy water over each flood port and inspect for bubbles.
If leaks are found, replace the flood port plunger(s) as needed.
If no leaks from any of the flood ports are found, but the HV battery leak test is failing, refer to Toolbox article 5402000 for further diagnoses.
- Install the rear aero shield. See Panel - Aero Shield - Rear (Remove and Replace).
- Remove the vehicle from the lift. See Raise Vehicle - 2 Post Lift.
- Install the LH and RH rocker panel moldings. See Molding - Rocker Panel - LH (Remove and Replace).
-
Calibrate the LH and RH falcon wing doors.
- Reconnect LV power. See LV Power (Disconnect and Connect).
- Raise the LH front window and close all the doors.