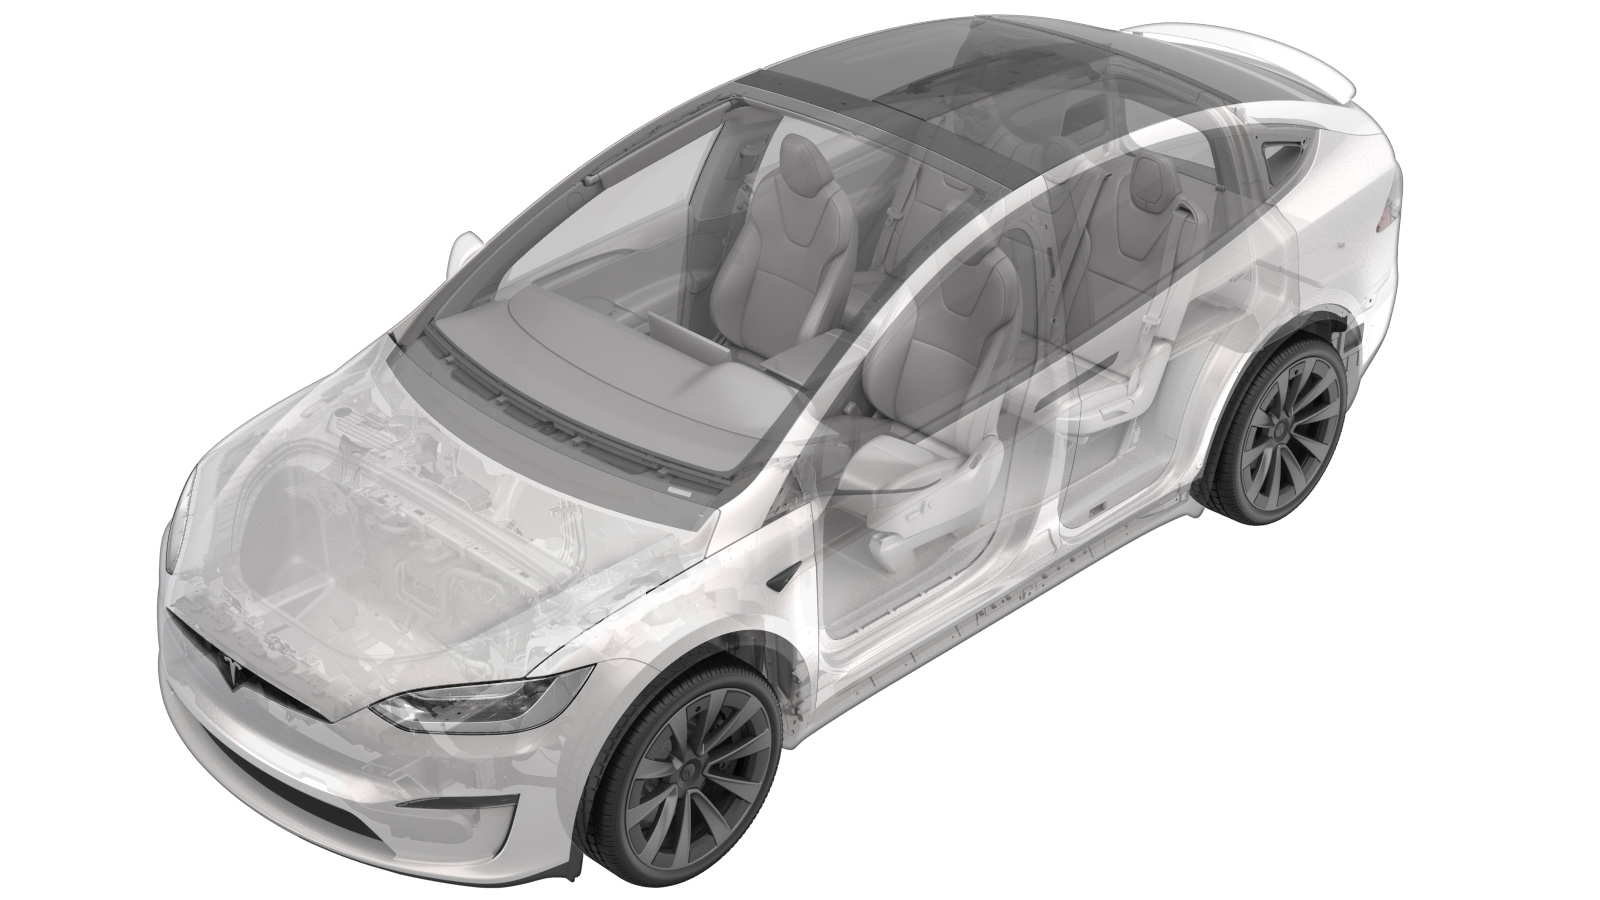
Headlights - Adjust - NA (Tool Method)
 Correction code
17400150
0.15
NOTE: Unless otherwise explicitly
stated in the procedure, the above correction code and FRT reflect all of the work
required to perform this procedure, including the linked procedures. Do not stack correction codes unless
explicitly told to do so.
NOTE: See Flat Rate Times to learn
more about FRTs and how they are created. To provide feedback on FRT values, email ServiceManualFeedback@tesla.com.
NOTE: See Personal Protection to make sure proper PPE is worn when
performing the below
procedure.
- Open LH front door
- Lower LH front window
-
Set vehicle ride height to Standard
NoteEnsure all tire pressures are set to specification to ensure accurate ride height
-
Using the MCU switch headlights to "ON"
NoteLights > Headlights > ON, Note increased battery consumption
-
Open hood
NoteVia center display > Quick Controls > Frunk Open
-
Remove rear underhood apron
Note11x clips
-
Remove LH underhood apron
Note11x clips, 2x datums, Remove brush clip at hinge cover first, Take note of clip at headlamp
-
Remove RH underhood apron
Note11x clips, 2x datums, Remove brush clip at hinge cover first, Take note of clip at headlamp
-
Plug in the tester to an outlet and power on
-
Position headlamp aimer in front of LH the headlamp
NoteLens of the aimer should be 30cm (+-2cm) from the inner corner of the headlamp
-
Use the knobs on the base to adjust tester level
-
Use the visor/laser to line up the tester perpendicular to the axis between the hood struts
NoteIf the headlight aimer can move between RH and LH headlights while maintaining the same laser angle projected onto the hood struts, it is set correctly - perpendicular to the car
-
Apply white sheet of paper to LH headlamp to locate the focal point of low beam
-
Select "Test US"
-
Select "Free Test"
-
Select "Headlight" and adjust to "VOR" using the + / - buttons
-
Repeat for "Light" option to adjust to "LED"
-
Select "OK"
-
Select "OK" again to proceed past fog light settings
-
Select the laser icon and adjust the tester horizontal and vertical position to LH headlamp marking
NoteSet to 85cm height on the post, A piece of paper can aid in finding the center
-
Turn off laser guide and remove paper
-
Select the LH low beam icon and select the low beam button at the bottom of the screen
-
Adjust the vertical aim of the LH front headlamp
NoteTarget 0.00", Tolerance +/- 1.00"
-
Select the save icon to record results
-
Position headlight aimer in front of RH headlamp
NoteLens of the aimer should be 30cm(+-2cm) from the inner corner of the headlamp
-
Apply white sheet of paper to RH headlamp to locate the focal point of low beam
-
Select the laser icon and adjust the tester horizontal and vertical position to the light focal point
NoteSet to 85cm height on the post, A piece of paper can aid in finding the center
-
Turn off laser guide and remove paper
-
Select the RH low beam icon and select the low beam button at the bottom of the screen
-
Adjust the vertical aim of the RH front headlamp
NoteTarget 0.00", Tolerance +/- 1.00" Do not sit in vehicle as this will affect headlamp height.
-
Select the save icon again to view test results
-
Move headlight tester away from vehicle
-
Install LH underhood apron
Note11x clips, 2 datums
-
Install RH underhood apron
Note11x clips, 2x datums
-
Install rear underhood apron
Note11x clips
- Close hood
- Raise LH front window
-
Using the MCU switch headlights back to "Auto"
NoteLights > Headlights > AUTO
- Close LH front door