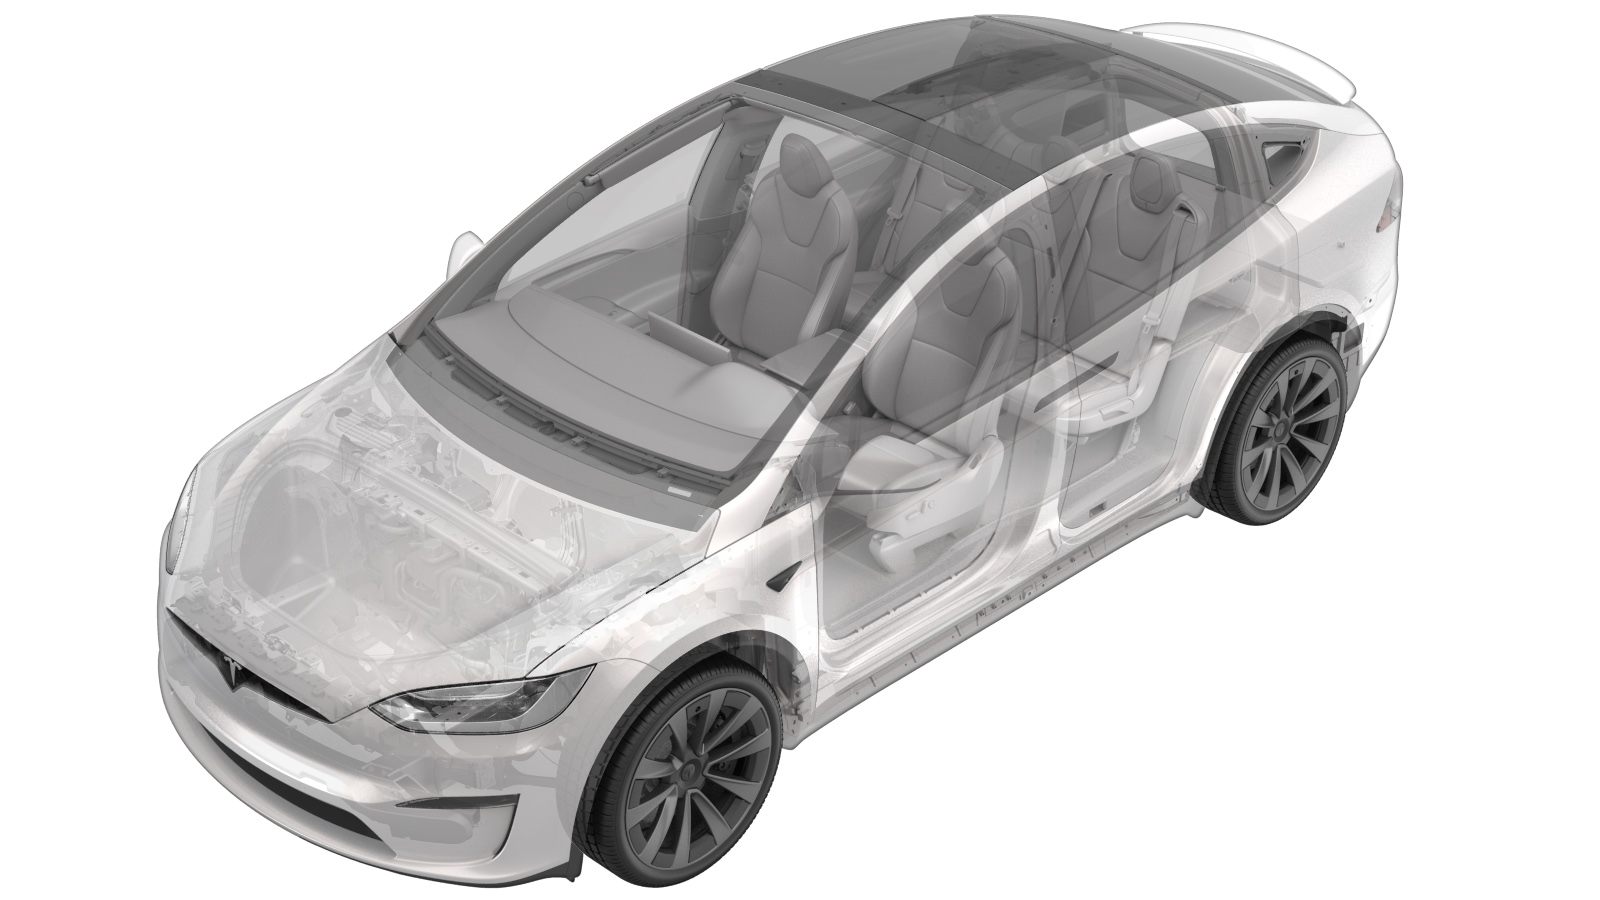
Antenna - MIMO - LH (Remove and Replace)
 Correction code
21331102
0.66
NOTE: Unless otherwise explicitly
stated in the procedure, the above correction code and FRT reflect all of the work
required to perform this procedure, including the linked procedures. Do not stack correction codes unless
explicitly told to do so.
NOTE: See Flat Rate Times to learn
more about FRTs and how they are created. To provide feedback on FRT values, email ServiceManualFeedback@tesla.com.
NOTE: See Personal Protection to make sure proper PPE is worn when
performing the below
procedure.
Remove
- Open all the doors and lower the front windows.
- Move the driver seat rearward.
- Remove the LH sun visor bezel A-pillar trim. See Trim - A-Pillar - Sun Visor Bezel - LH (Remove and Replace)
-
Remove the bolts (x2) that attach the
LH upper A-pillar trim to the vehicle.
TIpUse of the following tool(s) is recommended:
- 13mm socket
-
Remove the screw that attaches the LH
upper A-pillar trim to the vehicle.
TIpUse of the following tool(s) is recommended:
- T20 socket
-
Release the clips (x6) that attach the
LH upper A-pillar trim to the A-pillar, and then move the trim aside to gain access to
the headliner.
-
Remove the screw that attaches the LH
front of the headliner to the vehicle.
 2 Nm (1.5 lbs-ft)TIpUse of the following tool(s) is recommended:
- Torx T20 socket
- Move the driver seat forward.
-
Release the LH front door seal from
the B-pillar trim.
-
Release the clips (x5) that attach the
upper portion of the LH lower B-pillar trim to the LH upper B-pillar trim.
-
Release the clips (x3) and magnets
(x2) that attach the LH upper B-pillar trim to the B-pillar, and then disconnect the LH
falcon wing door button electrical connector.
-
Move the LH upper B-pillar trim
aside.
- Repeat step 2 through step 12 for the RH side of the vehicle.
-
Release the clips (x11) that attach
the front portion of the headliner to the vehicle, and then release the headliner from
the vehicle.
-
Release the locking tabs, and then
disconnect the LH MIMO antenna electrical connectors (x2).
-
Remove the bolt that attaches the LH
MIMO antenna to the vehicle.
 10 Nm (7.4 lbs-ft)NoteThe bolt is captive in the antenna housing and cannot be removed from the antenna.TIpUse of the following tool(s) is recommended:
- Torx T25 socket
-
Release the clips (x2) that attach the
LH MIMO antenna to the vehicle, and then remove the antenna from the vehicle.
Install
-
Position the LH MIMO antenna into the
vehicle, and then secure the clips (x2) that attach the antenna to the vehicle.
-
Install the bolt that attaches the LH MIMO antenna to the vehicle.
 10 Nm (7.4 lbs-ft)NoteThe bolt is captive in the antenna housing and cannot be removed from the antenna.TIpUse of the following tool(s) is recommended:
- Torx T25 socket
-
Connect the LH MIMO antenna electrical connectors (x2), and then engage the locking
tabs.
-
Secure the clips (x11) that attach the front portion of the headliner to the
vehicle.
-
Install the screw that attaches the LH front of the headliner to the vehicle.
 2 Nm (1.5 lbs-ft)TIpUse of the following tool(s) is recommended:
- Torx T20 socket
-
Position the LH upper B-pillar trim
onto the B-pillar, connect the LH falcon wing door button electrical connector, and then
secure the clips (x3) and magnets (x2) that attach the LH upper B-pillar trim to the
B-pillar.
NoteAlign the height adjuster slider to the adjustable D-ring.NoteReplace any damaged clips.
-
Secure the clips (x5) that attach the
upper portion of the LH lower B-pillar trim to the LH upper B-pillar trim.
NoteReplace any damaged clips.
-
Fully seat the LH front door seal
along the LH B-pillar.
-
Position the LH upper A-pillar trim to
the A-pillar, and then secure the clips (x6) that attach the trim to the vehicle.
NoteAlign the datums into the instrument panel sub assembly.NoteRotate trim into position to full engage the clips.
-
Install a new nut that attaches the LH
upper A-pillar trim to the vehicle.
 5 Nm (3.7 lbs-ft)TIpUse of the following tool(s) is recommended:
- 10mm socket
-
Install the screw that attaches the LH
upper A-pillar trim to the vehicle.
 2.5 Nm (1.8 lbs-ft)TIpUse of the following tool(s) is recommended:
- T20 socket
-
Install the bolts (x2) that attach the
LH upper A-pillar trim to the vehicle.
 5 Nm (3.7 lbs-ft)TIpUse of the following tool(s) is recommended:
- 13mm socket
- Install the LH sun visor bezel A-pillar trim. See Trim - A-Pillar - Sun Visor Bezel - LH (Remove and Replace).
- Repeat step 5 through step 15 for the RH side of the vehicle.
- Verify Bluetooth, WiFi, and LTE are functioning properly.
- Move the driver seat to the original position.
- Raise the front windows and close all the doors.