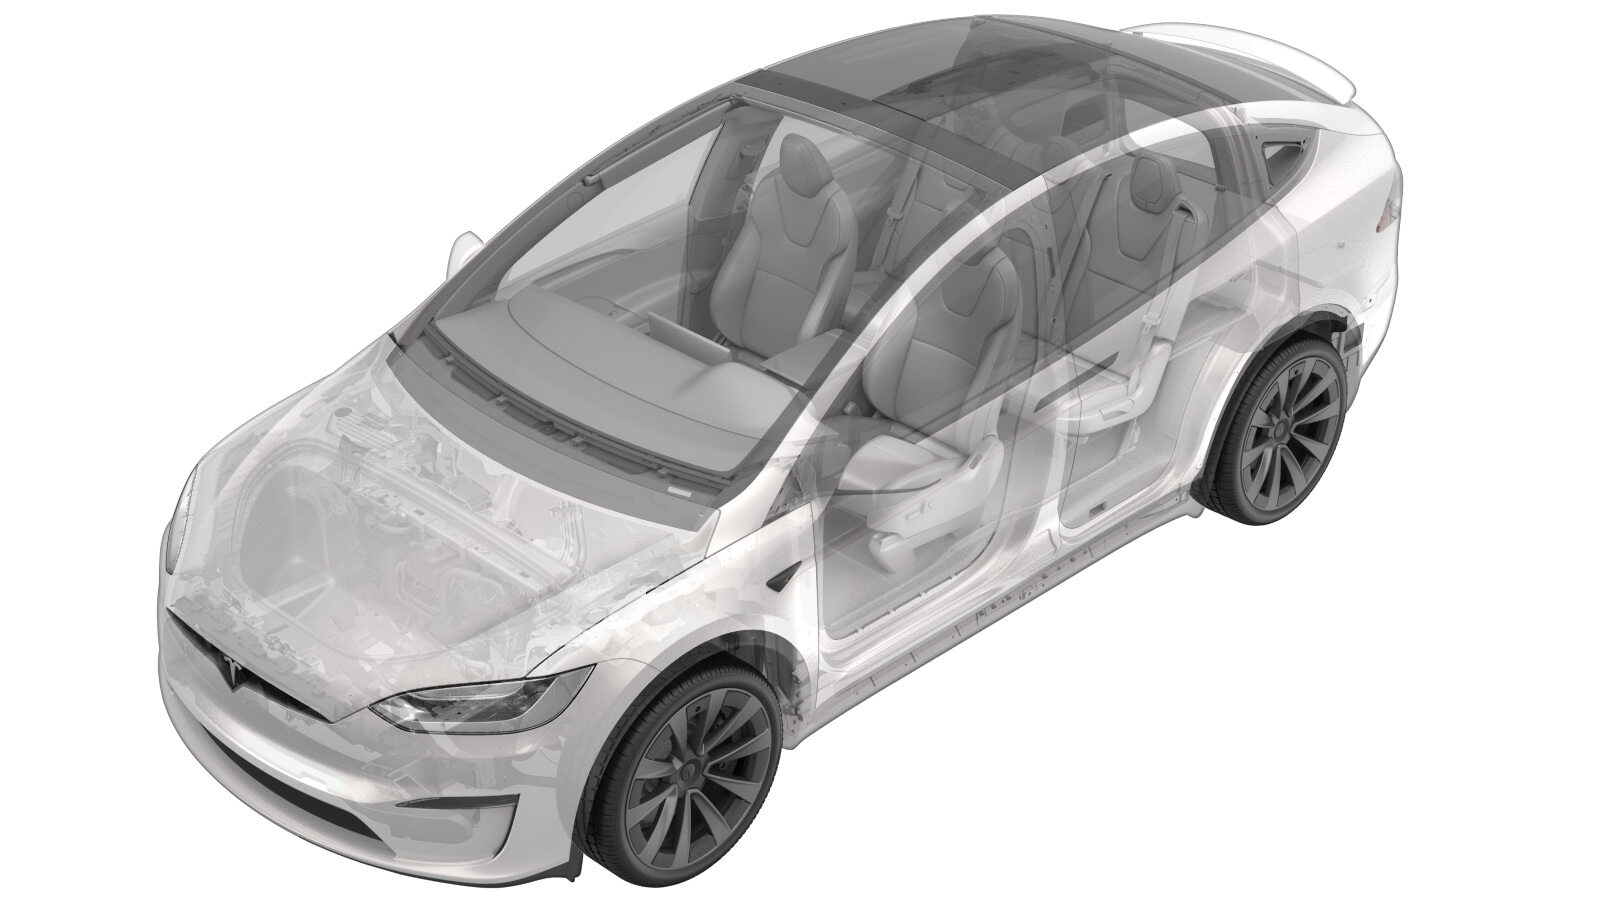
Ultrasonic Sensor Holder - Butyl - Rear Door – LH (Remove and Replace)
 Correction code
11334712
1.62
NOTE: Unless otherwise explicitly
stated in the procedure, the above correction code and FRT reflect all of the work
required to perform this procedure, including the linked procedures. Do not stack correction codes unless
explicitly told to do so.
NOTE: See Flat Rate Times to learn
more about FRTs and how they are
created.
NOTE: See Personal Protection to make sure proper PPE is worn when
performing the below
procedure.
Correction code
11334712
1.62
NOTE: Unless otherwise explicitly
stated in the procedure, the above correction code and FRT reflect all of the work
required to perform this procedure, including the linked procedures. Do not stack correction codes unless
explicitly told to do so.
NOTE: See Flat Rate Times to learn
more about FRTs and how they are
created.
NOTE: See Personal Protection to make sure proper PPE is worn when
performing the below
procedure.
- Open the LH front door.
- Lower the LH front window.
- Lower LH rear window
- Open LH falcon wing door
-
Remove LH falcon door lower garnish
Note9x V-clips, Replace any damaged or missing clips, Take care not to damage door trim panel during removal
-
Remove LH rear decor trim panel
Note7x clips, 2x connectors
-
Remove bolts securing LH rear door panel to door
Note8x bolts, 10mm, 6 Nm
-
Raise LH rear window
-
Disconnect ultrasonic ECU
Note1x connector, Release black locking tab
-
Remove LH rear door trim panel
Note13x clips, 2x connectors
-
Open the hood.
-
Power off the vehicle using the touchscreen.
-
Remove the rear underhood apron.
-
Disconnect the LV battery connector and First Responder Loop.
-
Disconnect 2nd row head air bag connector
Note1x connector, Release orange lock and then disconnect
-
Remove bolts securing LH closeout panel to falcon door
Note10x bolts, T25, 8mm, 1.8 Nm
-
Release window motor from LH closeout panel
Note3x screws, T30, 1.8 Nm
-
Disconnect LH rear door controller
Note2x connectors
-
Release clips securing lower falcon door harnesses and connectors to LH closeout panel
Note7x clips
-
Release emergence release cable
NoteUnclip and feed door release cable through LH closeout panel
-
Release LH rear closeout panel
Note2x tabs, Pull LH closeout panel away from door and lift window motor up to release
-
Remove LH rear closeout panel
Note1x clip
-
Remove spacer, spring, and cap from LH ultrasonic sensor
-
Disconnect LH ultrasonic sensor
Note1x connector, 1x clip
-
Remove LH ultrasonic sensor
-
Remove LH sensor carrier
NoteUse heat gun to apply heat up to about 55 Celsius or 131 Fahrenheit and distance around 18 cm diameter of sensor carrier assembly to cover the 3 mounting areas, Used one hand to feel the areas behind the door skin to assure the heating areas locations
-
Remove LH Butyl Ultrasonic Holder
NoteUse only plastic pry tools to assist pulling the butyl patch, pull as vertical as possible
-
Clean LH Butyl Ultrasonic Holder leftovers
NoteUse only plastic tools, heating the butyl for a few seconds helps the use of IPA wipes, make sure the surface is completely clean and dry
-
Prepare Butyl Ultrasonic Holder
NotePlace the patch with the wrap on the door and note the correct orientation, remove the wrap without touching the butyl area, clean the door installation location with IPA wipes one more time
-
Install LH Butyl Ultrasonic Holder
NotePlace it as flat as possible on the door, make sure the sensor holder holes are properly aligned
-
Flatten LH Butyl Ultrasonic Holder
NoteUse pressure roller from the center outwards to press the butyl patch and remove bubble gaps and creases
-
Clean LH ultrasonic mounting area
NoteUse IPA wipes or isopropyl alcohol to clean the area, allow 1 minute to dry
-
Apply adhesion promoter to LH ultrasonic mounting area
NoteAllow 1 minute to dry
-
Heat up LH Falcon door panel
NoteUse heat gun and heat up the door skin. If necessary, use the infrared thermometer to check the temperature of door panel to at least 25 degrees C (77 degrees F) evenly
-
Install LH sensor carrier
NotePeel off stickers prior install, install with harness slot in lower position, use the force gauge to apply a force of 70 N to the top of each of the carrier pads for at least 10 seconds.
-
Prepare LH Ultrasonic sensor for installation
NoteUse heat gun and IR temp gun to read temperature of door panel to install Ultrasonic sensor, heat up LH Falcon door panel to 25º C and sensor to 40º -50º C, use heat gun and IR temp gun as needed
-
Install LH ultrasonic sensor
-
Use force gauge to press sensor into door and secure
NoteAttach the 22 mm tip to the force gauge, Press @ 50N for 10 seconds
-
Install spacer, spring, and cap to secure LH ultrasonic sensor
-
Connect LH ultrasonic sensor
Note1x connector, 1x clip, Engage red locking tab after securing connect
-
Secure window regulator harness
Note1x clip
-
Install release cable through LH closeout panel
-
Position LH window motor onto back of closeout panel
Note2x tabs
-
Install window motor to closeout panel
Note3x screws, T30, 1.8 Nm
-
Install LH closeout panel
Note10x bolts, T25, 8mm, 1.8 Nm
-
Connect ultrasonic ECU
Note1x connector, securing locking tab
-
Connect LH 2nd row head air bag connector
Note1x connector, Engage locking tab
-
Connect LH rear door controller
Note2x connectors
-
Install clips securing harnesses and connectors to LH closeout panel
Note7x clips
-
Install LH rear door trim panel
Note2x connectors, 13x clips, Install door trim starting from top and make sure the door trim tab is fitted correctly on the inner belt seal
-
Install bolts securing LH rear door panel to door
Note8x bolts, 10mm, 6 Nm
-
Install LH rear door decor trim panel
Note7x clips, 2x connectors, Take care not to damage door trim panel
-
Install LH rear lower door garnish
Note9x V-clips
-
Connect the First Responder Loop and LV battery connector.
-
Install the rear underhood apron.
- Close the hood.
-
Calibrate LH and RH Falcon Wing doors from center display
NoteCalibration required after LV system is powered down > Service > Calibrate Doors > Hold down Calibrate doors until doors cycle > Calibration Complete Message will appear
- Raise the LH front window.
- Close the LH front door.