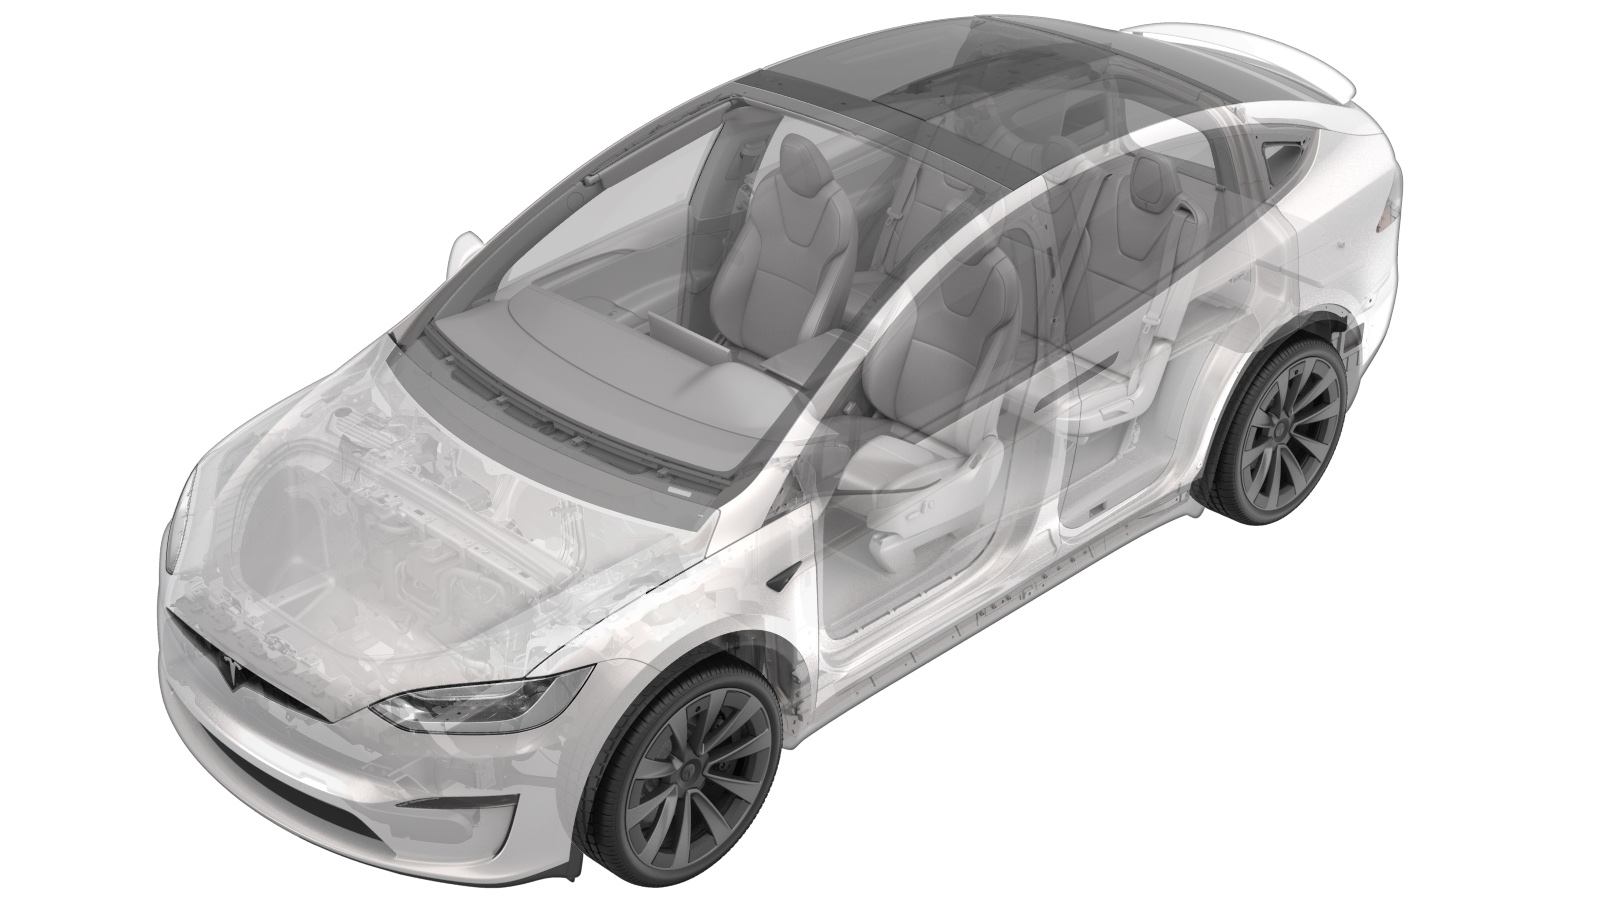
Actuator - 60 Track - 2nd Row Seat (7 Seat) (Remove and Replace)
 Correction code
13020092
1.62
NOTE: Unless otherwise explicitly
stated in the procedure, the above correction code and FRT reflect all of the work
required to perform this procedure, including the linked procedures. Do not stack correction codes unless
explicitly told to do so.
NOTE: See Flat Rate Times to learn
more about FRTs and how they are created. To provide feedback on FRT values, email ServiceManualFeedback@tesla.com.
NOTE: See Personal Protection to make sure proper PPE is worn when
performing the below
procedure.
Remove
- Remove the LH 2nd row seat assembly from the vehicle. See Seat Assembly - 2nd Row - LH (7 Seat) (Remove and Replace).
- Move the LH 2nd row seat backs to the upright position.
-
Release the J-hooks (x6) that attach
the rear toe kick to the LH 2nd row seat assembly.
NoteRelease the outer clips (x2) to expose the inner clips (x4).
-
Disconnect the 2nd row center seatbelt
buckle electrical connector, and then release the edge clip that attaches the connector
to the seat assembly.
-
Remove and discard the bolt that
attaches the 2nd row center seatbelt buckle to the seat assembly, and then remove the
buckle from the seat assembly.
 45 Nm (33.2 lbs-ft)TIpUse of the following tool(s) is recommended:
- Torx T50 socket
- Remove the LH 2nd row recliner lever. See Lever - Recliner - 2nd Row - LH (Remove and Replace).
- Remove the LH 2nd row recliner cover. See Cover - Recliner - 2nd Row - LH (Remove and Replace).
-
Remove the bolt that attaches the LH
2nd row outer seatbelt to the seat assembly, and then remove the seatbelt from the seat
assembly.
 45 Nm (33.2 lbs-ft)TIpUse of the following tool(s) is recommended:
- Torx T50 socket
-
Release the J-hooks (x11) that attach
the underside of the LH 2nd row seat upholstery to the seat assembly.
-
Disconnect the LH 2nd row seat seat
cushion electrical connectors (x4), and then release the black connectors (x2) from the
seat frame.
-
Remove the LH 2nd row seat cushion
assembly from the seat assembly.
CAUTIONUse caution when feeding the J-hooks and connectors through the seat frame.
-
Release the cable from the actuator
assembly.
-
Disconnect the 2nd row seat 60 track
actuator electrical connector.
-
Remove the screw that attaches the 2nd
row seat 60 track actuator to the bracket.
 1 Nm (.7 lbs-ft)TIpUse of the following tool(s) is recommended:
- Torx T15 socket
-
Release the tabs (x2) that attach the
2nd row seat 60 track actuator to the seat assembly, and then remove the actuator from
the assembly.
Install
-
Position the 2nd row seat 60 track
actuator into the seat assembly, and then secure the tabs (x2) that attach the actuator
to the assembly.
-
Install the screw that attaches the
2nd row seat 60 track actuator to the bracket.
 1 Nm (.7 lbs-ft)TIpUse of the following tool(s) is recommended:
- Torx T15 socket
-
Connect the 2nd row seat 60 track
actuator electrical connector.
-
Install the cable into the actuator
assembly.
NoteDo not remove the black pin before the actuator assembly cable is attached to the actuator.
-
Install the LH 2nd row seat cushion
assembly into the seat assembly.
CAUTIONUse caution when feeding the J-hooks and connectors through the seat frame.
-
Secure the black connectors (x2) to
the LH 2nd row seat frame, and then connect the electrical connectors (x4).
-
Secure the J-hooks (x11) that attach
the underside of the LH 2nd row seat upholstery to the seat assembly.
-
Position the LH 2nd row outer seat
belt to the seat assembly, and then install a new bolt that attaches seatbelt to the
seat assembly.
 45 Nm (33.2 lbs-ft)TIpUse of the following tool(s) is recommended:
- Torx T50 socket
- Install the LH 2nd row recliner cover. See Cover - Recliner - 2nd Row - LH (Remove and Replace).
- Install the LH 2nd row recliner lever. See Lever - Recliner - 2nd Row - LH (Remove and Replace).
-
Position the 2nd row center seatbelt
buckle onto the seat assembly, and then install a new bolt that attaches the buckle to
the seat assembly.
 45 Nm (33.2 lbs-ft)TIpUse of the following tool(s) is recommended:
- Torx T50 socket
-
Secure the edge clip that attaches the
2nd row center seatbelt buckle electrical connector to the seat assembly, and then
connect the connector.
-
Secure the J-hooks (x6) that attach
the rear toe kick to the LH 2nd row seat assembly.
NoteSecure the inner clips (x4), and then secure the outer clips (x2).
- Fold the LH 2nd row seat back to the down position.
-
Install the LH 2nd row seat assembly
from the vehicle. See Seat Assembly - 2nd Row - LH (7 Seat) (Remove and Replace).
NoteIt is not necessary to perform Service Redeploy after installation.