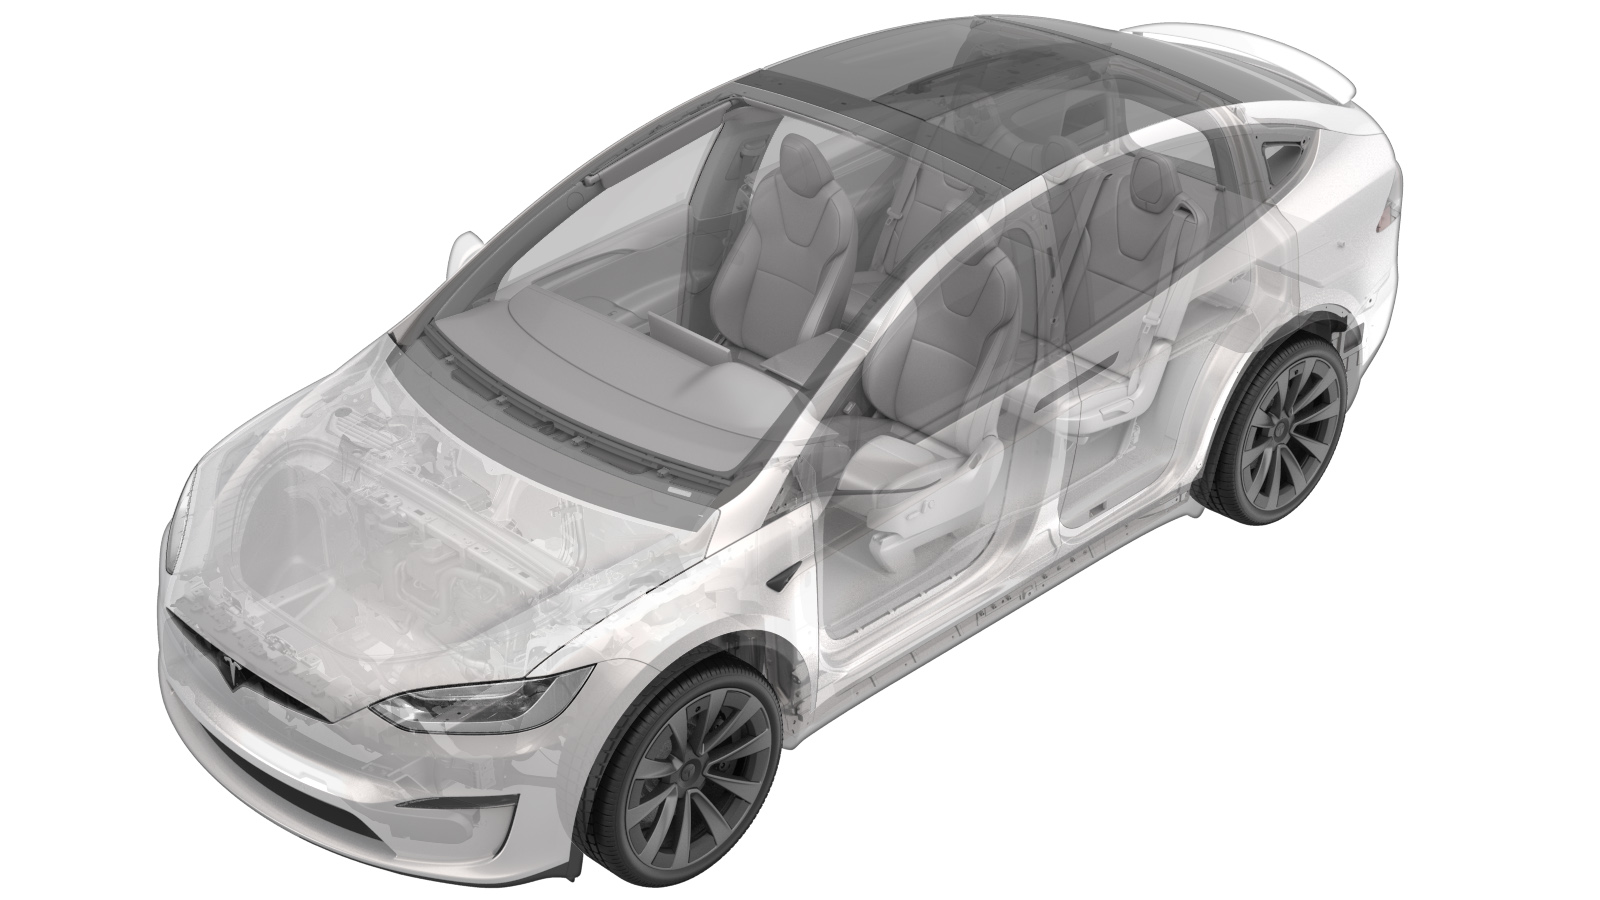
Insulator - Motor Bay - Rear (7 Seat) (Remove and Replace)
 Correction code
15308532
1.02
NOTE: Unless otherwise explicitly
stated in the procedure, the above correction code and FRT reflect all of the work
required to perform this procedure, including the linked procedures. Do not stack correction codes unless
explicitly told to do so.
NOTE: See Flat Rate Times to learn
more about FRTs and how they are created. To provide feedback on FRT values, email ServiceManualFeedback@tesla.com.
NOTE: See Personal Protection to make sure proper PPE is worn when
performing the below
procedure.
Remove
- Open all four doors.
- Lower the LH and RH front windows.
- On the touchscreen, touch .
- Move the LH front seat forward.
-
Move the 2nd row 60 seat fully forward.
NotePress the button and push the seat assembly forward.
- Remove the LH rear sill panel trim. See Trim - Sill Panel - Rear - LH (Remove and Replace).
- Move the RH front seat forward.
-
Move the 2nd row 40 seat fully forward.
NotePress the button and push the seat assembly forward.
- Remove the RH rear sill panel trim. See Trim - Sill Panel - Rear - LH (Remove and Replace).
- Open the liftgate.
- Remove the rear trunk load floor. See Trunk Load Floor - Rear (Remove and Replace).
- Remove the RH side rear trunk garnish. See Garnish - Rear Trunk - Side - LH (Remove and Replace).
- Remove the RH mid C-pillar trim. See Trim - C-Pillar - Mid - LH (Remove and Replace).
- Remove the RH lower C-pillar trim. See Trim - C-Pillar - Lower - LH (Remove and Replace).
- Remove the LH side rear trunk garnish. See Garnish - Rear Trunk - Side - LH (Remove and Replace).
- Remove the LH mid C-pillar trim. See Trim - C-Pillar - Mid - LH (Remove and Replace).
- Remove the LH lower C-pillar trim. See Trim - C-Pillar - Lower - LH (Remove and Replace).
- Remove the trunk sill trim. See Trim - Sill - Trunk (Remove and Replace).
-
Release the clips (x2) and push clips (x4) that attach the rear wall load support to the vehicle, and then remove the support from the vehicle.
TIpUse of the following tool(s) is recommended:
- Clip pry tool
- Plastic trim tool
- Remove the rear trunk floor NVH insulator. See NVH Insulator - Floor - Rear Trunk (Remove and Replace).
- Remove the rear trunk carpet. See Carpet - Rear Trunk (7 Seat) (Remove and Replace).
- On the touchscreen, touch .
- Remove the rear underhood apron. See Underhood Apron - Rear (Remove and Replace).
- Disconnect LV power. See LV Power (Disconnect and Connect).
- Remove the 3rd row seat cushion. See Cushion - Seat - 3rd Row (Remove and Replace).
- Remove the 3rd seat assembly. See Seat Assembly - 3rd Row (Remove and Replace).
-
Remove the 3rd row waterfall carpet from the vehicle.
-
Remove the rear motor bay insulator from the vehicle.
NotePull the insulation up and off the floor of the vehicle.
Install
-
Install the rear motor bay insulator on the vehicle.
-
Install the 3rd row waterfall carpet on the vehicle.
- Install the 3rd seat assembly. See Seat Assembly - 3rd Row (Remove and Replace).
- Install the 3rd row seat cushion. See Cushion - Seat - 3rd Row (Remove and Replace).
- Install the LH lower C-pillar trim. See Trim - C-Pillar - Lower - LH (Remove and Replace).
- Install the LH rear sill panel trim. See Trim - Sill Panel - Rear - LH (Remove and Replace).
- Install the LH mid C-pillar trim. See Trim - C-Pillar - Mid - LH (Remove and Replace).
- Install the RH lower C-pillar trim. See Trim - C-Pillar - Lower - LH (Remove and Replace).
- Install the RH rear sill panel trim. See Trim - Sill Panel - Rear - LH (Remove and Replace).
- Install the RH mid C-pillar trim. See Trim - C-Pillar - Mid - LH (Remove and Replace).
-
Install the clips (x2) and push clips (x4) that attach the rear wall load support to the vehicle.
- Install the trunk sill trim. See Trim - Sill - Trunk (Remove and Replace).
- Install the LH and RH side rear trunk garnishes. See Garnish - Rear Trunk - Side - LH (Remove and Replace).
- Install the rear trunk carpet. See Carpet - Rear Trunk (7 Seat) (Remove and Replace).
- Install the rear trunk floor NVH insulator. See NVH Insulator - Floor - Rear Trunk (Remove and Replace).
- Install the rear trunk load floor. See Trunk Load Floor - Rear (Remove and Replace).
- Close the liftgate.
- Connect LV power. See LV Power (Disconnect and Connect).
- Install the rear underhood apron. See Underhood Apron - Rear (Remove and Replace).
- Close the hood.
- Move the 2nd row 40 seat to original position.
- Move the RH front seat to original position.
- Close the RH front door.
- Move the 2nd row 60 seat to original position.
-
Calibrate the rear doors.
NoteIf the "Calibration Needed" message appears on the vehicle touchscreen, touch and hold Calibrate to calibrate the rear doors.
- Move the LH front seat to original position.
- Raise the LH and RH front windows.
- Close the LH front door.