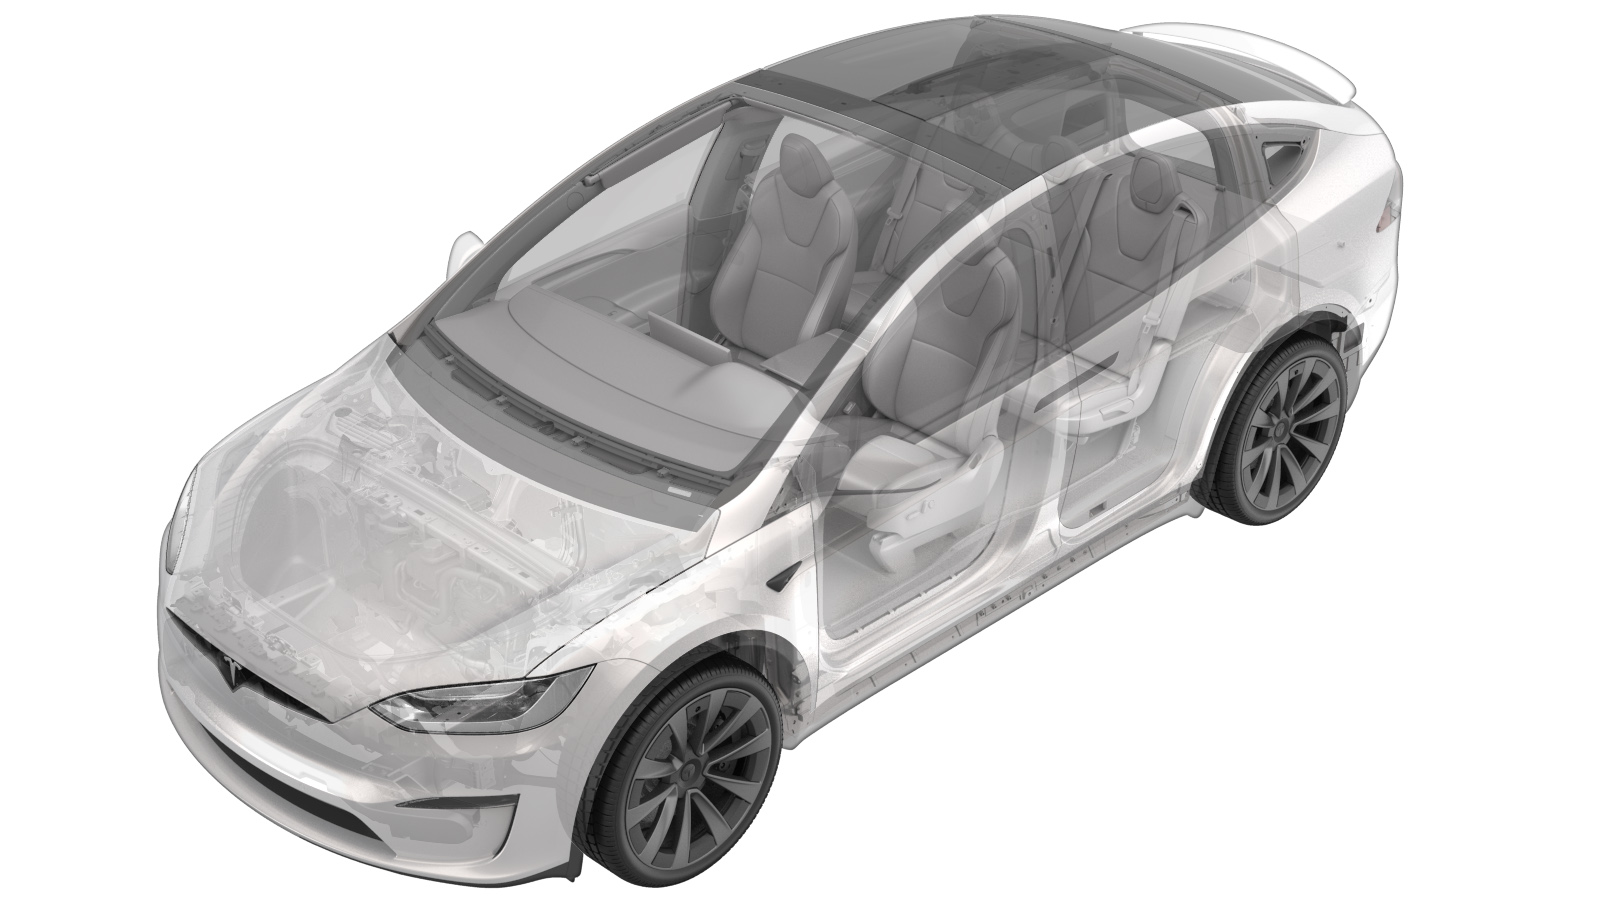
Hinge - Liftgate - LH (Remove and Replace)
 Correction code
11335612
2.64
NOTE: Unless otherwise explicitly
stated in the procedure, the above correction code and FRT reflect all of the work
required to perform this procedure, including the linked procedures. Do not stack correction codes unless
explicitly told to do so.
NOTE: See Flat Rate Times to learn
more about FRTs and how they are created. To provide feedback on FRT values, email ServiceManualFeedback@tesla.com.
NOTE: See Personal Protection to make sure proper PPE is worn when
performing the below
procedure.
Remove
- Open the falcon wing doors.
- Fold 2nd row seats to the down position.
- Remove the backlight glass. See Backlight Glass (Remove and Install).
- Remove the liftgate power strut. See Power Strut - Liftgate (Remove and Replace).
- Remove the RH mid C-pillar trim. See Trim - C-Pillar - Mid - LH (Remove and Replace).
- Remove the RH upper C-pillar trim. See Trim - C-Pillar - Upper - LH (Remove and Replace).
-
Release the clips (x7) that attach the RH rear portion of the headliner to the vehicle, and then partially remove the RH rear edge of the headliner.
-
Release the locking tabs, and then disconnect the liftgate harness electrical connectors (x4).
-
Release the clips (x5) that attach the liftgate harness to the vehicle.
-
Remove the bolt that attaches the grounds trap to the body.
 9 Nm (6.6 lbs-ft)TIpUse of the following tool(s) is recommended:
- 10 mm socket
-
Release the grommet, and then remove the liftgate harness from the vehicle.
-
Remove the screws (x2) that attach the center liftgate trough trim to the body.
 2.5 Nm (1.8 lbs-ft)TIpUse of the following tool(s) is recommended:
- T20 socket
-
Release the clips (x4) and double sided tape strips (x5) that attach the center liftgate trough trim to the vehicle, and then remove the trim from the vehicle.
-
Mark the fastener location for installation.
NoteMark the location of the bolts with masking tape, sharpie or lightly scribing with a pocket screwdriver.
-
Install a hood prop to support the liftgate.
-
With assistance, remove the bolts (x4) that attach the LH liftgate hinge and reinforcement plate assembly to the vehicle, and then remove the assembly from the vehicle.
 38 Nm (28.0 lbs-ft)Note4x bolts, E18mm,13mm, 38 Nm, Recommend assistanceTIpUse of the following tool(s) is recommended:
- E18 socket
- 13 mm socket
Install
-
With assistance, position the LH liftgate hinge and reinforcement plate assembly into the vehicle, and then install the bolts (x4) that attach the assembly to the vehicle.
 38 Nm (28.0 lbs-ft)NoteAlign the hinge using the marks from removal.TIpUse of the following tool(s) is recommended:
- E18 socket
- 13 mm socket
-
Close the liftgate to check for gap/flush and that the liftgate closes as expected. Adjust the liftgate as necessary.
NoteRefer to CVIS for gap/flush specifications.
- Open the liftgate.
-
Use IPA wipes to clean and remove remaining adhesive residue from the body area in preparation for trough trim installation.
NoteAllow 1 minute to dry after using IPA wipe.
-
Position the center liftgate trough trim into the vehicle, and then secure the clips (x4) and double sided tape strips (x5) that attach the trim to the vehicle.
NoteRemove the tape backing before installation.TIpPartially lift the main seal for better access.
-
Install the screws (x2) that attach the center liftgate trough trim to the body.
 2.5 Nm (1.8 lbs-ft)TIpUse of the following tool(s) is recommended:
- T20 socket
-
Position the liftgate harness into the vehicle, and then secure the grommet.
-
Install the bolt that attaches the grounds trap to the body.
 9 Nm (6.6 lbs-ft)TIpUse of the following tool(s) is recommended:
- 10 mm socket
-
Secure the clips (x5) that attach the liftgate harness to the vehicle.
-
Connect the liftgate harness electrical connectors (x4), and then secure the locking tabs.
-
Secure the clips (x7) that attach the RH rear edge of the headliner.
- Install the RH upper C-pillar trim. See Trim - C-Pillar - Upper - LH (Remove and Replace).
- Install the RH mid C-pillar trim. See Trim - C-Pillar - Mid - LH (Remove and Replace).
- Install the liftgate power strut. See Power Strut - Liftgate (Remove and Replace).
- Install the backlight glass. See Backlight Glass (Remove and Install).