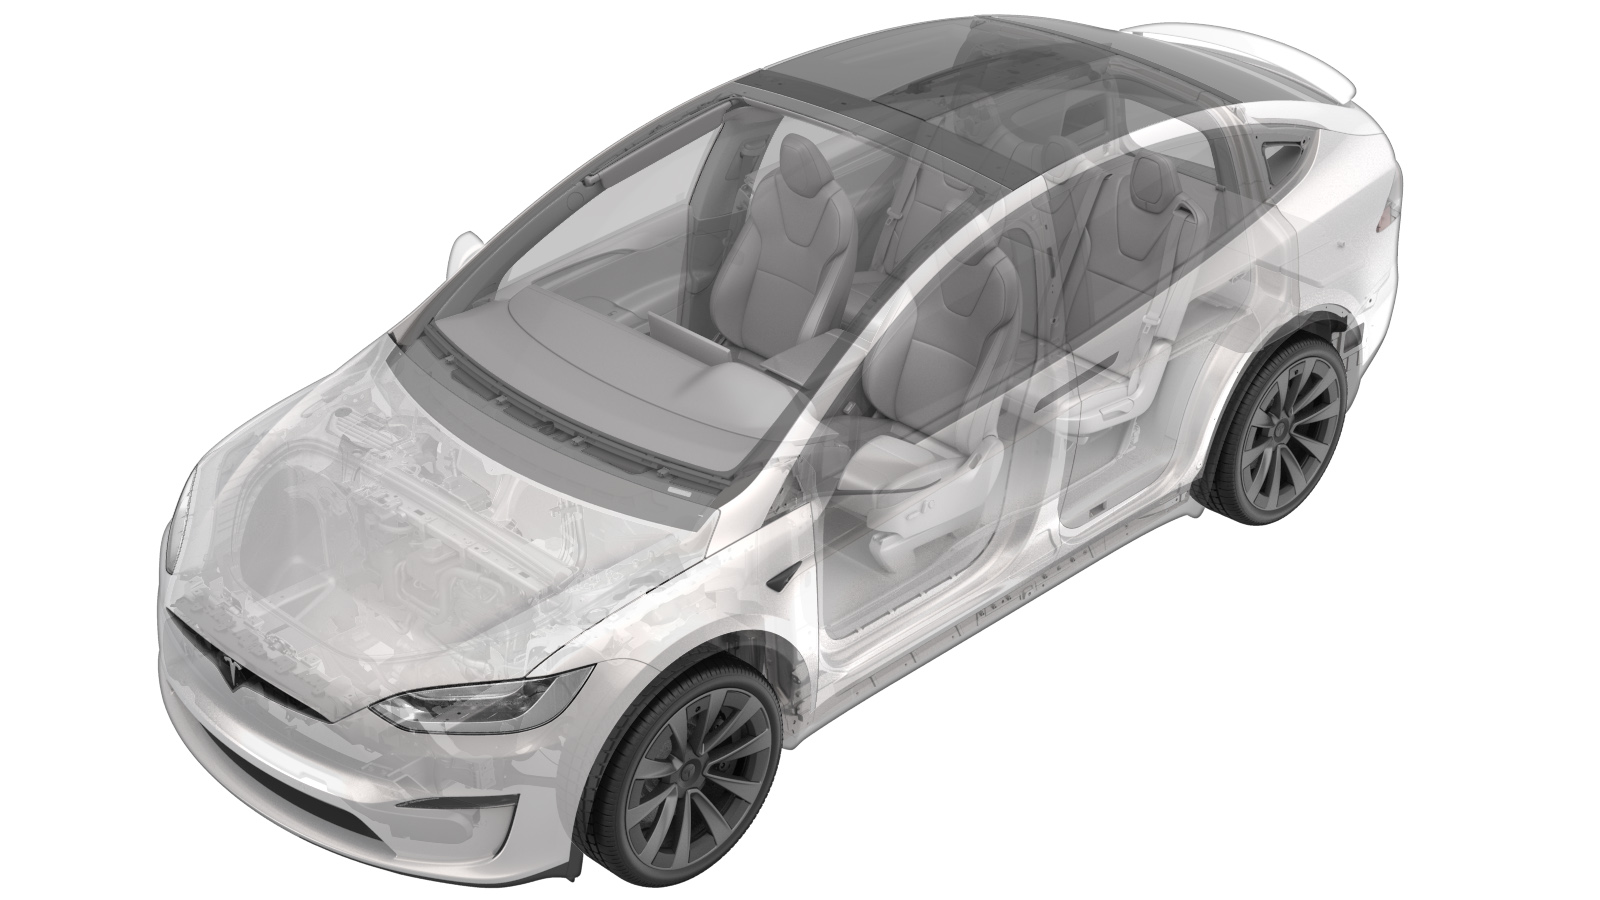
Module - Air Suspension - ECU (Tesla) (LHD) (Remove and Replace)
 Correction code
31100112
0.60
NOTE: Unless otherwise explicitly
stated in the procedure, the above correction code and FRT reflect all of the work
required to perform this procedure, including the linked procedures. Do not stack correction codes unless
explicitly told to do so.
NOTE: See Flat Rate Times to learn
more about FRTs and how they are created. To provide feedback on FRT values, email ServiceManualFeedback@tesla.com.
NOTE: See Personal Protection to make sure proper PPE is worn when
performing the below
procedure.
- Lower the front windows and move the RH front seat backwards.
- Disconnect LV power. See LV Power (Disconnect and Connect).
- Remove the RH footwell cover. See Cover - Footwell - Passenger (Remove and Replace).
- Remove the RH console side carpet. See Carpet - Side Panel - Center Console - LH (Remove and Replace).
- Remove the RH lower A-pillar trim. See Trim - A-Pillar - Lower - LH (Remove and Replace).
-
Fold the RH front cabin carpet aside for
access
-
Release the clip that attaches the
electrical harness to the RH footrest panel.
-
Remove the bolts (x2) and nuts (x2) that
attach the RH footrest panel to the vehicle.
 5 Nm (3.7 lbs-ft)TIpUse of the following tool(s) is recommended:
- 10 mm socket
-
Remove the RH footrest panel from the
vehicle.
TIpFold the RH primary support carpet up. Rotate the RH footrest panel out of vehicle
-
Depress the locking tab, and then
disconnect the car computer gaming MCU harness from the car computer.
-
Disconnect the electrical harnesses (x3)
from the air suspension ECU.
-
Remove the nuts (x3) that attach the air
suspension ECU to the vehicle, and then remove the ECU from the vehicle.
 6 Nm (4.4 lbs-ft)TIpUse of the following tool(s) is recommended:
- 10 mm deep socket
-
Position the new air suspension ECU on
the vehicle, and then install the nuts (x3) that attach the air suspension ECU to the
vehicle.
 6 Nm (4.4 lbs-ft)TIpUse of the following tool(s) is recommended:
- 10 mm deep socket
-
Connect the electrical harnesses (x3) to
the air suspension ECU.
-
Connect the car computer gaming MCU
harness to the car computer.
NoteMake sure the locking tab has engaged.
- Connect LV power and install the rear underhood apron. See LV Power (Disconnect and Connect).
- Close the hood.
- Perform a partial software reinstall. See Firmware Reinstall - Toolbox.
-
Position the RH footrest panel in the vehicle.
NoteRotate the RH footrest panel into the vehicle. Fold the RH primary support carpet down.
-
Install the bolts (x2) and nuts (x2) that attach the RH footrest panel to the
vehicle.
 5 Nm (3.7 lbs-ft)TIpUse of the following tool(s) is recommended:
- 10 mm socket
-
Install the clip that attaches the electrical harness to the RH footrest panel.
-
Fold the RH front cabin carpet back into place.
- Install the RH console side carpet. See Carpet - Side Panel - Center Console - LH (Remove and Replace).
- Install the RH footwell cover. See Cover - Footwell - Passenger (Remove and Replace).
- Install the RH lower A-pillar trim. See Trim - A-Pillar - Lower - LH (Remove and Replace).
- Move the RH front seat back to its original position.
-
Calibrate the rear doors.
NoteIf the "Calibration Needed" message appears on the vehicle touchscreen, touch and hold Calibrate to calibrate the rear doors.
- Calibrate vehicle ride height. See Ride Height (Adjust).