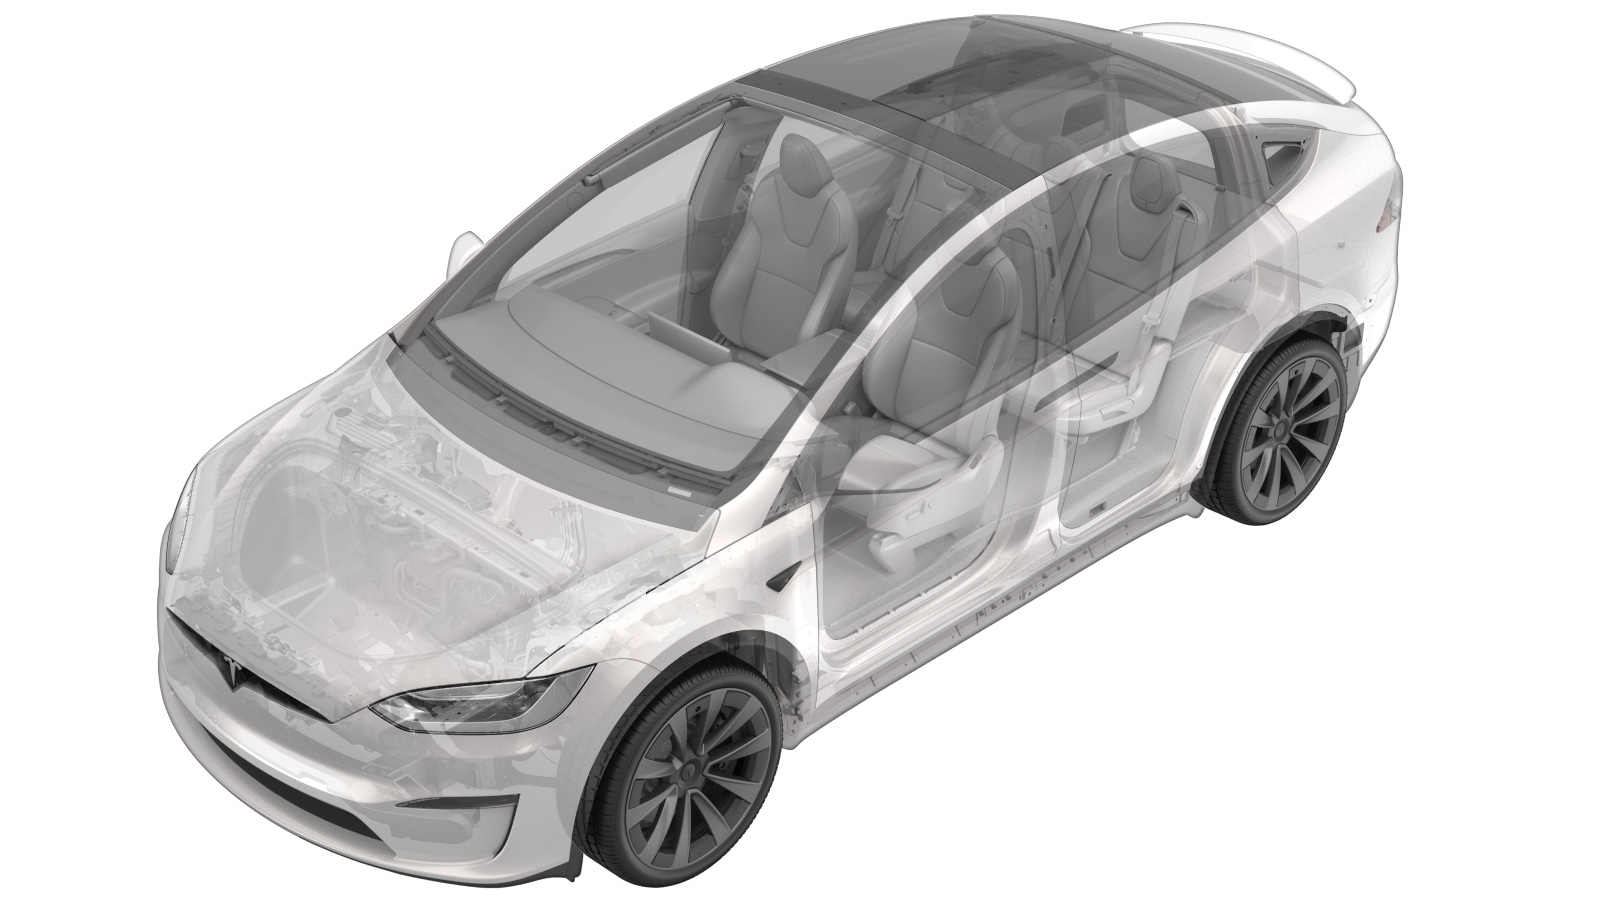
HV Harness - HV Battery to Front Drive Unit (Remove and Replace)
 Correction code
44502102
4.74
NOTE: Unless otherwise explicitly
stated in the procedure, the above correction code and FRT reflect all of the work
required to perform this procedure, including the linked procedures. Do not stack correction codes unless
explicitly told to do so.
NOTE: See Flat Rate Times to learn
more about FRTs and how they are created. To provide feedback on FRT values, email ServiceManualFeedback@tesla.com.
NOTE: See Personal Protection to make sure proper PPE is worn when
performing the below
procedure.
Remove
- Remove the HV battery. See HV Battery (AWD) (Remove and Install).
-
Lower the vehicle until the tires are
touching the ground.
NoteRaise lift off locks, then hold lock release lever to keep locks free while vehicle is lowered.
-
Use a steering wheel holder to lock
the steering wheel into position.
-
Raise the vehicle fully and lower lift
onto locks.
NoteSet vehicle to comfortable working height. Make sure there's an audible click of the locks on both sides before lowering, otherwise the vehicle may tilt to the side.
-
Remove the bolt that attaches the
steering gear assembly to the electric steering column.
 30 Nm (22.1 lbs-ft)TIpUse of the following tool(s) is recommended:
- 13 mm socket
-
Remove the bolts (x3) that attach the
LH toeboard brace to the vehicle, and then remove the brace from the vehicle.
 30 Nm (22.1 lbs-ft)TIpUse of the following tool(s) is recommended:
- 15 mm socket
- Position a coolant drain container under the front of the vehicle to catch vehicle coolant.
-
Release the hose clip, release the
rear powertrain hose from the front drive unit inverter, and then install the male and
female fittings.
-
Remove the bolt that attaches the
front drive unit HV harness to the vehicle, release the red locking tab, and then
carefully disengage the black connector to disconnect the HV battery to front drive unit
HV harness from the inverter.
 10 Nm (7.4 lbs-ft)Use of the following tool(s) is recommended:
- EP 10 socket
Install
-
With the black lever in the open
position, carefully install the front drive unit HV harness onto the inverter and allow
the lever to engage, secure the red connector lock, and then install the bolt that
attaches the harness to the vehicle.
 10 Nm (7.4 lbs-ft)CAUTIONDo not damage any pins.NoteEngage the clip on the front drive unit.Use of the following tool(s) is recommended:
- EP 10 socket
-
Remove the plugs, connect the rear
powertrain hose to the front drive unit inverter, and then secure the hose clip.
NotePerform a push-pull-push test.
- Remove the coolant drain container from underneath the vehicle.
-
Position the LH toeboard brace into
the vehicle, and then install the bolts (x3) that attach the brace to the vehicle.
 30 Nm (22.1 lbs-ft)TIpUse of the following tool(s) is recommended:
- 15 mm socket
-
Position the steering gear assembly to
the electric steering column, and then install the bolt.
 30 Nm (22.1 lbs-ft)TIpUse of the following tool(s) is recommended:
- 13 mm socket
-
Lower the vehicle until the tires are
touching the ground.
NoteRaise the lift off locks, then hold the lock release lever to keep the locks free while vehicle is lowered.
- Remove the steering wheel holder from the vehicle.
-
Raise the vehicle fully and lower lift
onto locks.
WarningMake sure there is an audible click of the locks on both sides before lowering, otherwise vehicle may tilt to the side.NoteSet the vehicle to a comfortable working height.
- Install the HV battery. See HV Battery (AWD) (Remove and Install).