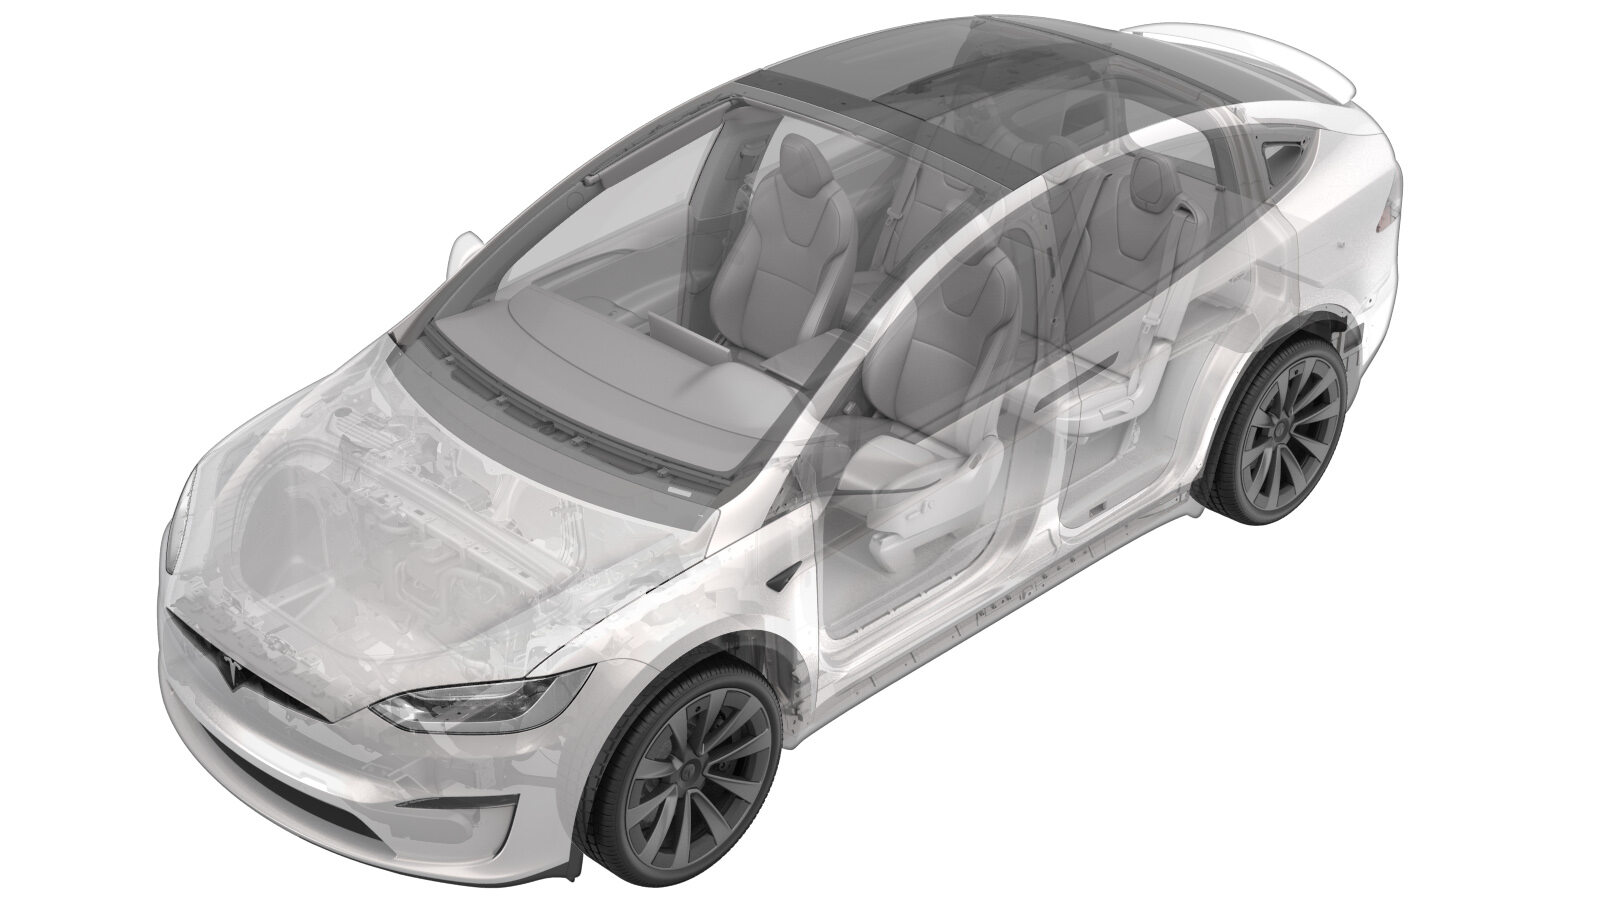
Fascia Assembly - Front (HW4) (Remove and Replace)
 10011032
1.02
NOTE: Unless otherwise explicitly
stated in the procedure, the above correction code and FRT reflect all of the work
required to perform this procedure, including the linked procedures. Do not stack correction codes unless
explicitly told to do so.
NOTE: See Flat Rate Times to learn
more about FRTs and how they are created. To provide feedback on FRT values, email ServiceManualFeedback@tesla.com.
NOTE: See Personal Protection to make sure proper PPE is worn when
performing the below
procedure.
- 2025-11-17: Replaced radar heater disconnect step with reference to rework procedure. Removed steps to reinstall and reconnect radar heater.
- 2023-11-30: Reorganized the procedure.
Remove
- Remove the front fascia harness. See Remove - HW4.
-
If the radar heater has not been
permanently disconnected, perform the rework. See Heater - Radar (Rework) (Vehicles Built Before July 1, 2021) or Heater - Radar (Rework) (Vehicles Built After July 1, 2021).
-
Remove the screws (x3) that attach the
LH front fascia lamp to the vehicle, then repeat this step on the RH side.
TIpUse of the following tool(s) is recommended:
- Torx T25 socket
- 4 in extension
- Ratchet/torque wrench
-
Remove the tabs (x4) that attach the
LH front fascia lamp to the vehicle, then repeat this step on the RH side.
TIpUse of the following tool(s) is recommended:
- Small flat head screwdriver
-
Remove the clips (x2) that attach the
front fascia foam to the vehicle.
-
Remove the bolts (x2) and release the
clips (x4) that attach the valance to the front fascia assembly.
TIpUse of the following tool(s) is recommended:
- 10 mm deep socket
- Ratchet/torque wrench
-
Release the clips (x10) that attach
the valance to the front fascia assembly.
-
Remove the bolts (x2) that attach the
front fascia grille to the front fascia assembly.
TIpUse of the following tool(s) is recommended:
- Torx T25 socket
- 4 in extension
- Ratchet/torque wrench
-
Release the tabs (x11) that attach the
front fascia grille to the front fascia assembly, and then remove the grille from the
assembly.
TIpUse of the following tool(s) is recommended:
- Torx T25 socket
- 4 in extension
- Ratchet/torque wrench
-
Remove the screw and release the tabs
(x6) that attaches the T badge support to the front fascia.
TIpUse of the following tool(s) is recommended:
- Torx T25 socket
- Ratchet/torque wrench
- Small flat head screwdriver
-
Remove the front fascia from the vehicle.
Install
-
Secure the tabs (x6), then install the
screw that attach the T badge support to the front fascia.
 3 Nm (2.2 lbs-ft)TIpUse of the following tool(s) is recommended:
- Torx T25 socket
- Ratchet/torque wrench
- 4 in extension
-
Secure the tabs (x11) that attach the
grille to the assembly.
NotePosition tabs into place prior to applying pressure.NoteVerify the grille is fully seated.
-
Install the bolts (x2) that attach the
front fascia grille to the front fascia assembly.
 1 Nm (.7 lbs-ft)TIpUse of the following tool(s) is recommended:
- Torx T25 socket
- Ratchet/torque wrench
- 4 in extension
-
Install the clips (x2) that attach the
front fascia foam to the vehicle.
-
Secure the tabs (x10) that attach the
valence to the front fascia assembly.
NotePosition the tabs into place prior to applying pressure. Verify the valance is fully seated onto the front fascia assembly.
-
Fasten the clips (x4), and then
install the bolts (x2) that attach the valance to the front fascia assembly.
 3 Nm (2.2 lbs-ft)TIpUse of the following tool(s) is recommended:
- Torx T25 socket
- Ratchet/torque wrench
- 4 in extension
-
Install the screws (x3) that attach
the LH front fascia lamp to the vehicle, then repeat this step on the RH side.
 2.5 Nm (1.8 lbs-ft)TIpUse of the following tool(s) is recommended:
- Torx T25 socket
- Ratchet/torque wrench
- 4 in extension
-
Secure the tabs (x4) that attach the
LH front fascia lamp to the vehicle, then repeat this step on the RH side.
-
Install the front fascia harness. See
Install - HW4.
Note