Bracket - License Plate - Front (Rework)
Correction code 12070206 NOTE: Unless otherwise explicitly stated in the procedure, the above correction code and FRT reflect all of the work required to perform this procedure, including the linked procedures. Do not stack correction codes unless explicitly told to do so. NOTE: See Flat Rate Times to learn more about FRTs and how they are created. To provide feedback on FRT values, email LaborTimeFeedback@tesla.com. NOTE: See Personal Protection to make sure proper PPE is worn when performing the below procedure.
- 2024-05-08: Added the license plate removal and installation steps.
Torque Specifications
| Description | Torque Value | Recommended Tools | Reuse/Replace | Notes |
|---|---|---|---|---|
| Screws (x4) that secure the license plate | No strict torque specification required |
|
Reuse | |
| Screws that secure the licence plate bracket to the fascia |
 1 Nm (.7 lbs-ft) |
|
Procedure
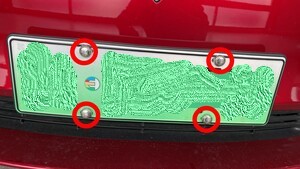
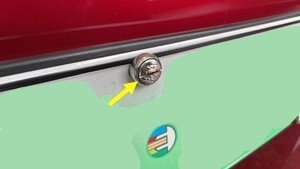
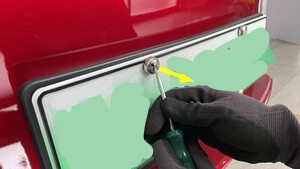
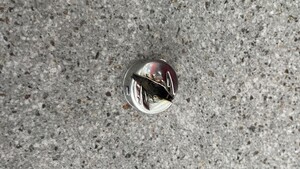
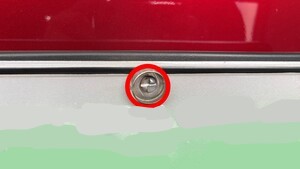
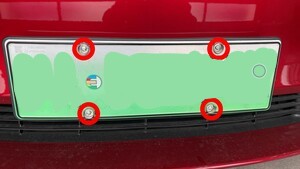
- Cut a slit on each bolt cover, and then use a screwdriver to remove the bolt covers (x4) from the license plate bracket.
-
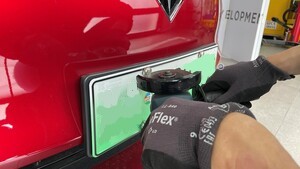
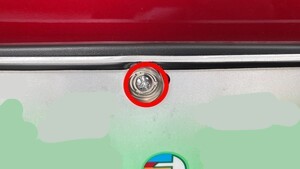
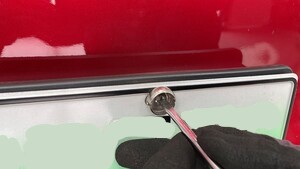
Remove the screws (x4) from the license plate bracket, and then remove the license
plate.
NoteThe screws may vary in size.NoteIf it is an anti-theft screw, use a cut-off tool to cut a slit on it and then remove the screw.TIpUse of the following tool(s) is recommended:
- 4" COMPOSITE INSIDE CUT-OFF TOOL (for removal only)
- PH2 Stubby Phillips Screwdriver
- Medium flat head screwdriver
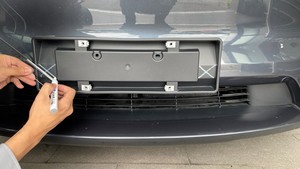
- Use a paint pen to mark the center holes (x2) on both sides of the license plate bracket.
-
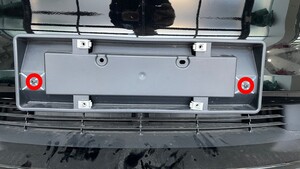
Use a 2mm drill bit to drill 2 holes
through the fascia at the 2 points marked in the previous step.
WarningWear protective eyewear and hearing protection when drilling.CAUTIONOnly drill through the skin of the fascia. Excessive drilling can result in damage to the vehicle.
-
Install screws (x2) (1019047-00-D) to
secure the license plate bracket to the fascia.
 1 Nm (.7 lbs-ft)CAUTIONDo not overtorque the screws.TIpUse of the following tool(s) is recommended:
- Cordless Ratchet/Impact Driver
- Ratchet/torque wrench
- PH2 Phillips Screwdriver bit
- Remove any dirt and debris from the fascia, and use IPA wipes to clean the surface.
-
Install the license plate to the vehicle, and fasten the screws (x4).
NoteMake sure the license plate is positioned correctly. Don't over-tighten the screws.TIpUse of the following tool(s) is recommended:
- 4" COMPOSITE INSIDE CUT-OFF TOOL (for removal only)
- PH2 Stubby Phillips Screwdriver
- Medium flat head screwdriver
- Install the bolt covers (x4) to the license plate bracket.
