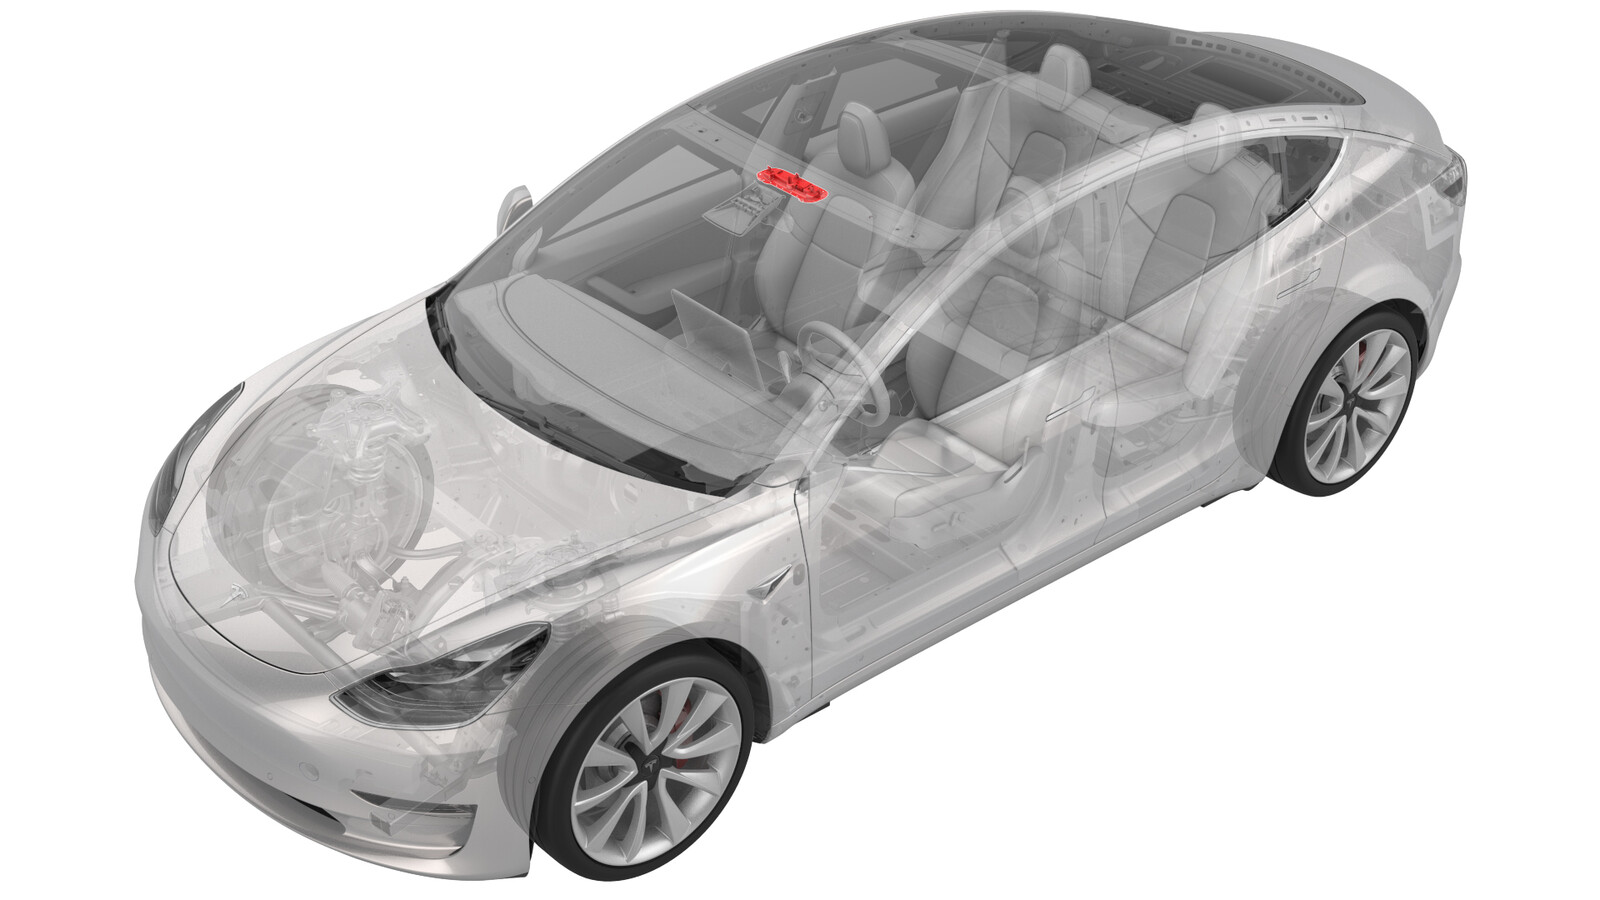
Overhead Console - Front (without e-Call Button) (EMEA) (Retrofit)
 Correction code
15202306
0.36
NOTE: Unless otherwise explicitly
stated in the procedure, the above correction code and FRT reflect all of the work
required to perform this procedure, including the linked procedures. Do not stack correction codes unless
explicitly told to do so.
NOTE: See Flat Rate
Times to learn more about FRTs and how they are created.
NOTE: See Personal Protection to make sure wearing proper PPE when
performing the below procedure. NOTE: See Ergonomic Precautions for safe and healthy working
practices.
0.10
Correction code
15202306
0.36
NOTE: Unless otherwise explicitly
stated in the procedure, the above correction code and FRT reflect all of the work
required to perform this procedure, including the linked procedures. Do not stack correction codes unless
explicitly told to do so.
NOTE: See Flat Rate
Times to learn more about FRTs and how they are created.
NOTE: See Personal Protection to make sure wearing proper PPE when
performing the below procedure. NOTE: See Ergonomic Precautions for safe and healthy working
practices.
0.10
- 2023-10-20: Updated steps to change Gateway configuration using Toolbox 3.
Procedure
- Open the LH front door and lower the window.
- Put the vehicle in service mode through the touchscreen. See Service Mode.
- Disconnect 12V power. See 12V/LV Power (Disconnect and Connect).
- Remove the front overhead console. See Overhead Console - Front (Remove and Replace).
-
Pull the FOHC connector (X299)
outwards for access
-
Remove 2 - 4 cm of the electrical tape
from the harness.
NoteTake care not to damage the wires while using a blade to remove the tape.
-
Release the locking clips from the
connector
-
Remove pin 6 (X299-6) from the
connector
NoteUse the pin drag kit to release the locking tab, then pull out the wire.
-
Cut off the terminal from the removed
wire.
-
Apply heat shrink tube to the cut wire
end, and then apply heat to prevent the wire from making contact.
- Remove pin 12 (X299-12) from the electrical connector, and then repeat steps 9and 10.
- Remove pin 14 (X299-14) from the electrical connector, and then repeat steps 9 and 10.
- Remove pin 15 (X299-15) from the electrical connector, and then repeat steps 9 and 10.
- Remove pin 16 (X299-16) from the electrical connector, and then repeat steps 9 and 10.
-
Use electrical tape to attach the
removed wires from connector X299 to the FOHC harness.
NoteUse the yellow electrical tape in the kit to denote a rework has been performed.
- Install the front overhead console assembly to the headliner. See Overhead Console - Front (Remove and Replace).
- Connect 12V power. See 12V/LV Power (Disconnect and Connect).
- Connect a laptop with Toolbox 3 to the vehicle. See Toolbox (Connect and Disconnect).
- Usie Toolbox 3 to change the configuration value for eCallEnabled to enabled_ui_sos. See Gateway Configuration (Display and Change).
-
On the touchscreen, touch and make sure that the SOS shortcut button (1) and
the SOS EMERGENCY
CALL button (2) are available on the touchscreen.
NoteThe SOS shortcut button (1) takes the user directly to the Safety and Security tab, the SOS EMERGENCY CALL button (2) makes the actual call when touched.
-
Using toolbox 3:
- Select the Actions tab, and then type "VFOHC" in the search field.
- Run the ODIN routine TEST-SELF_VCLEFT_X_VFOHCvia Toolbox:(link) and allow the routine to complete.
- Disconnect the laptop from the vehicle.
- Reinstall the vehicle firmware. See Software Reinstall - Touchscreen.
- Exit Service Mode. See Service Mode.
- Inform the customer why the e-Call functionality has changed after the headliner retrofit and instruct them how to use the touchscreen to make an emergency call.