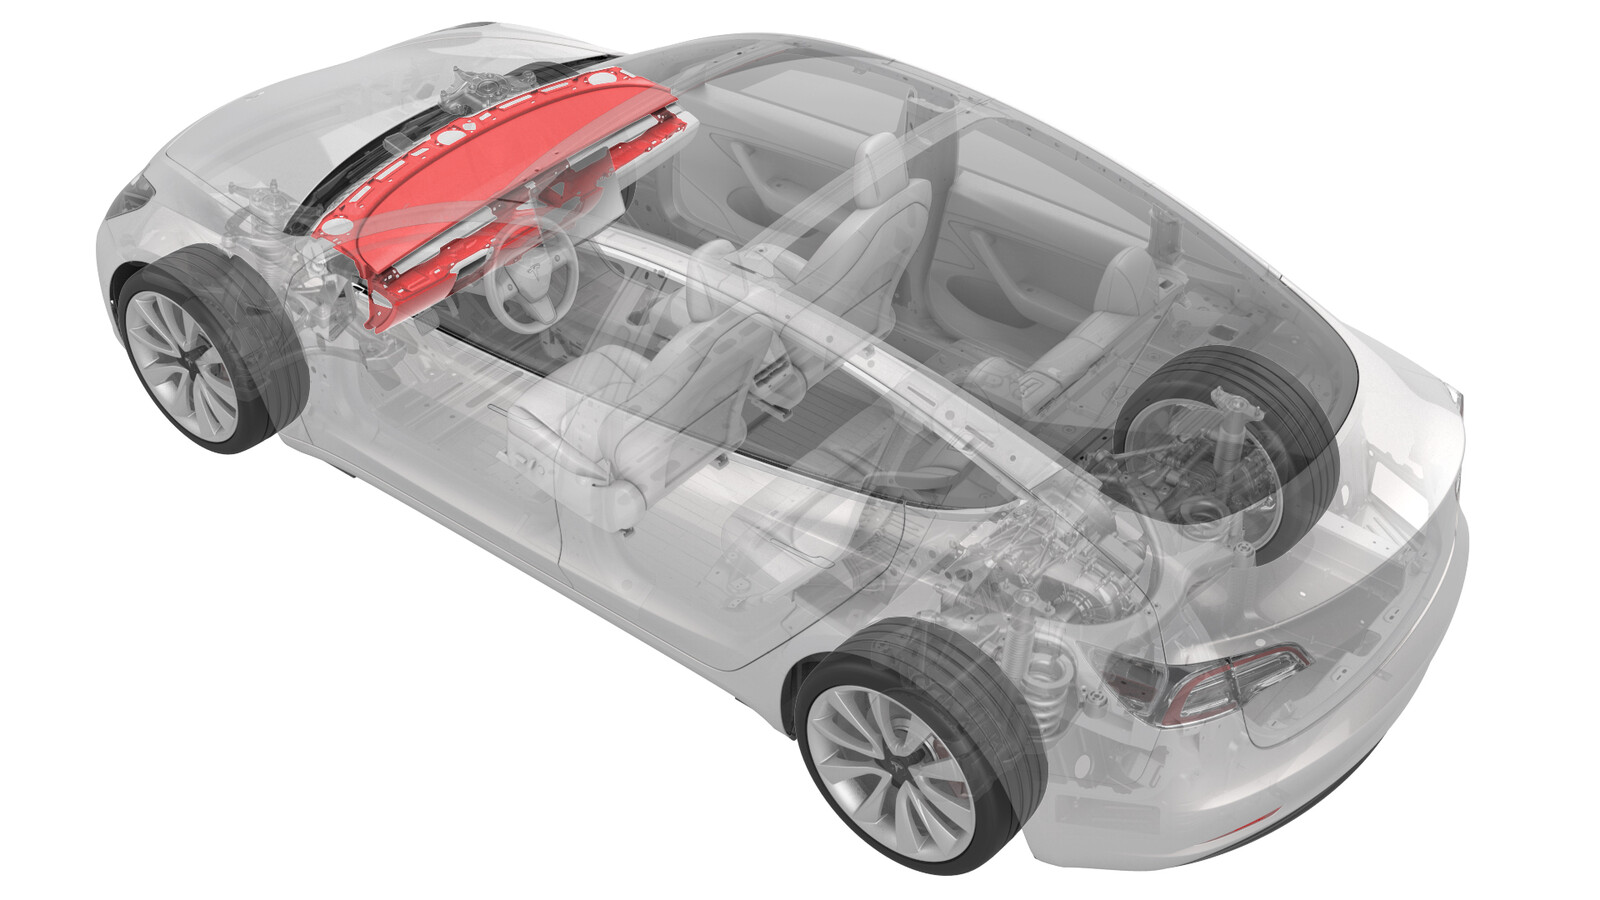
IP Carrier (LHD) (Remove and Replace)
 Correction code
14052102
2.22
NOTE: Unless otherwise explicitly
stated in the procedure, the above correction code and FRT reflect all of the work
required to perform this procedure, including the linked procedures. Do not stack correction codes unless
explicitly told to do so.
NOTE: See Flat Rate
Times to learn more about FRTs and how they are created. To provide feedback on
FRT values, email ServiceManualFeedback@tesla.com.
NOTE: See Personal Protection to make sure wearing proper PPE when
performing the below procedure. See Ergonomic Precautions for safe and healthy working practices.
- 2024-07-30: Added information about how to handle the replacement between different versions of IP carrier.
| Description | Torque Value | Recommended Tools | Reuse/Replace | Notes |
|---|---|---|---|---|
| Bolts (x2) that attach the LH and RH window defroster ducts to the instrument panel carrier |
 2.3 Nm (1.7 lbs-ft) |
|
Reuse |
Remove
- Remove the instrument panel carrier. See IP Carrier (Remove and Install).
- Remove the front passenger air bag. See Airbag - Front Passenger (Remove and Install).
-
Remove the bolts (x2) that
attach the LH and RH window defroster ducts to the instrument panel carrier,
and remove the ducts.
TIpUse of the following tool(s) is recommended:
- Torx T20 socket
- 2 in extension
- Ratchet/torque wrench
-
Remove the LH and RH defrost
covers. See GUID-45447BB4-B5CB-45D8-8793-0DB5A4E4435B.html.
Note4 tabs for the LH side and 5 tabs for the RH side.
Install
- Model 3 built before August 22, 2017 only: Refer to Toolbox Article 39237 to determine if felt tape should be applied to prevent NVH issues with the top pad.
-
If the new instrument panel
carrier does not have tweeter holes, the tweeter connectors must be taped
back to the harness before the replacement instrument panel carrier is
installed.
CAUTIONDo NOT cut holes into the new instrument panel carrier as an attempt to retrofit the tweeters.CAUTIONFailure to tape back the existing tweeter connector may result in NVH issues.NoteUse black tape. The yellow tape used in the picture is for demonstration purpose only.
-
If the new instrument panel
carrier has tweeter holes while the replaced one does not, the tweeter hole
must be covered before the replacement instrument panel carrier is
installed.
NoteCut a piece of butyl to cover the hole. Make sure the butyl does not cover the IP clips or interfere with the speaker perimeter.
-
Install the LH and RH
defrost covers. See GUID-45447BB4-B5CB-45D8-8793-0DB5A4E4435B.html.
Note4 tabs for the LH side and 5 tabs for the RH side.
-
Install the bolts (x2) that
attach the LH and RH window defroster ducts to the instrument panel
carrier.
 2.3 Nm (1.7 lbs-ft)TIpUse of the following tool(s) is recommended:
- Torx T20 socket
- 2 in extension
- Ratchet/torque wrench
- Install the front passenger air bag. See Airbag - Front Passenger (Remove and Install).
- Install the instrument panel carrier. See IP Carrier (Remove and Install).