2026-07-09
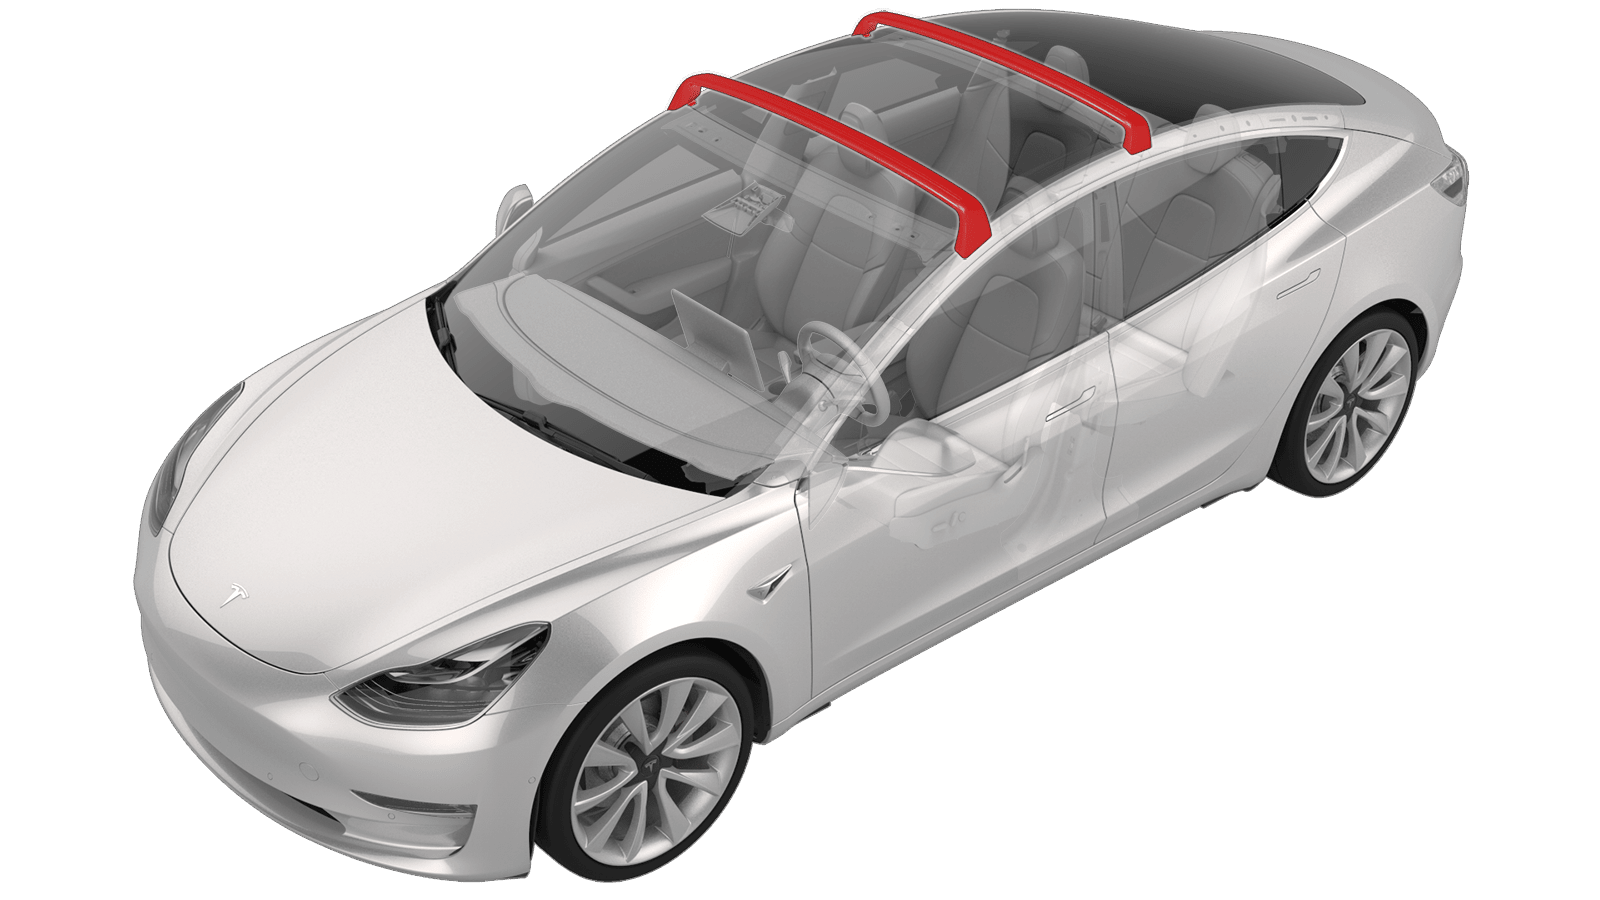
Roof Rack (Install)
 Correction code
12400001
FRT
0.36
NOTE: Unless otherwise explicitly stated in the procedure, the correction code and FRT listed above reflect all of the work required to perform this procedure, including the linked procedures. Do not stack correction codes unless explicitly told to do so.
NOTE: See Flat Rate Times to learn more about FRTs and how they are created.
NOTE: See Personal Protection to make sure you
are wearing proper PPE when performing the procedure below.
NOTE: See Ergonomic Precautions for safe and healthy working practices.
Correction code
12400001
FRT
0.36
NOTE: Unless otherwise explicitly stated in the procedure, the correction code and FRT listed above reflect all of the work required to perform this procedure, including the linked procedures. Do not stack correction codes unless explicitly told to do so.
NOTE: See Flat Rate Times to learn more about FRTs and how they are created.
NOTE: See Personal Protection to make sure you
are wearing proper PPE when performing the procedure below.
NOTE: See Ergonomic Precautions for safe and healthy working practices.
- 2023-08-16: Added steps that apply to Model Y.
Install
- Clean the roof rack installation locations with isopropyl alcohol (IPA) wipes, and allow to dry for 1 minute before continuing.
- Use the icon on the top of the pads to determine which corner of the vehicle that the pad and matching anti-abrasion tape should be applied to.
-
Install the anti-abrasion tape on the front LH side of the vehicle:
- Perform the previous step on the front RH side of the vehicle.
-
Install the anti-abrasion tape on the rear LH side of the vehicle:
- Perform the previous step on the rear RH side of the vehicle.
-
Install the roof rack rail clips and pads on all corners of the vehicle:
-
Place the front and rear
crossbars onto the front and rear pads so that the threads on the clips are
exposed in the opening of the ends of the crossbars.
NoteThe front crossbar is longer than the rear crossbar. Ensure the clip studs are vertical before mounting.
-
Hand tighten the wingnuts onto the clips on all four corners of the vehicle; do not torque a wingnut until the wingnut on the other side of the vehicle is already hand tightened.
-
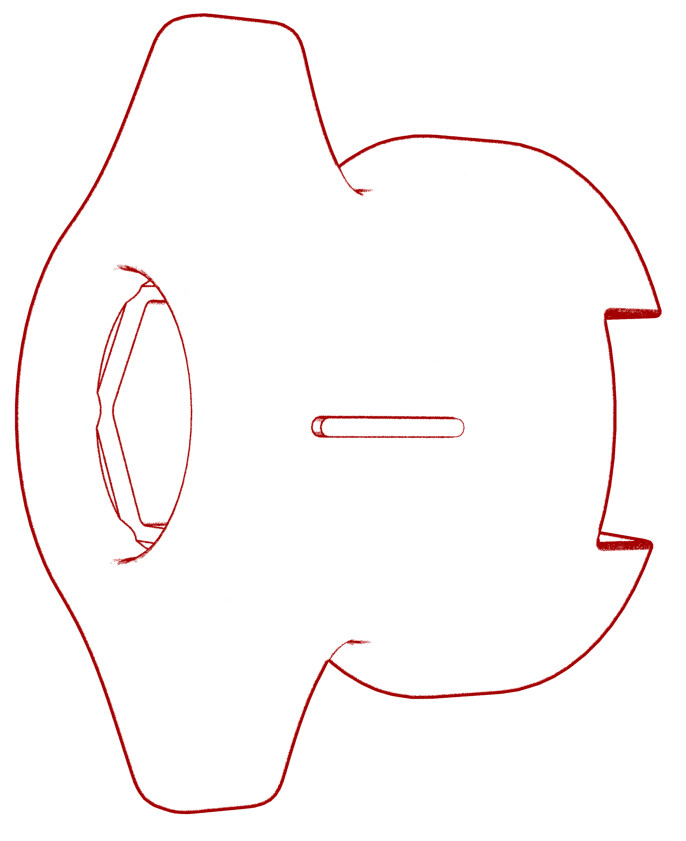
Torque all wingnuts to their
proper specification. Ensure the marking on the wingnuts align with the
markings on the crossbars (the notch faces outboard) to lock the crossbars
using the provided keys.
 3.5 Nm (2.6 lbs-ft)Use of the following tool(s) is recommended:CAUTIONTo avoid damaging the roof glass, do not overtorque the fasteners, and alternately tighten the both sides evenly.
- Ratchet/torque wrench
- ¼ in to 3/8 in adapter
- 8 mm socket
-
Use the provided keys to lock (rotate clockwise on LH side locks, rotate counter-clockwise on RH side locks) both crossbars in place.
- Push and pull on both crossbars to ensure that they are fully secured and locked in place.
-
Starting from the bottom and working up, install the roof rack side cover on each side of both crossbars.
NoteThe bottom of the side covers have guiding tabs that insert into the crossbar.
- Ensure the customer receives the locking key(s) when they take delivery of the vehicle.