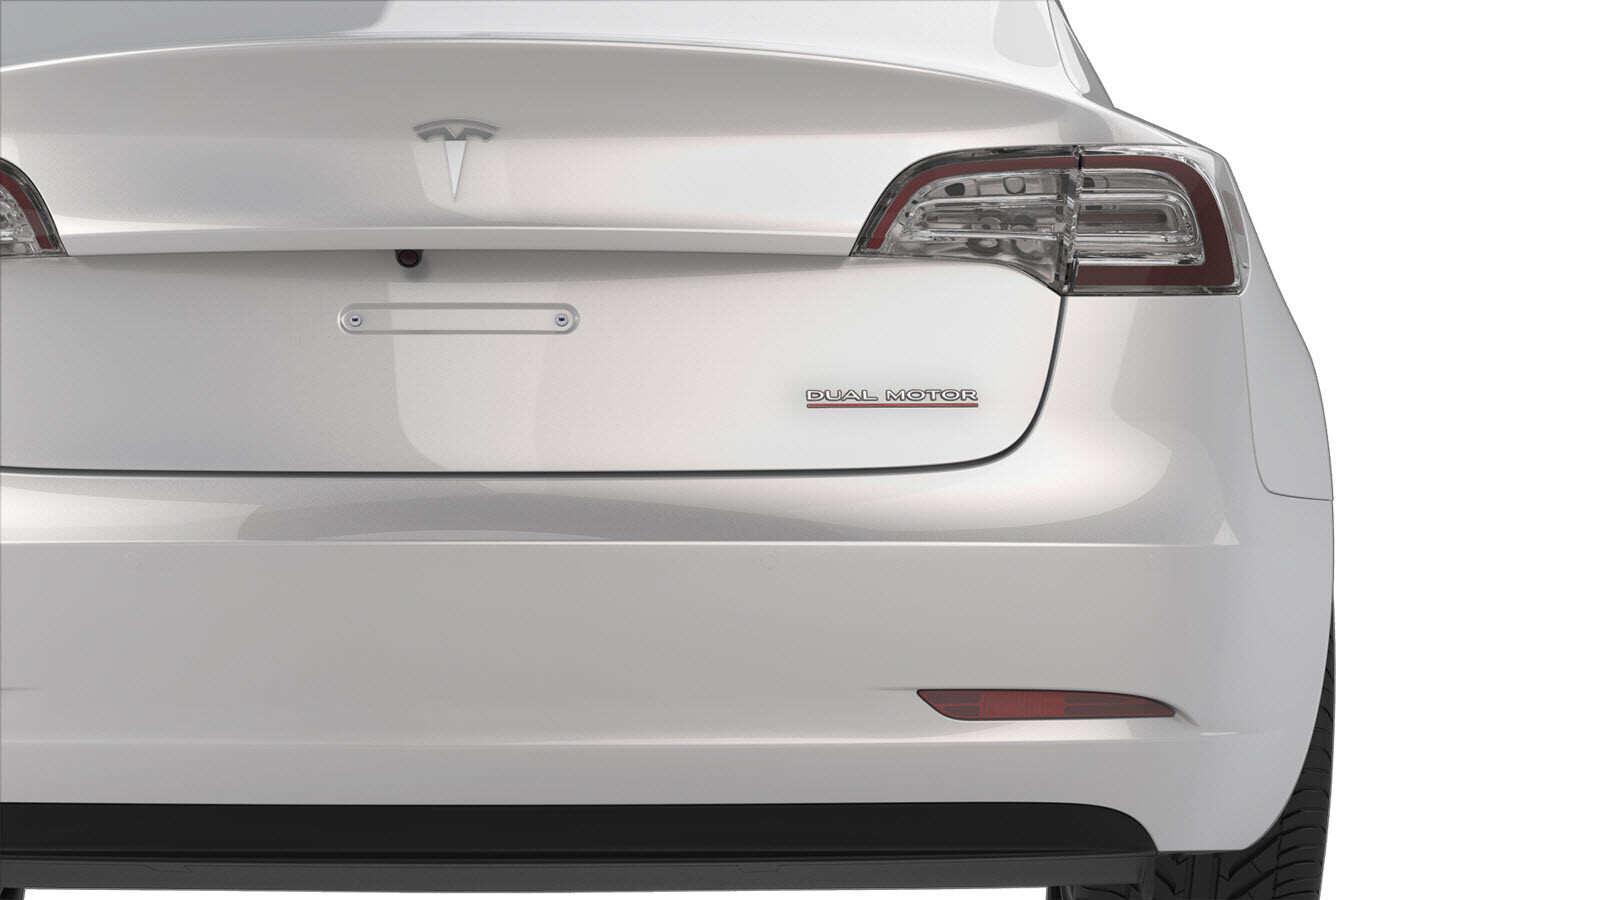
Rear Lettering (Retrofit)
Correction code
12050606
0.12
NOTE: Unless otherwise explicitly
stated in the procedure, the above correction code and FRT reflect all of the work
required to perform this procedure, including the linked procedures. Do not stack correction codes unless
explicitly told to do so.
NOTE: See Flat Rate
Times to learn more about FRTs and how they are created. To provide feedback on
FRT values, email ServiceManualFeedback@tesla.com.
NOTE: See Personal Protection to make sure wearing proper PPE when
performing the below procedure. See Ergonomic Precautions for safe and healthy working practices.

- 1475764-00-A Fixture, Badge, Dual Motor/Perf, M3
- 1049517-00-A Seam Roller, Silicone, 5"
Procedure
- Clean the trunk area where the "Dual Motor" badge is to be installed with an isopropyl alcohol (IPA) wipe.
-
Put the badge fixture tool in position on the trunk and secure it with masking tape.
NoteMake sure the badge and adhesion surface are between 60-120 degrees Fahrenheit (15.556-43.333 Celsius). Use a heat gun in cold weather conditions to bring installation surfaces to optimum temperature.
-
Remove the badge liner on the adhesive side, and then set the badge in the badge fixture using the datum holes.
- Adhere the badge to the trunk by pressing through the badge fixture window.
- Remove the clear front liner from the badge. Do not discard the liner at this time.
- Remove the badge fixture and masking tape from the trunk.
- Reapply the clear front liner to the badge to protect the surface.
-
Use the silicone seam roller to fully adhere the badge.
- Remove the clear front liner from the badge.