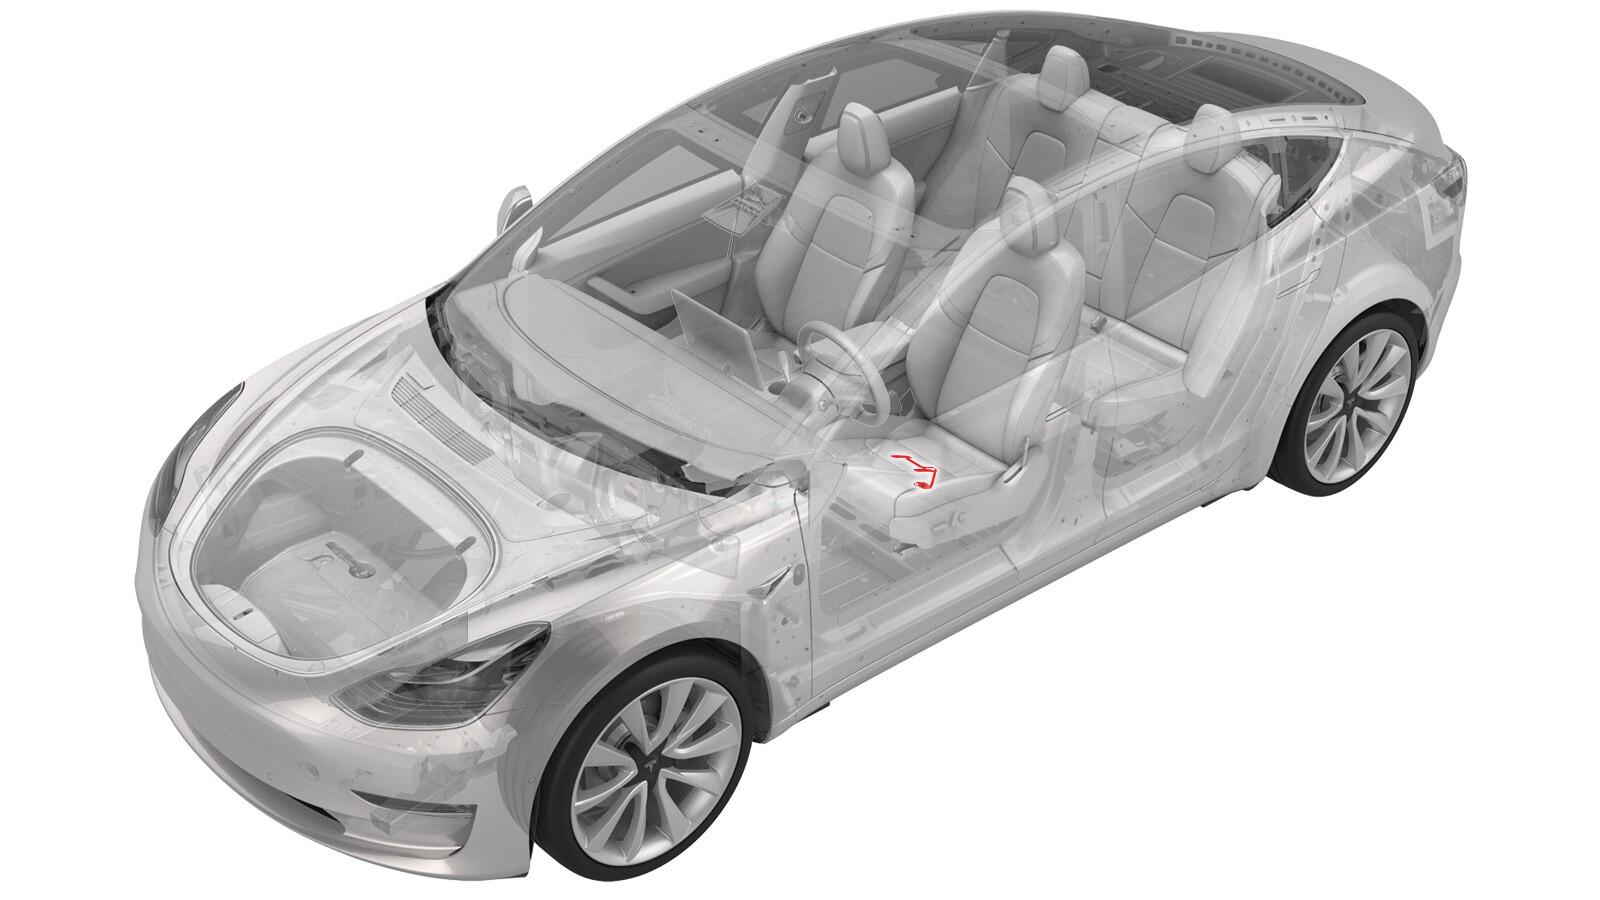
Sensor - Resistive Occupancy - Front Seat - LH (Remove and Replace)
 Correction code
20202102
0.78
NOTE: Unless otherwise explicitly
stated in the procedure, the above correction code and FRT reflect all of the work
required to perform this procedure, including the linked procedures. Do not stack correction codes unless
explicitly told to do so.
NOTE: See Flat Rate
Times to learn more about FRTs and how they are created.
NOTE: See Personal Protection to make sure wearing proper PPE when
performing the below procedure. NOTE: See Ergonomic Precautions for safe and healthy working
practices.
Correction code
20202102
0.78
NOTE: Unless otherwise explicitly
stated in the procedure, the above correction code and FRT reflect all of the work
required to perform this procedure, including the linked procedures. Do not stack correction codes unless
explicitly told to do so.
NOTE: See Flat Rate
Times to learn more about FRTs and how they are created.
NOTE: See Personal Protection to make sure wearing proper PPE when
performing the below procedure. NOTE: See Ergonomic Precautions for safe and healthy working
practices.
Equipment:
-
Tools Required:
- 1050454-00-A - ULTRA HEAT GUN
- 2026-03-31: Update the procedure by using heat gun.
Remove
- Remove the driver seat cushion trim from the seat cushion foam. See GUID-9FF53BE1-27C5-4E35-B5CA-1D2606610C94.html
-
Remove casing from harness.
-
Heat the occupancy sensor until it reaches to 85 ℃.
NoteSet the heat gun to 100-300℃, gently heat the surface to decrease the viscosity of the resin with a distance of approximately 40 mm.
-
Gently tearing off the sensor while continuously heating.
Install
-
Install a new occupancy
sensor onto the seat cushion foam pad.
NoteRemove adhesion protection, and then attach the occupancy sensor between the indication marks on the foam pad.
-
Route the occupancy sensor
connector through the foam pad, and then install the plastic casing onto the
connector harness.
- Install the driver seat cushion trim. See GUID-9FF53BE1-27C5-4E35-B5CA-1D2606610C94.html