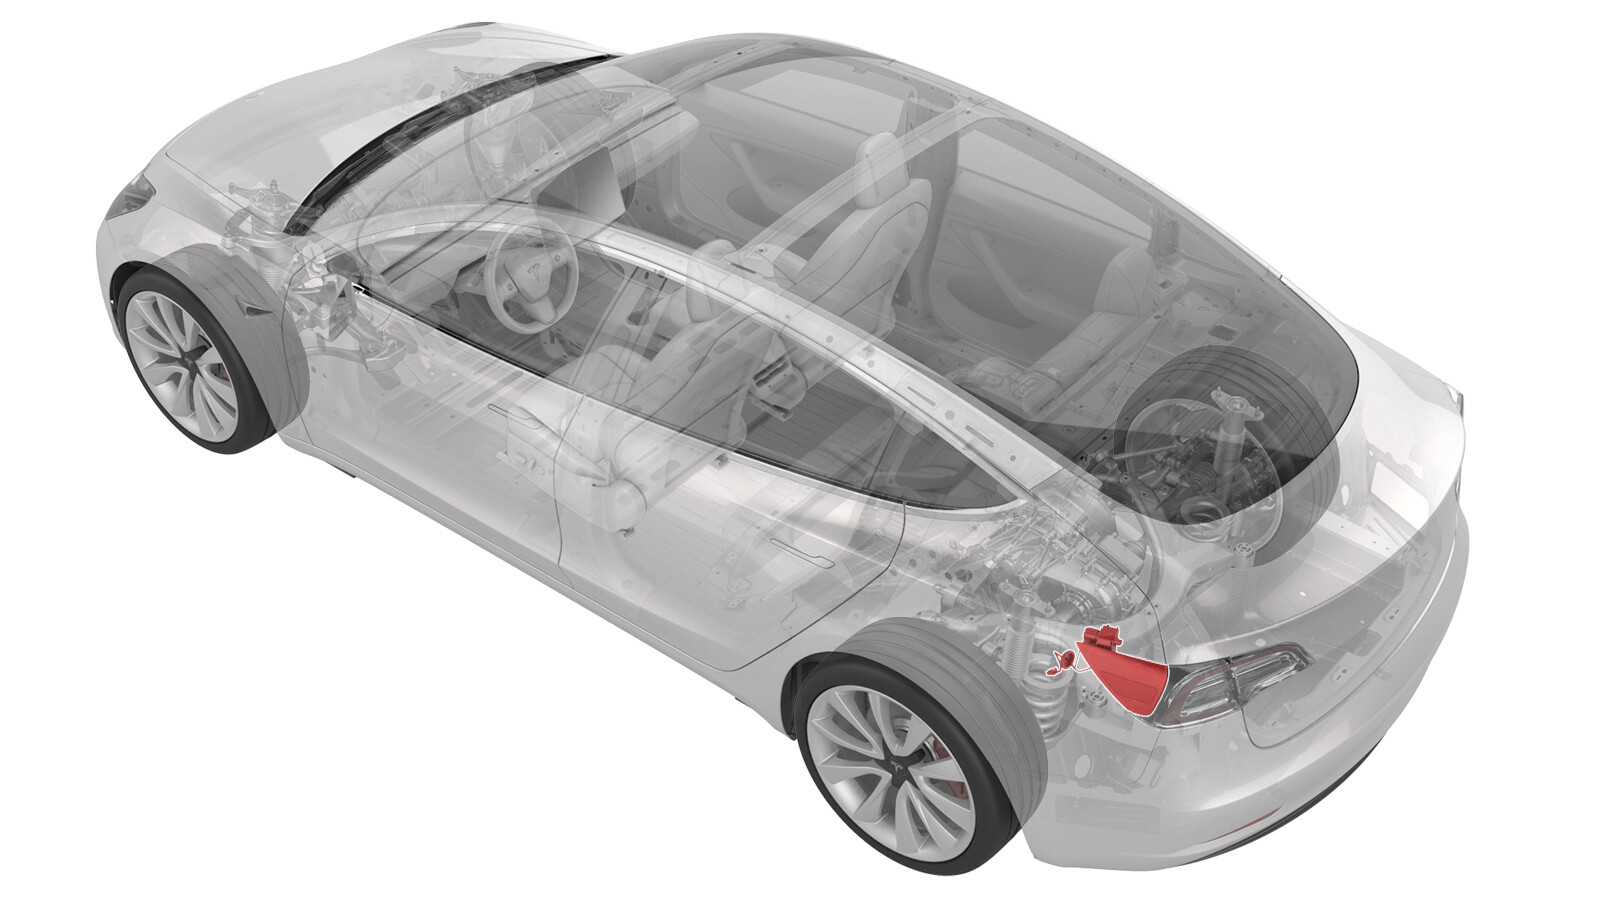
Actuator - Door Assembly - Charge Port (NA) (Remove and Replace)
 Correction code
44010012
0.18
NOTE: Unless otherwise explicitly
stated in the procedure, the above correction code and FRT reflect all of the work
required to perform this procedure, including the linked procedures. Do not stack correction codes unless
explicitly told to do so.
NOTE: See Flat Rate
Times to learn more about FRTs and how they are created. To provide feedback on
FRT values, email ServiceManualFeedback@tesla.com.
NOTE: See Personal Protection to make sure wearing proper PPE when
performing the below procedure. See Ergonomic Precautions for safe and healthy working practices.
Remove
- Remove the charge port door assembly. See Door Assembly - Charge Port (NA) (Harness Type) (Remove and Replace).
-
Prepare the ESD kit.
NoteRefer to TN-14-92-003, "Electrostatic Discharge Tool".CAUTIONImproper use of ESD kit can result in damage to sensitive electronics.
-
Make sure that the snap
button connector of the ground cord is securely fastened to the ESD
mat.
-
Remove alligator clip
adapter from the banana plug at the end of the wrist strap, and then connect
the banana plug to the ground cord.
-
Connect the ground cord to a
ground source, and then put on the ESD wrist strap.
-
Carefully cut the cable tie
from the actuator electrical harness using diagonal cutters.
-
Peel the whole grommet back
to expose the charge port door electrical harness.
-
Disconnect the charge port
door electrical harness from the charge port door.
NoteIf the electrical pins are damaged during removal, the charge port door assembly must be replaced.
-
Remove the edge clip from
the charge port door using a clip prytool.
-
Remove the screws (x3) that
attach the actuator to the charge port door assembly, and then remove the
actuator from the charge port door.
Install
-
Install the screws (x3) that
attach the actuator on the charge port door.
 0.5 Nm (4 lbs-in)NoteWhen engaging the actuator to the charge port door, make sure the legs from the charge port door align with the access holes on the actuator, and then fully seat the components before installing the screws.
 -
Slightly pull back on the
grommet to expose the harness connector for visibility.
-
Connect the charge port door
electrical harness.
-
Install the new grommet back
to its original position.
NoteMake sure the tab on the electrical harness is facing up as shown.
-
Install the actuator
electrical harness edge clip and cable tie on the charge port door.
- Remove the ESD wrist strap and put away the ESD kit.
- Install the charge port door assembly. See Door Assembly - Charge Port (NA) (Harness Type) (Remove and Replace).