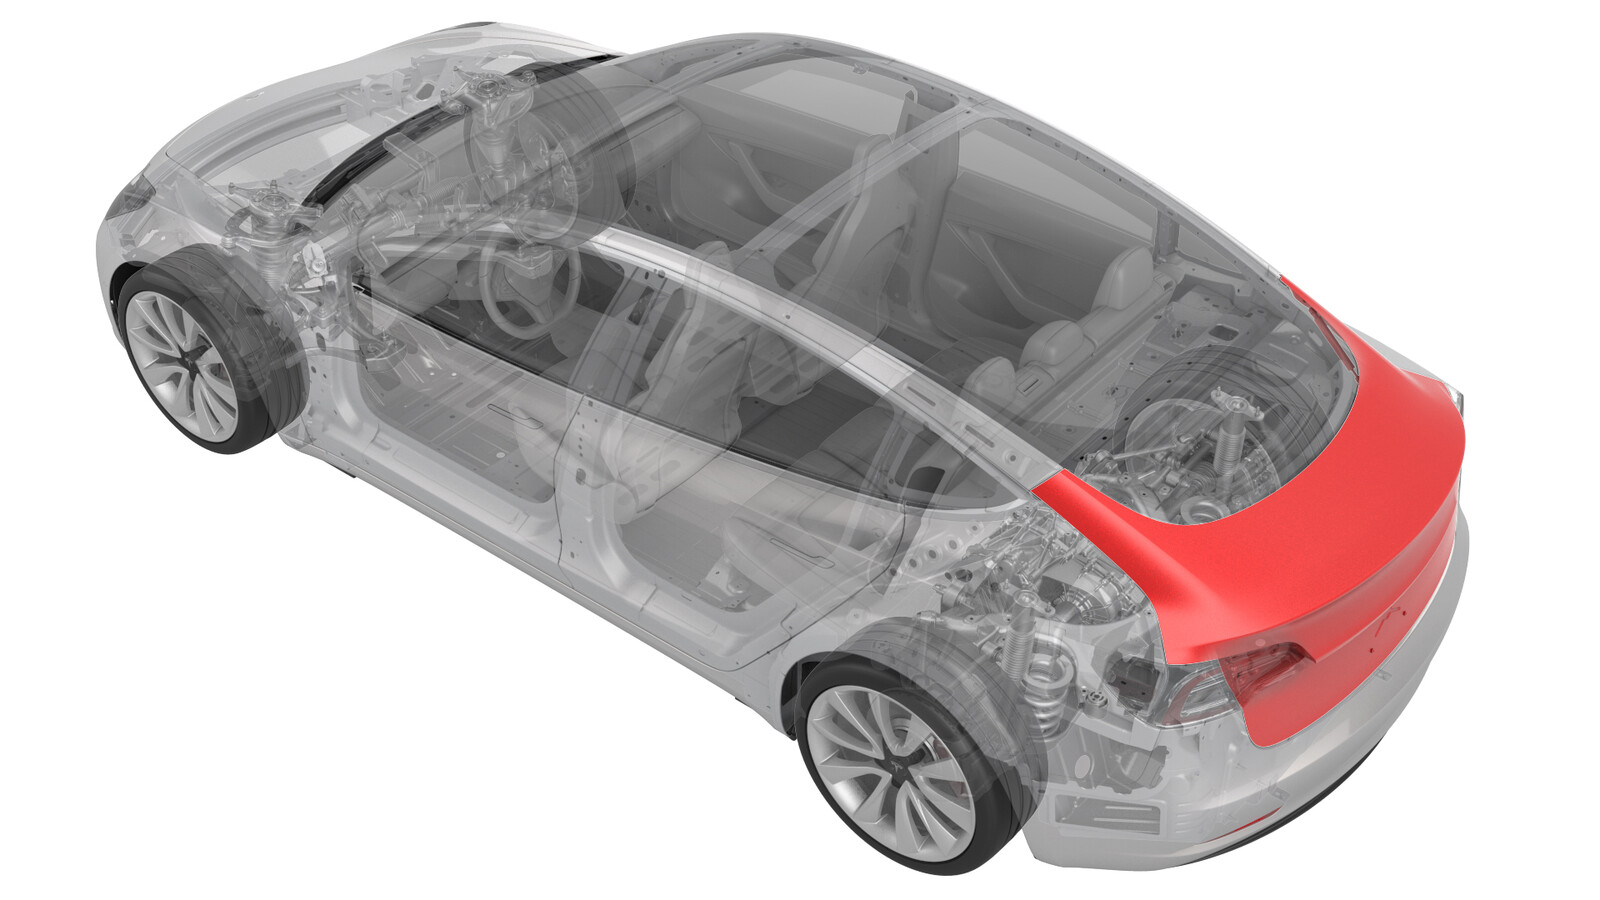
Trunk Alignment
 Correction code
10000004
Adjustable FRT
NOTE: This procedure uses an adjustable correction code. Use the correction code listed above and manually enter the actual amount of time spent performing this procedure. Do not stack correction codes unless explicitly told to do so.
NOTE: See Flat Rate Times to learn more about FRTs and how they are created. To provide feedback on FRT values, email ServiceManualFeedback@tesla.com.
NOTE: See Personal Protection to make sure wearing proper PPE when performing the below procedure.
NOTE: See Ergonomic Precautions for safe and healthy working practices.
- 2023-12-20: Updated the original nonadjustable correction code to the new adjustable one.
Procedure
-
Perform trunk gap and flush
check
NoteRefer to CVIS for latest specifications
-
Open trunk from exterior
switch
-
Retract LH overslam bumper
to home position
Note1x overslam bumper, Turn clockwise until fully seated onto trunk
-
Retract RH overslam bumper
to home position
Note1x overslam bumper, Turn clockwise until fully seated onto trunk
-
Remove trunk sill trim
assembly
Note4x clips, Pull corner upward release clip on the end the away from body for remaining clips
-
Mark the location of trunk
striker to body
-
Remove the trunk
striker
Note2x bolts, T45, 24 Nm
-
Loosen bolts securing hinge
onto trunk assembly
Note4x bolts, 13mm, 24 Nm, Perform adjustment as necessary, Recommend assistance
-
Tighten bolts securing hinge
onto trunk assembly
Note4x bolts, 13mm, 24 Nm, Hand tighten bolts securing hinge onto trunk assembly
-
Close the trunk to check gap
/ flush
NotePerform adjustment as necessary, Recommend assistance if necessary, Refer to CVIS for latest specifications
-
Adjust LH overslam bumper as
necessary
Note1x overslam bumper
-
Adjust RH overslam bumper as
necessary
Note1x overslam bumper
-
Torque bolts securing hinge
onto trunk assembly
Note4x bolts, 13mm, 24 Nm
-
Align trunk striker to
marked position and loosely install bolts securing to body
Note2x bolts, T45, 24 Nm
-
Close trunk to check for gap
/ flush and trunk closes as expected
NoteAdjust striker if necessary, Open trunk when done
-
Torque bolts securing the
trunk striker to trunk
Note2x bolts, T45, 24 Nm
-
Remove masking tape around
the trunk striker area
-
Install trunk sill trim
assembly
Note4x clips, Align the latch with center slot then 2 locator to their slot and then press to secure the clips, Adjust the seal to overlap the trim
-
Clean both trunk hinge
bolts, washer, and surrounding area prior to paint touch up
NoteAllow to dry for 1 minute
-
Apply touch up paint to head
of LH trunk hinge bolts
Note2x bolts, Make sure to shake touch up paint before applying
-
Apply touch up paint to head
of RH trunk hinge bolts
Note2x bolts, Make sure to shake touch up paint before applying, Allow sometime to dry to close trunk
-
Close trunk