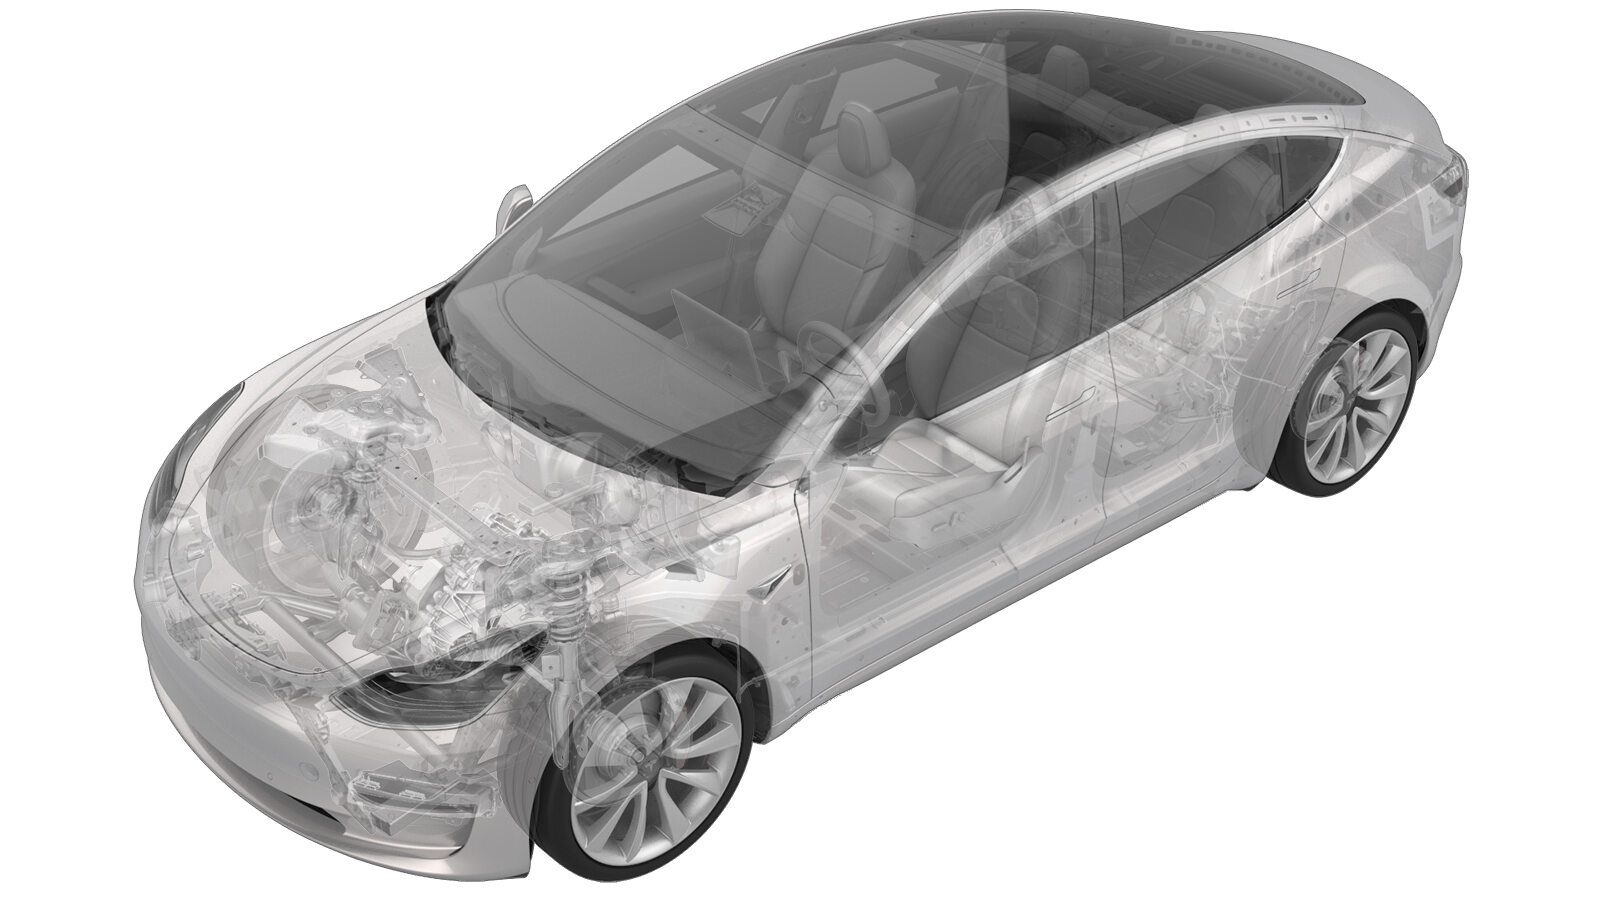
Shield - Body Controller - Front (Heat Pump) (Remove and Replace)
 Correction code
17152122
0.18
NOTE: Unless
otherwise explicitly stated in the procedure, the above correction code and
FRT reflect all of the work required to perform this procedure, including
the linked procedures. Do
not stack correction codes unless explicitly told to do so.
NOTE: See Flat Rate
Times to learn more about FRTs and how
they are created. To provide feedback on FRT values, email ServiceManualFeedback@tesla.com.
NOTE: See Personal Protection
to make sure wearing proper PPE when performing the below procedure.
NOTE: See Ergonomic Precautions for safe and
healthy working practices.
Remove
-
Open LH front door
-
Lower LH front window
-
Open hood
NotePress "Open" button on touchscreen to release latch, Lift lid manually
-
Remove rear apron
Note12x clips, Only store rear apron visible face upwards
-
Power off vehicle from center
display
NoteVia Controls > Safety > Power Off, Select Power Off button at warning dialogue box
-
Disconnect 12V negative terminal
Note1x nut, 10mm, 6 Nm, Ensure vehicle is in park, climate control system is off, and vehicle is not charging before disconnecting 12V
-
Disconnect first responder loop
Note1x connector, Release locking tab
-
Remove vent tube hose from LH side of
12V battery
Note1x tube adapter
-
Release terminal cover and remove
positive terminal
Note2x clips, 1x nut, 10mm, 6 Nm, Do not fully remove positive terminal nut
-
Remove 12V battery upper tie down
strap to AC compressor bracket
Note1x bolt, 10mm, 5 Nm, Lift battery tie down strap up and remove it from rear tie down hook strap
-
Remove battery upper tie down strap
NoteLift battery tie down strap up and remove it from the rear tie down hook strap
-
Remove 12V battery from vehicle
-
Remove rear battery tie down
strap
NoteRotate forward to disengage
-
Disconnect thermal sub-harness from
front controller
Note1x connector, Depress locking tab and rotate to release
-
Remove bolts securing front controller
shield assembly and remove from vehicle
Note2x bolts, 10mm, 8.5 Nm
Install
-
Install front controller shield to the
front controller
Note2x bolts, 10mm, 8.5 Nm
-
Connect thermal sub-harness to front
controller
Note1x connector, Rotate fully to secure locking tab
-
Install rear battery tie down
strap
NoteInsert assembly into bracket and rotate to 90 degrees
-
Install 12V battery into vehicle
-
Position battery tie down strap onto
battery
NoteHook upper tie down strap into rear tie down hook strap and position for installation
-
Install bolt securing upper tie down
strap to AC compressor bracket
Note1x bolt, 10mm, 5 Nm
-
Install vent tube hose in 12V
battery
-
Install positive terminal and terminal
cover
Note1x nut, 10mm, 6 Nm, 2x clips
-
Connect first responder loop
Note1x connector, Engage locking tab, Connect FRL before connecting 12V to avoid damage to car computer
-
Connect 12V negative terminal
Note1x nut, 10mm, 6 Nm
-
Install rear apron
Note12x clips
-
Close hood
-
Raise LH front window
-
Close LH front door