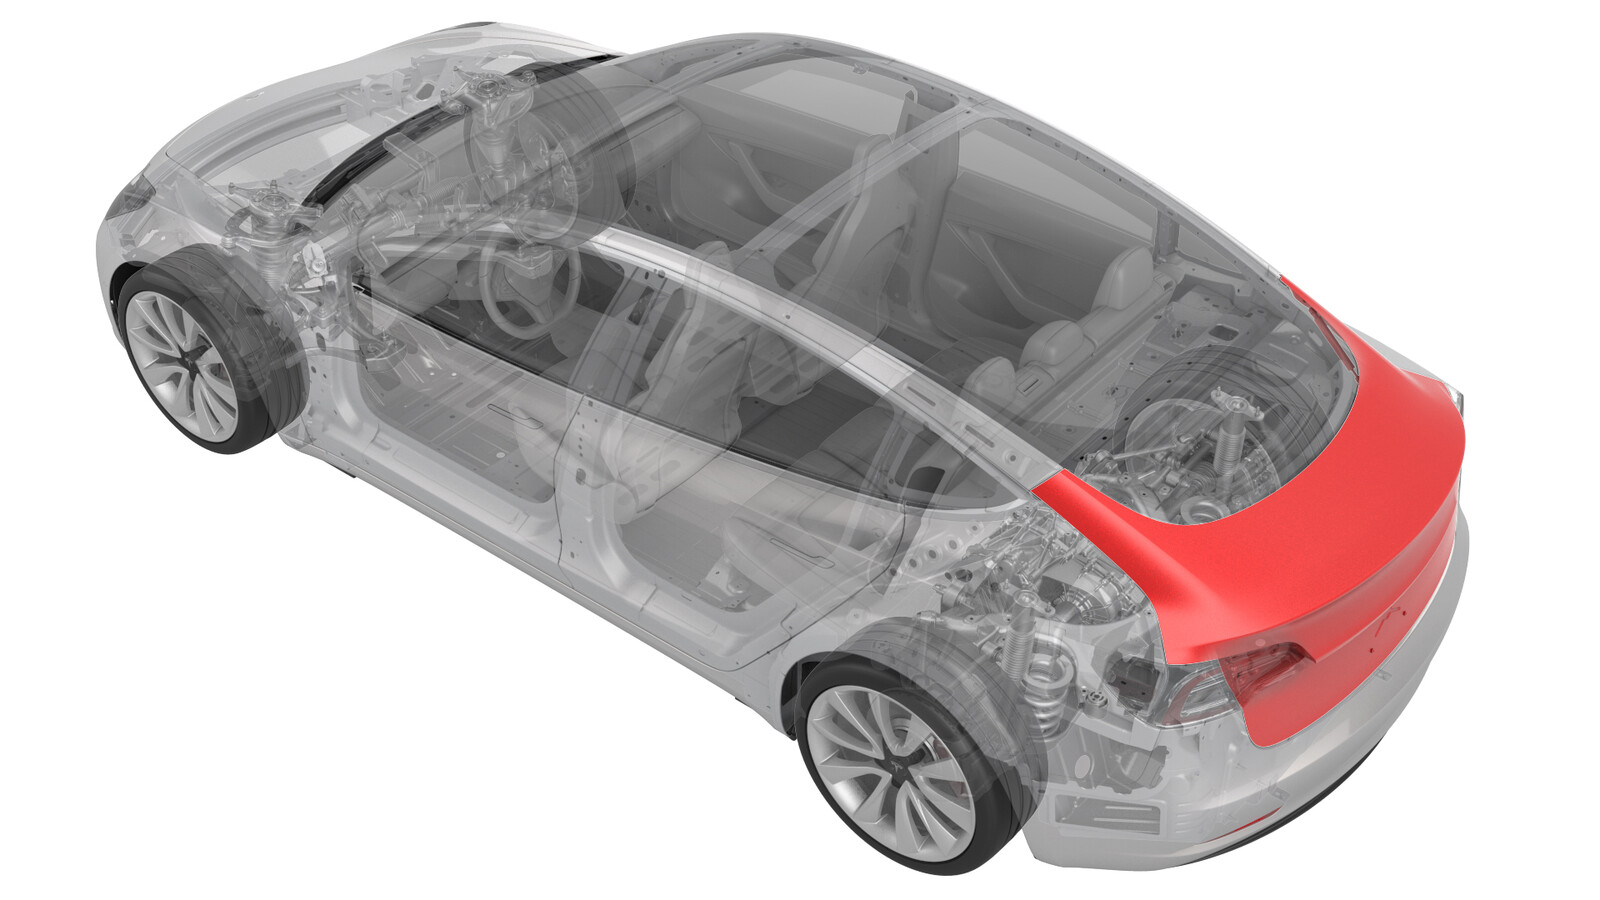
Power Trunk (Remove and Install)
 Correction code
10107101
0.42
NOTE: Unless otherwise explicitly
stated in the procedure, the above correction code and FRT reflect all of the work
required to perform this procedure, including the linked procedures. Do not stack correction codes unless
explicitly told to do so.
NOTE: See Flat Rate
Times to learn more about FRTs and how they are created.
NOTE: See Personal Protection to make sure wearing proper PPE when
performing the below procedure. NOTE: See Ergonomic Precautions for safe and healthy working
practices.
Correction code
10107101
0.42
NOTE: Unless otherwise explicitly
stated in the procedure, the above correction code and FRT reflect all of the work
required to perform this procedure, including the linked procedures. Do not stack correction codes unless
explicitly told to do so.
NOTE: See Flat Rate
Times to learn more about FRTs and how they are created.
NOTE: See Personal Protection to make sure wearing proper PPE when
performing the below procedure. NOTE: See Ergonomic Precautions for safe and healthy working
practices.
- Open the trunk.
- Remove power trunk trim. See Trim - Lid - Power Trunk (Remove and Replace).
- Remove the trunk exterior release switch. See Switch and Camera Assembly - Exterior Release - Trunk (Remove and Replace).
- Remove the LH and RH license plate lights. See Light - License Plate (Remove and Replace).
-
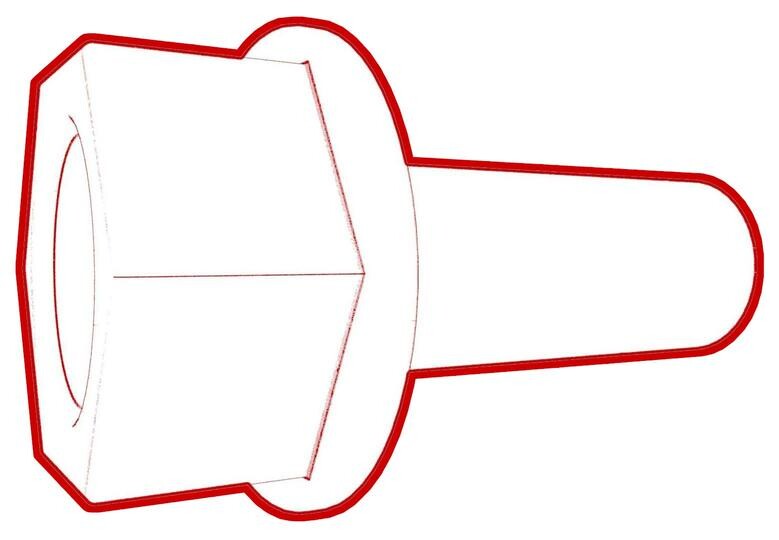
Remove and discard the bolts (x2) that attach the trunk electrical harness ground straps to the trunk lid.
-
Release the clips that attach the trunk electrical harness to the trunk lid.
-
Release the electrical harness boot, and then move the trunk electrical harness through the trunk lid bulkhead and out of the trunk lid.
-
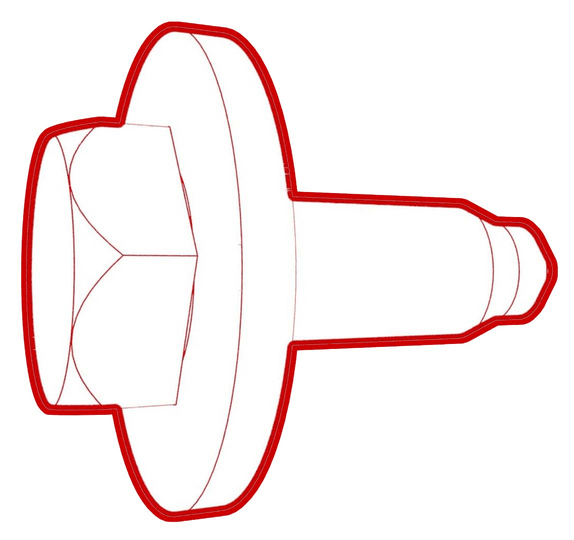
With assistance, remove the bolts that attach the trunk lid to the trunk hinges, and then remove the trunk from the hinges.
CAUTIONRemove the bolts furthest from the body first, lift up on the trunk lid, and while doing so, remove the bolts closest to the body.
Figure 1. LH Figure 2. RH
Install
-
With assistance, install the trunk to the trunk hinges, and then install the bolts that attach the trunk lid to the trunk hinges.
CAUTIONInstall the bolts closest to the body first, and then install the bolts furthest from the body.NoteHand tighten, but do not torque the bolts at this time.
Figure 3. LH Figure 4. RH -
Move the electrical harness in through the trunk lid bulkhead, and attach the harness boot to the trunk lid.
-
Fasten the clips that attach the trunk electrical harness to the trunk lid.
-
Install new bolts (x2) to attach the trunk electrical harness ground straps to the trunk lid.
 8 Nm (5.9 lbs-ft)
 - Install the LH and RH license plate lights. See Light - License Plate (Remove and Replace).
- Install the trunk exterior release switch. See Switch and Camera Assembly - Exterior Release - Trunk (Remove and Replace).
-
Torque the hinge bolts to specification.
 24 Nm (17.7 lbs-ft)
 - Install the power trunk lid trim. See Trim - Lid - Power Trunk (Remove and Replace).
-
Use IPA wipes to thoroughly clean these locations on the trunk lid:
- Hinge bolts, washers and surrounding area
- Area between the trunk lid lower lip and trunk latch
- Trunk lid badge area above license plate location
- Vigorously shake the vehicle color touch-up paint applicator for several minutes.
-
Apply a coat of touch-up paint to the discolored areas of the hinge bolts and washers, and allow at least 20 minutes to dry.
NotePerform the remainder of this procedure while the touch-up paint dries.