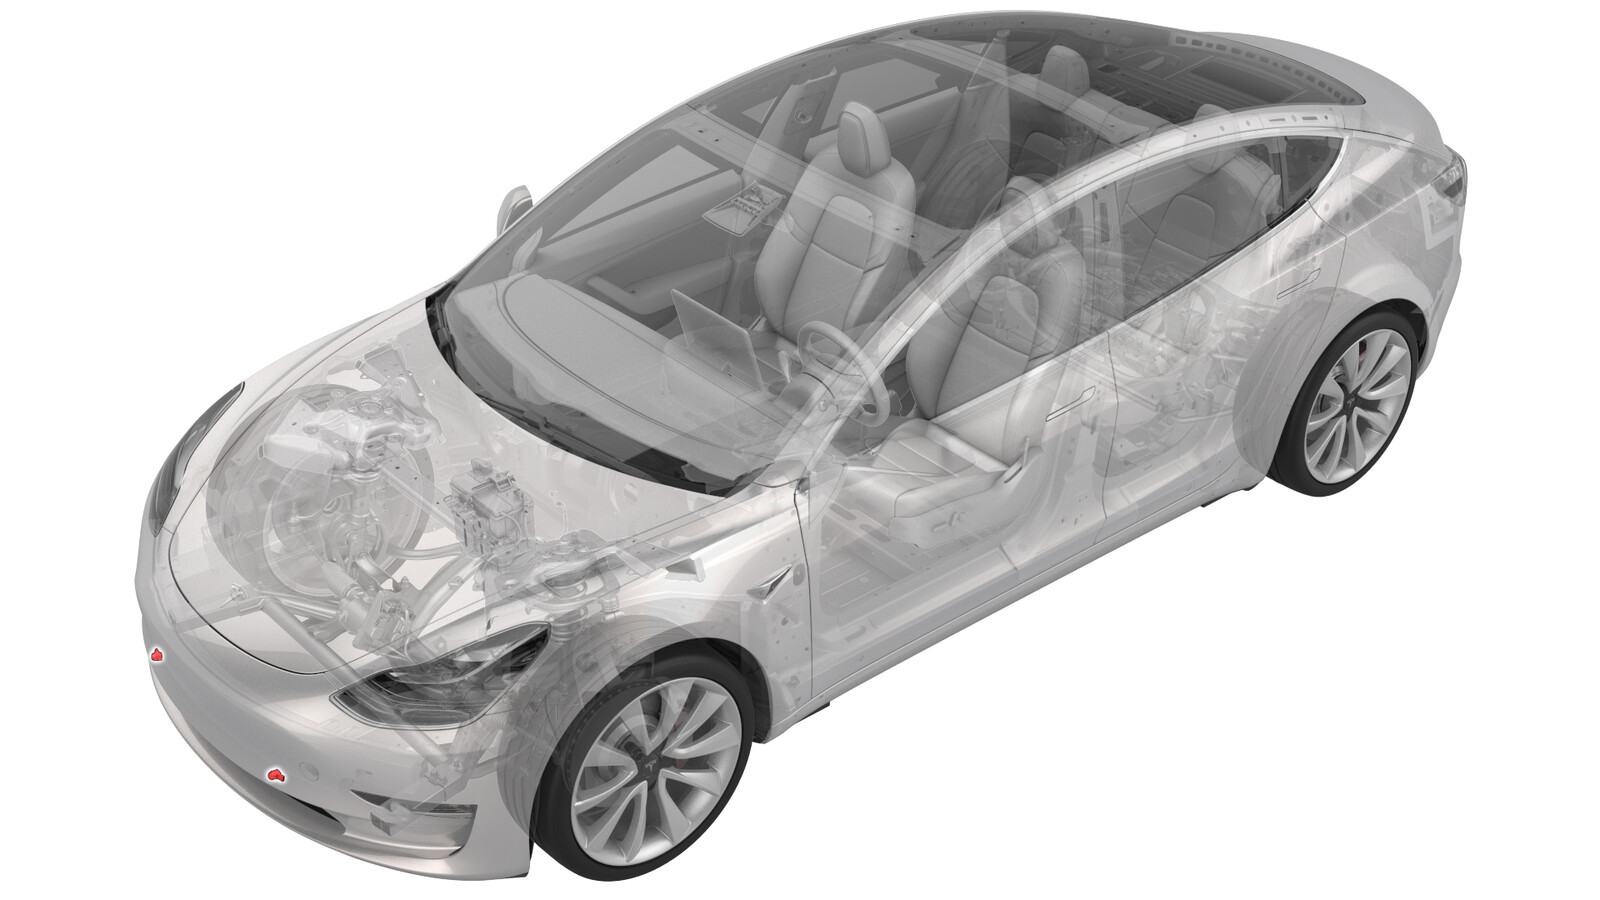
Sensor - Parking Distance - Inner - Front (Remove and Replace)
 Correction code
17271012
0.18
NOTE: Unless otherwise explicitly
stated in the procedure, the above correction code and FRT reflect all of the work
required to perform this procedure, including the linked procedures. Do not stack correction codes unless
explicitly told to do so.
NOTE: See Flat Rate
Times to learn more about FRTs and how they are created. To provide feedback on
FRT values, email ServiceManualFeedback@tesla.com.
NOTE: See Personal Protection to make sure wearing proper PPE when
performing the below procedure. See Ergonomic Precautions for safe and healthy working practices.
- 2023-04-28: Added the whole procedure video as an overview for supplemental purposes only.
Remove
- Remove the rear underhood apron. See Underhood Apron - Rear (Remove and Replace).
- Remove the cabin intake duct. See Duct - Upper - Cabin Intake (Remove and Replace).
- Remove the underhood storage unit. See Underhood Storage Unit (Remove and Replace).
-
Release the tabs (x2) that
attach the front parking distance sensor to the front fascia, and then
remove the sensor from the fascia.
Install
-
Install the parking sensor
onto the front fascia, and fasten the tabs (x2) that attach the front
parking distance sensor to the front fascia.
- Install the underhood storage unit. See Underhood Storage Unit (Remove and Replace).
- Install the cabin intake duct. See Duct - Upper - Cabin Intake (Remove and Replace).
- Install the rear underhood apron. See Underhood Apron - Rear (Remove and Replace).
- Consult the parts catalog to determine the type of parking sensor installed on the vehicle. If the vehicle is equipped with Tesla USS, run the following Toolbox 3.0 routines in the order listed: