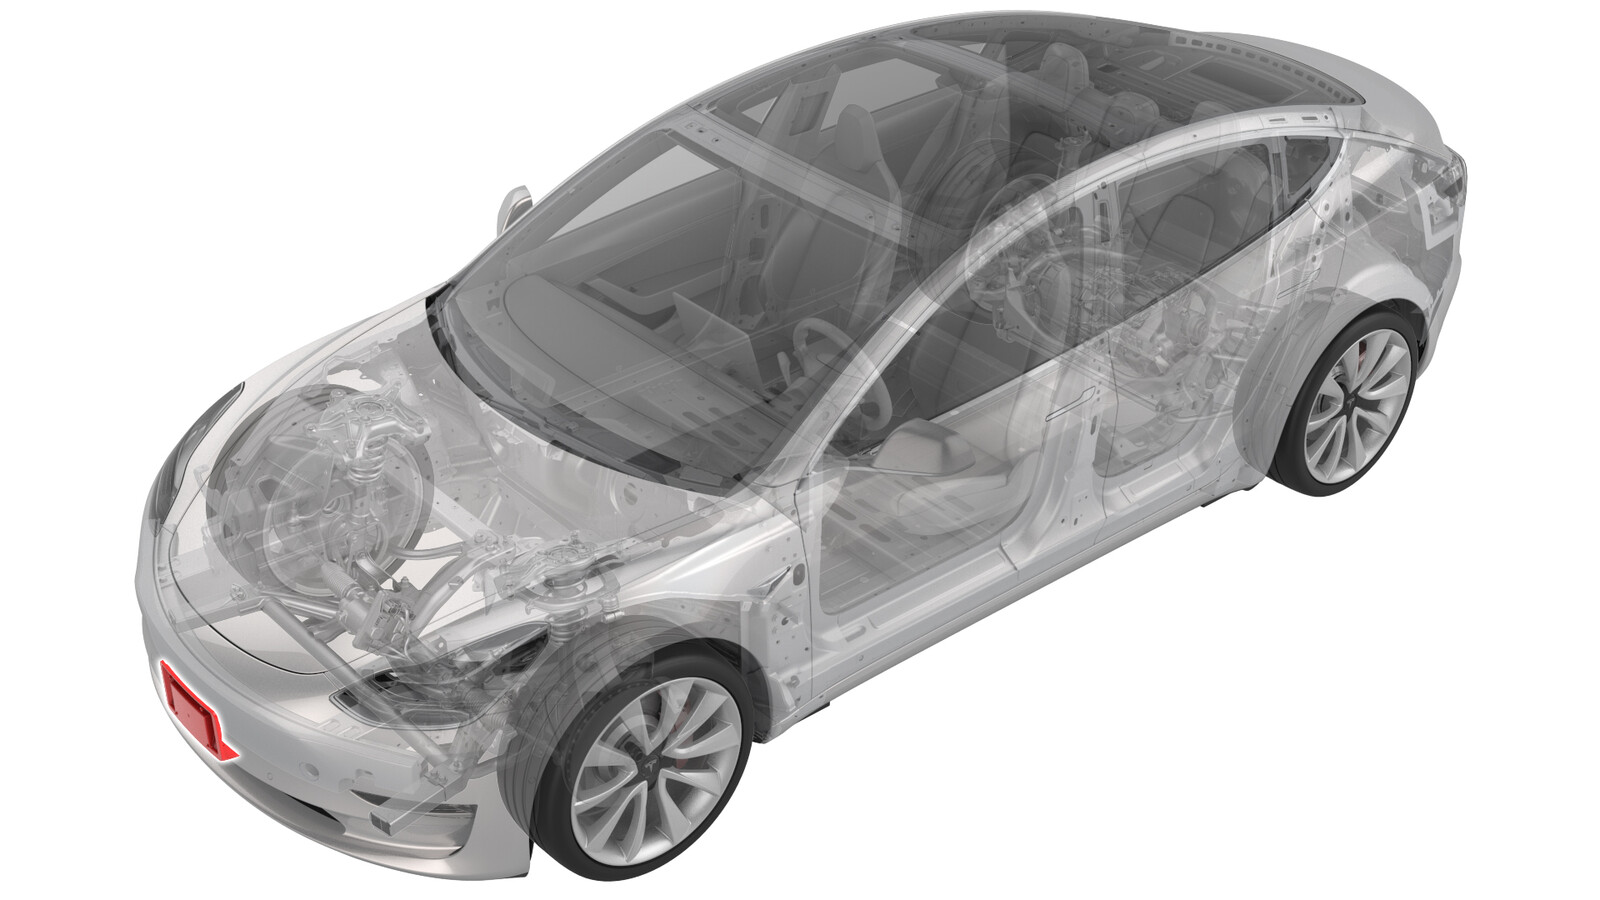
Bracket - License Plate - Front (EMEA) (Retrofit using Jig)
 Correction code
12070126
0.12
NOTE: Unless otherwise explicitly
stated in the procedure, the above correction code and FRT reflect all of the work
required to perform this procedure, including the linked procedures. Do not stack correction codes unless
explicitly told to do so.
NOTE: See Flat Rate
Times to learn more about FRTs and how they are created. To provide feedback on
FRT values, email ServiceManualFeedback@tesla.com.
NOTE: See Personal Protection to make sure wearing proper PPE when
performing the below procedure. See Ergonomic Precautions for safe and healthy working practices.
Equipment:
- 1496772-00-A Front license plate bracket jig, Model 3, EMEA
Procedure
- Clean the front center surface of the front fascia with isopropyl alcohol (IPA) wipe, and then allow surface to dry before continuing.
-
Put the front license plate bracket on the jig: Line up the 2 holes on the front license plate bracket with the alignment pins on the jig.
-
Put the jig on the front fascia: Line up the center indicator (cut out slit) with the center of the front fascia grille.
NoteApply enough force on the head of the jig causing an even contact surface with the front fascia grille and the front license plate bracket.NoteMake sure to hold the jig by placing your hand on the head of the jig.
- Wear eye and ear protection before continuing.
-
Use a 7/64 in (3 mm) drill bit to drill 4 holes through the front fascia.
CAUTIONOnly drill through the top surface of the front fascia. Drilling too far can result in damage to the vehicle.
-
Install the self tapping screws (part number 1104972-00-A) (x4) that attach the front license plate bracket to the front fascia.
 1 Nm (.7 lbs-ft)CAUTIONDo not over torque the screws to prevent damage to the front fascia.
 - Remove the jig by sliding it out from the front fascia grille