Garnish - Trunk (Remove and Replace)
 Correction code
15111102
0.06
NOTE: Unless otherwise explicitly
stated in the procedure, the above correction code and FRT reflect all of the work
required to perform this procedure, including the linked procedures. Do not stack correction codes unless
explicitly told to do so.
NOTE: See Flat Rate
Times to learn more about FRTs and how they are created.
NOTE: See Personal Protection to make sure wearing proper PPE when
performing the below procedure. NOTE: See Ergonomic Precautions for safe and healthy working
practices.
Correction code
15111102
0.06
NOTE: Unless otherwise explicitly
stated in the procedure, the above correction code and FRT reflect all of the work
required to perform this procedure, including the linked procedures. Do not stack correction codes unless
explicitly told to do so.
NOTE: See Flat Rate
Times to learn more about FRTs and how they are created.
NOTE: See Personal Protection to make sure wearing proper PPE when
performing the below procedure. NOTE: See Ergonomic Precautions for safe and healthy working
practices.
Remove
- Open the trunk.
-
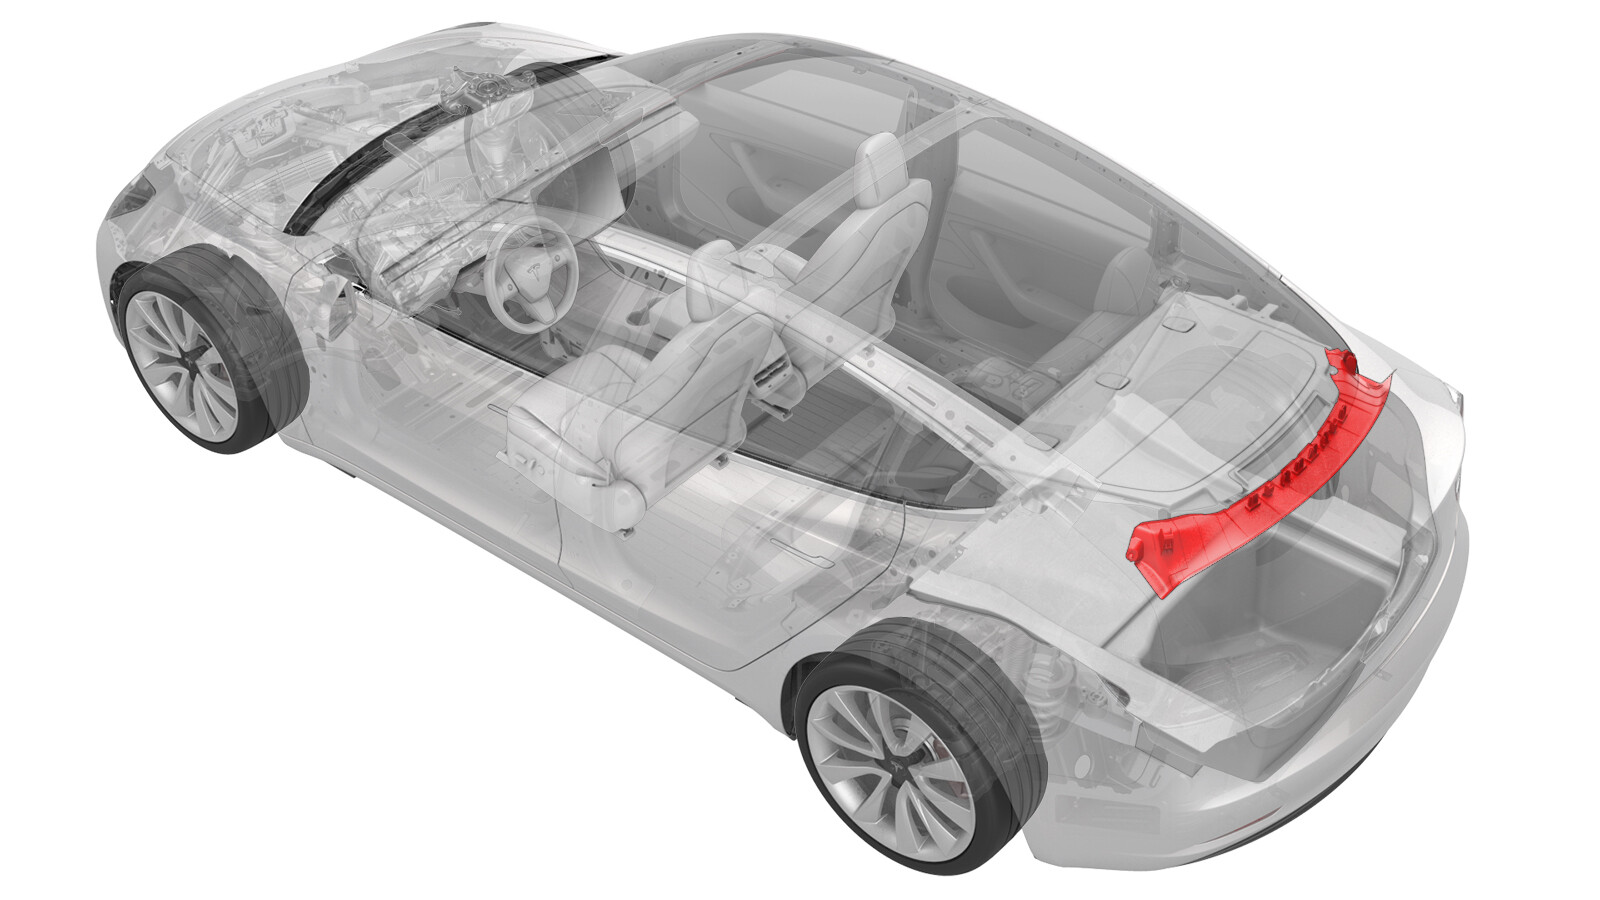
Release the push clips (x2) that attach the ends of the trunk garnish to the body.
Figure 1. LH shown, RH similar -
Release the tabs that attach the trunk garnish to the body, and then remove the trunk garnish from the vehicle.
NoteIf the part removed has less tabs than shown in the illustration then the new part must be reworked to remove the extra tabs.
Retrofit
- If the trunk garnish removed has less tabs than the replacement part, then the replacement part must be reworked to remove the extra tabs. To account for the extra repair time required, use correction code 15111107 instead of 15111102.
-
Use a diagonal cutter or retractable blade knife to remove only the red
tabs shown.
CAUTIONUse eye protection, cut-resistant gloves, and proper PPE when performing the rework.
-
Make sure the reworked part matches the picture.
Install
-
Install the trunk garnish onto the body, and fasten the tabs that attach
the trunk garnish to the body.
NoteMake sure the trunk garnish is firmly attached to the body.
-
Fasten the push clips (x2) that attach the ends of the trunk garnish to the
body.
Figure 2. LH shown, RH similar - Close the trunk.