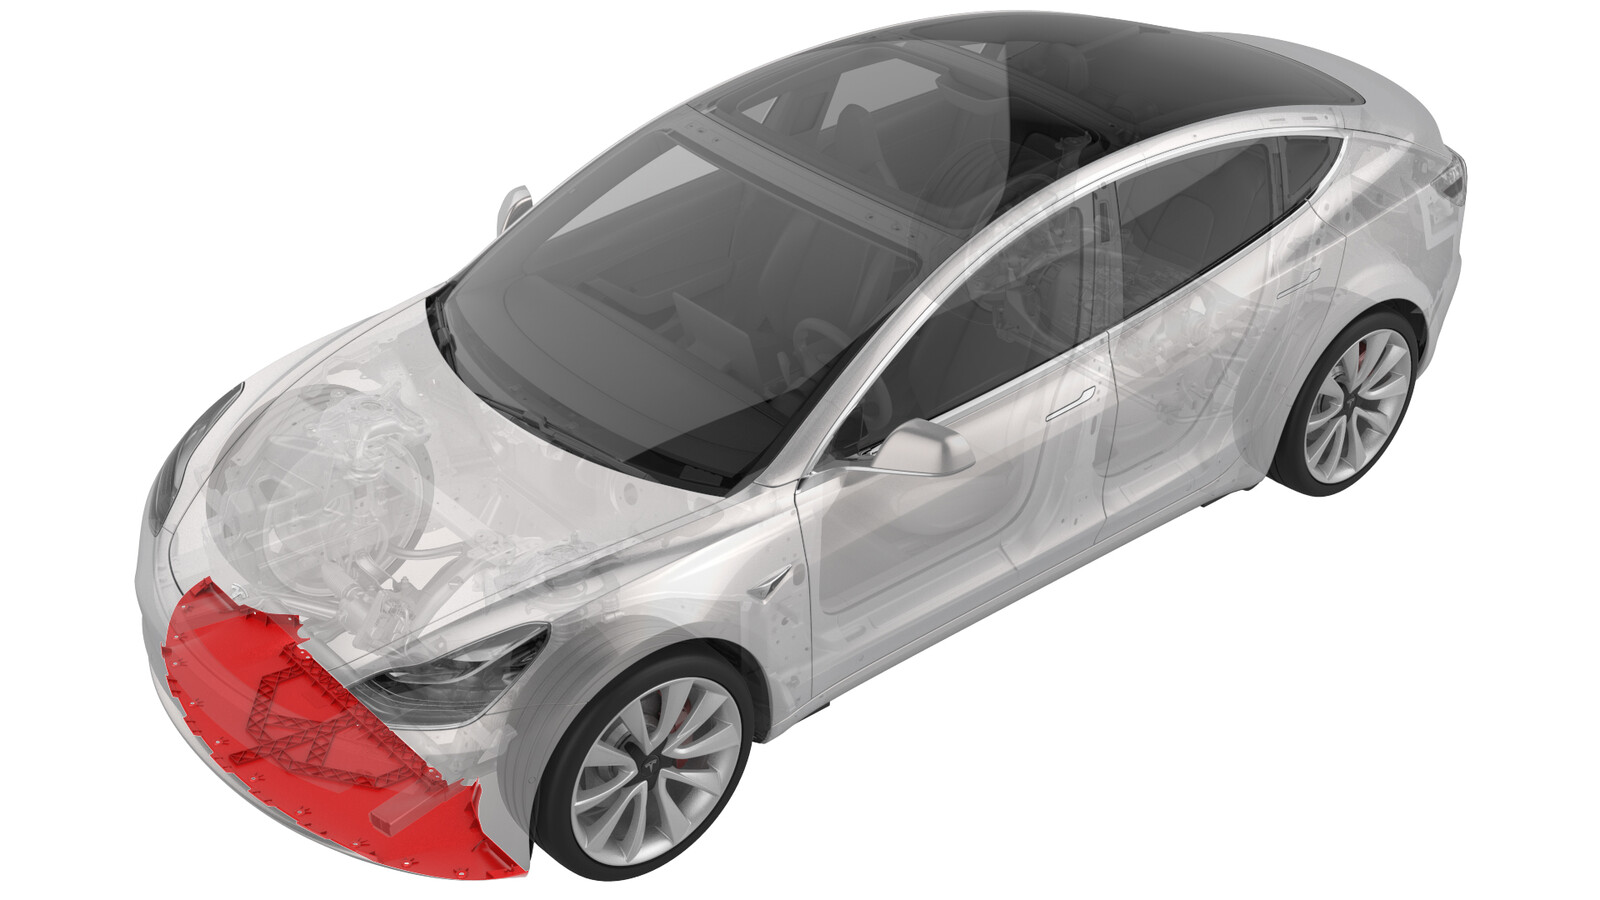
Valance - Front Fascia (Remove and Replace)
 Correction code
10012202
0.36
NOTE: Unless otherwise explicitly
stated in the procedure, the above correction code and FRT reflect all of the work
required to perform this procedure, including the linked procedures. Do not stack correction codes unless
explicitly told to do so.
NOTE: See Flat Rate
Times to learn more about FRTs and how they are created. To provide feedback on
FRT values, email ServiceManualFeedback@tesla.com.
NOTE: See Personal Protection to make sure wearing proper PPE when
performing the below procedure. See Ergonomic Precautions for safe and healthy working practices.
Remove
- Remove the front aero shield panel. See Panel - Aero Shield - Front (Remove and Replace).
-
Release the clips (x2) that
attach the valance to the stabilizer bar brackets.
-
Remove the push clips (x4)
that attach the LH and RH sides of the valance to the wheel liners.
NoteRemove the outer clips as necessary to allow for easier access to the nuts behind the wheel liner.
-
Remove the nuts (x2) at the
LH and RH corners of the valance.
NoteThe nuts are accessed from behind the front of the wheel liners.
-
Remove the push clips (x10)
that attach the valance to the front fascia, and then remove the valance
from the vehicle.
NoteRemove clips from the center first and work outward.
Install
Installation procedure is the reverse of removal.
-
Install the valance to the
front fascia, and install the push clips (x10) that attach the valance to
the fascia.
NoteFasten the clips at the far left and far right first and work inward.
-
Install the nuts (x2) at the
LH and RH corners of the valance.
 3 Nm (2.2 lbs-ft)NoteThe nuts are accessed from behind the front of the wheel liners.
 -
Install the push clips (x4)
that attach the LH and RH sides of the valance to the wheel liners.
NoteInstall the outer clips if removed earlier.
-
Fasten the clips (x2) that
attach the valance to the stabilizer bar brackets.
- Install the front aero shield panel. See Panel - Aero Shield - Front (Remove and Replace).