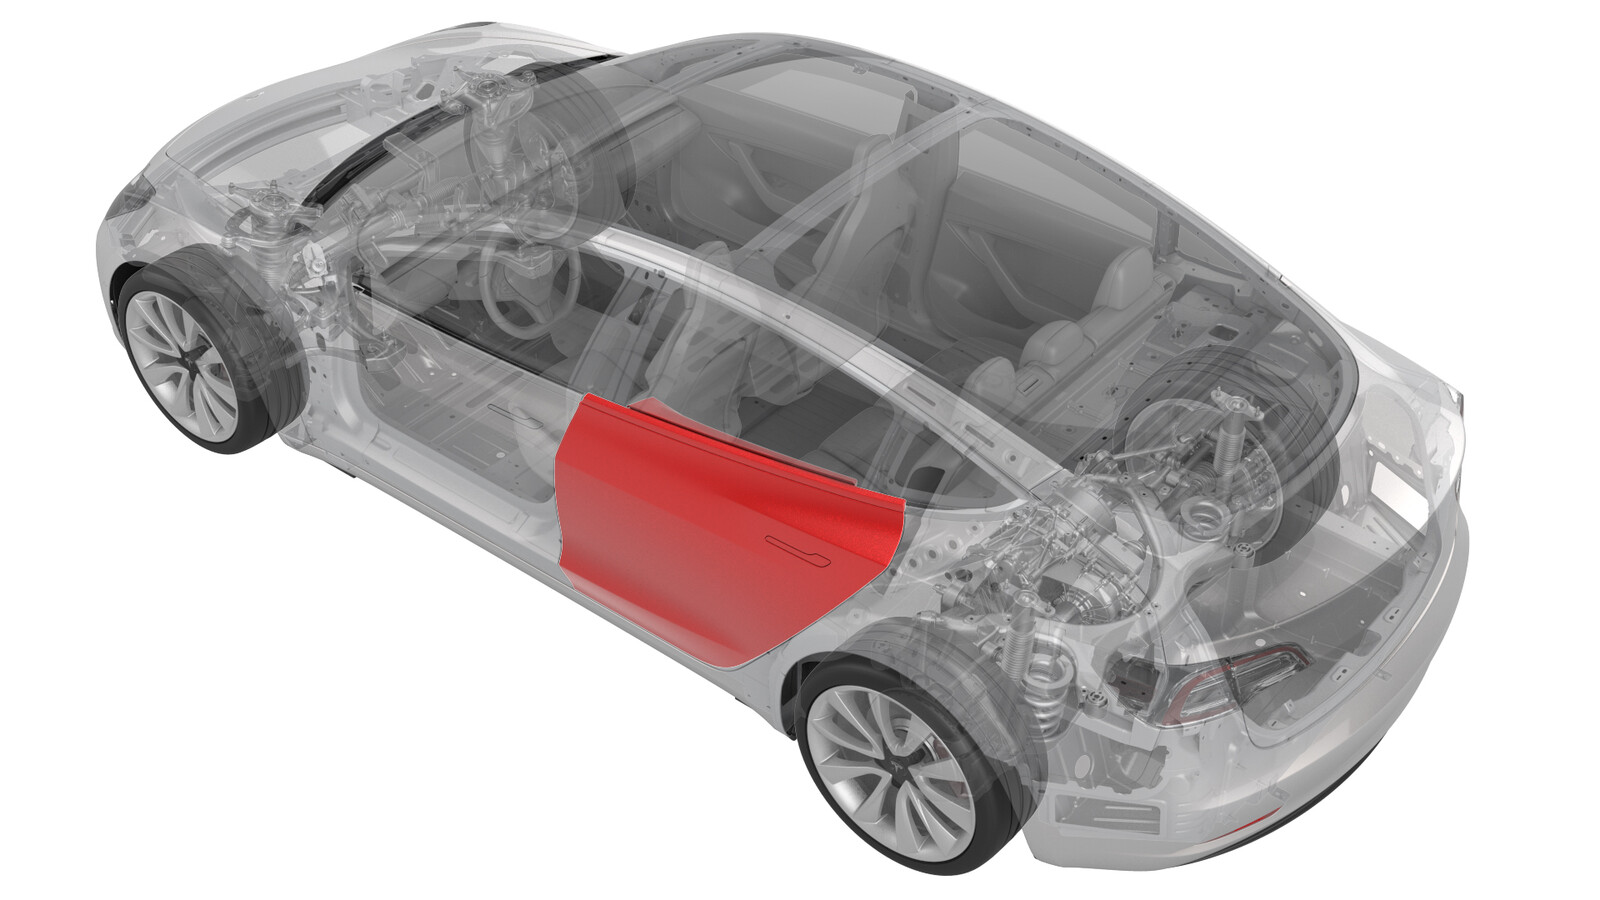
Door - Rear - LH (Remove and Install)
 Correction code
10106501
0.18
NOTE: Unless otherwise explicitly
stated in the procedure, the above correction code and FRT reflect all of the work
required to perform this procedure, including the linked procedures. Do not stack correction codes unless
explicitly told to do so.
NOTE: See Flat Rate
Times to learn more about FRTs and how they are created.
NOTE: See Personal Protection to make sure wearing proper PPE when
performing the below procedure. NOTE: See Ergonomic Precautions for safe and healthy working
practices.
Correction code
10106501
0.18
NOTE: Unless otherwise explicitly
stated in the procedure, the above correction code and FRT reflect all of the work
required to perform this procedure, including the linked procedures. Do not stack correction codes unless
explicitly told to do so.
NOTE: See Flat Rate
Times to learn more about FRTs and how they are created.
NOTE: See Personal Protection to make sure wearing proper PPE when
performing the below procedure. NOTE: See Ergonomic Precautions for safe and healthy working
practices.
Remove
- Open the rear LH door, and fully lower the window.
- Pass a shop towel halfway through the striker, and close the door so that it rests against the shop towel.
- Open the front LH door.
-
Release the clips (x4) of
the rear LH door electrical harness seal at the B-pillar, and pull the
wiring harness out of the B-pillar bulkhead.
- Pull the rear LH door wiring harness connector out of the B-pillar, and then tuck the harness into the cavity at the front of the rear LH door.
-
Carefully open the rear LH
door, and then close the front LH door.
CAUTIONDo not allow the leading edge of the rear LH door to crush the wiring harness or connector against the B-pillar.
-
Disconnect the rear LH door
electrical harness, and then rotate the connector exiting the B-pillar 90
degrees, so as to prevent the connector from falling back into the
B-pillar.
-
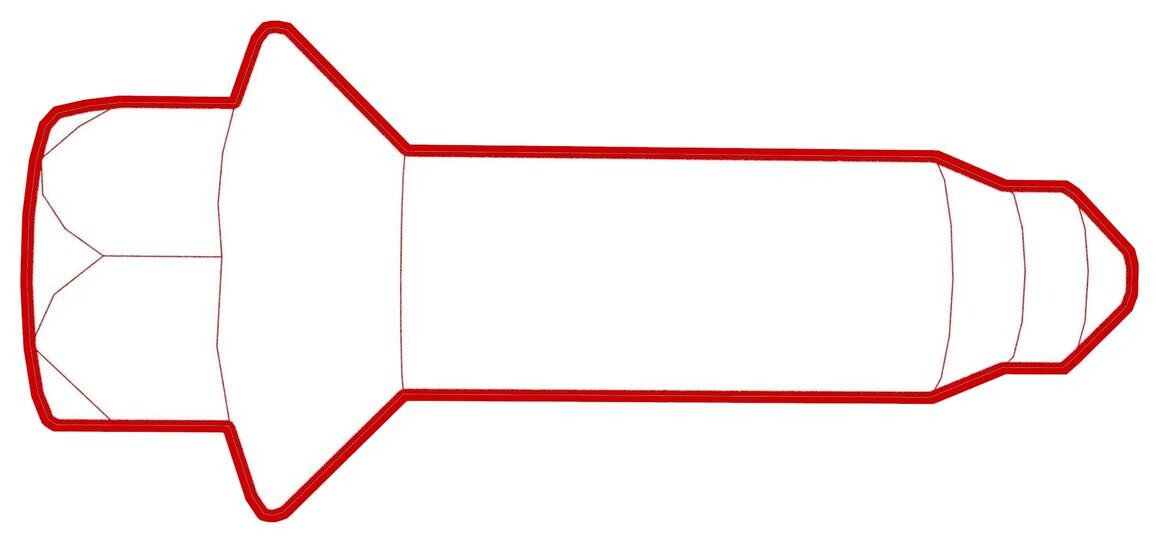
Remove the bolt that
attaches the door check to the B-pillar.
CAUTIONUnbolting the door check allows the door to swing freely beyond opening limits.
-
Use a dry-erase marker or
tape to mark the mounting locations of the door hinges on the door.
-
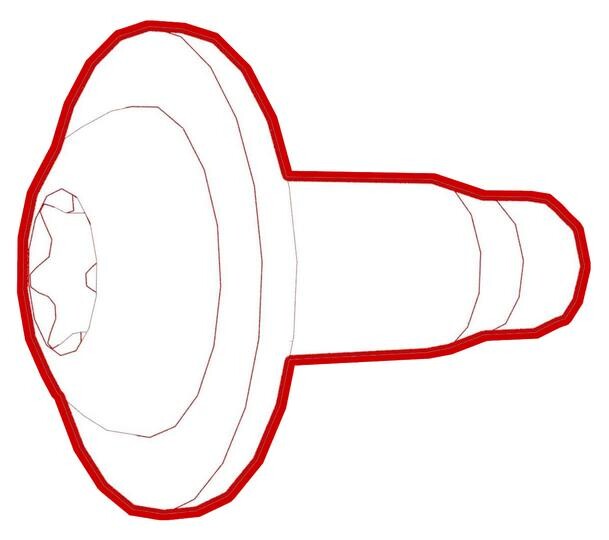
Loosen the upper bolt of
each hinge that attaches the rear LH door to the hinge by approximately 5
mm.
-
With assistance, remove the
lower bolt of each hinge, and then unhook and lift the door away from the
vehicle.
Install
-
Make sure that the upper
bolt for each door hinge is installed, and the bolt head extends
approximately 10 mm from flush.
- With assistance, lower the rear LH door onto the door hinges, and engage the upper bolts into the hinges.
-
Install the lower bolt of
each hinge into the door and hand-tighten all bolts.
-
Position the door so that
the hinges line up with the dry-erase marker lines or the marking
tape.
-
Tighten the hinge
bolts.
 24 Nm (17.7 lbs-ft)
 -
Install the bolt that
attaches the door check to the B-pillar.
 24 Nm (17.7 lbs-ft)
 -
Connect the rear LH door
wiring harness and press the harness against the inside of the rear LH
door.
- Open the front LH door and close the rear LH door.
-
Move the rear LH door
electrical harness connector into the hole in the B-pillar, press the rear
LH door wiring harness seal into the B-pillar, and fasten the clips (x4)
that attach the seal to the B-pillar bulkhead.
NoteMake sure that the rear LH door wiring harness seal fits tightly against the B-pillar bulkhead.
- Raise the rear LH window, remove the shop towel from the rear LH door striker, and close both LH doors.