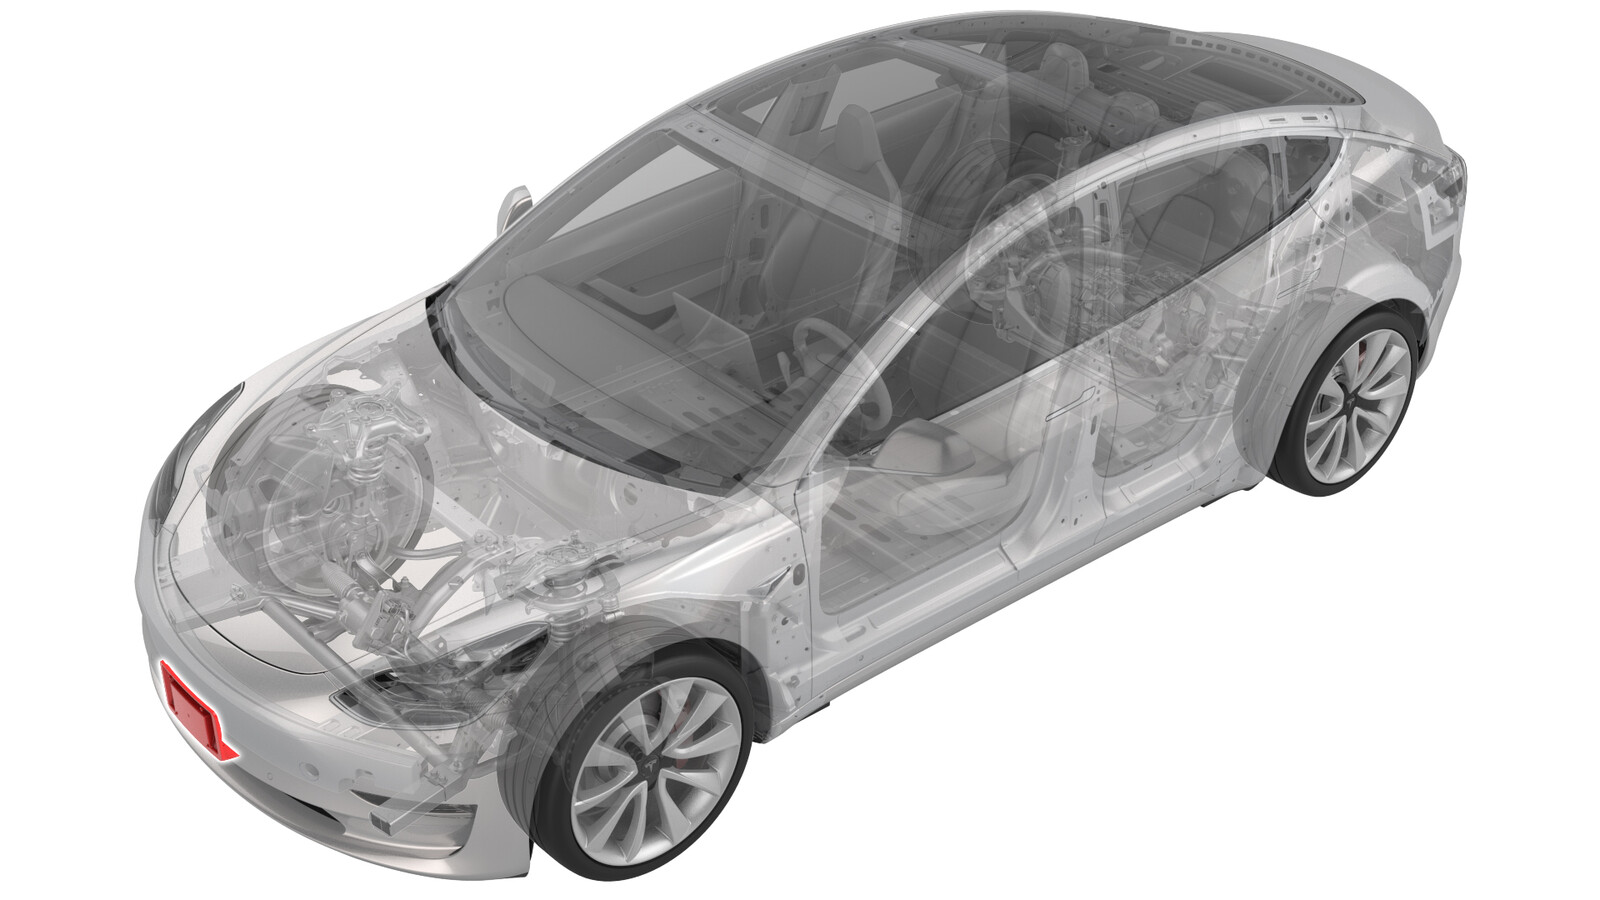
Bracket - License Plate - Front (EMEA) (Retrofit using Template)
 Correction code
12070116
0.12
NOTE: Unless otherwise explicitly
stated in the procedure, the above correction code and FRT reflect all of the work
required to perform this procedure, including the linked procedures. Do not stack correction codes unless
explicitly told to do so.
NOTE: See Flat Rate
Times to learn more about FRTs and how they are created. To provide feedback on
FRT values, email ServiceManualFeedback@tesla.com.
NOTE: See Personal Protection to make sure wearing proper PPE when
performing the below procedure. See Ergonomic Precautions for safe and healthy working practices.
Procedure
- Clean the front center surface of the front fascia.
-
Align the template with the parking sensors, and then use masking tape to hold the template in place.
-
Align the front license plate bracket over the template, and then secure the bracket to the front fascia with masking tape.
LH side shown, RH side similar
-
Verify that the front license plate bracket is level with a bubble level. Make sure that there is no variance compared to level ground.
-
Paint the top 2 bracket holes on the front fascia with a paint marker; use the pilot holes to mount the front license plate bracket. The bottom holes cover the template.
NoteThe template must be removed before fastening the front license plate bracket to the front fascia.
RH side
LH side
- Remove the front license plate bracket and the template.
- Wear eye and ear protection before continuing.
-
Use a 7/64 in (3 mm) drill bit to drill 4 holes through the front fascia.
CAUTIONOnly drill though the top surface of the front fascia. Drilling too far can result in damage to the vehicle.
-
Install the 2 top screws (part number 1104972-00-A) that attach the front license plate bracket to the front fascia.
 1 Nm (.7 lbs-ft)
 -
Install the 2 bottom screws (part number 1104972-00-A) that attach the front license plate bracket to the front fascia.
 1 Nm (.7 lbs-ft)