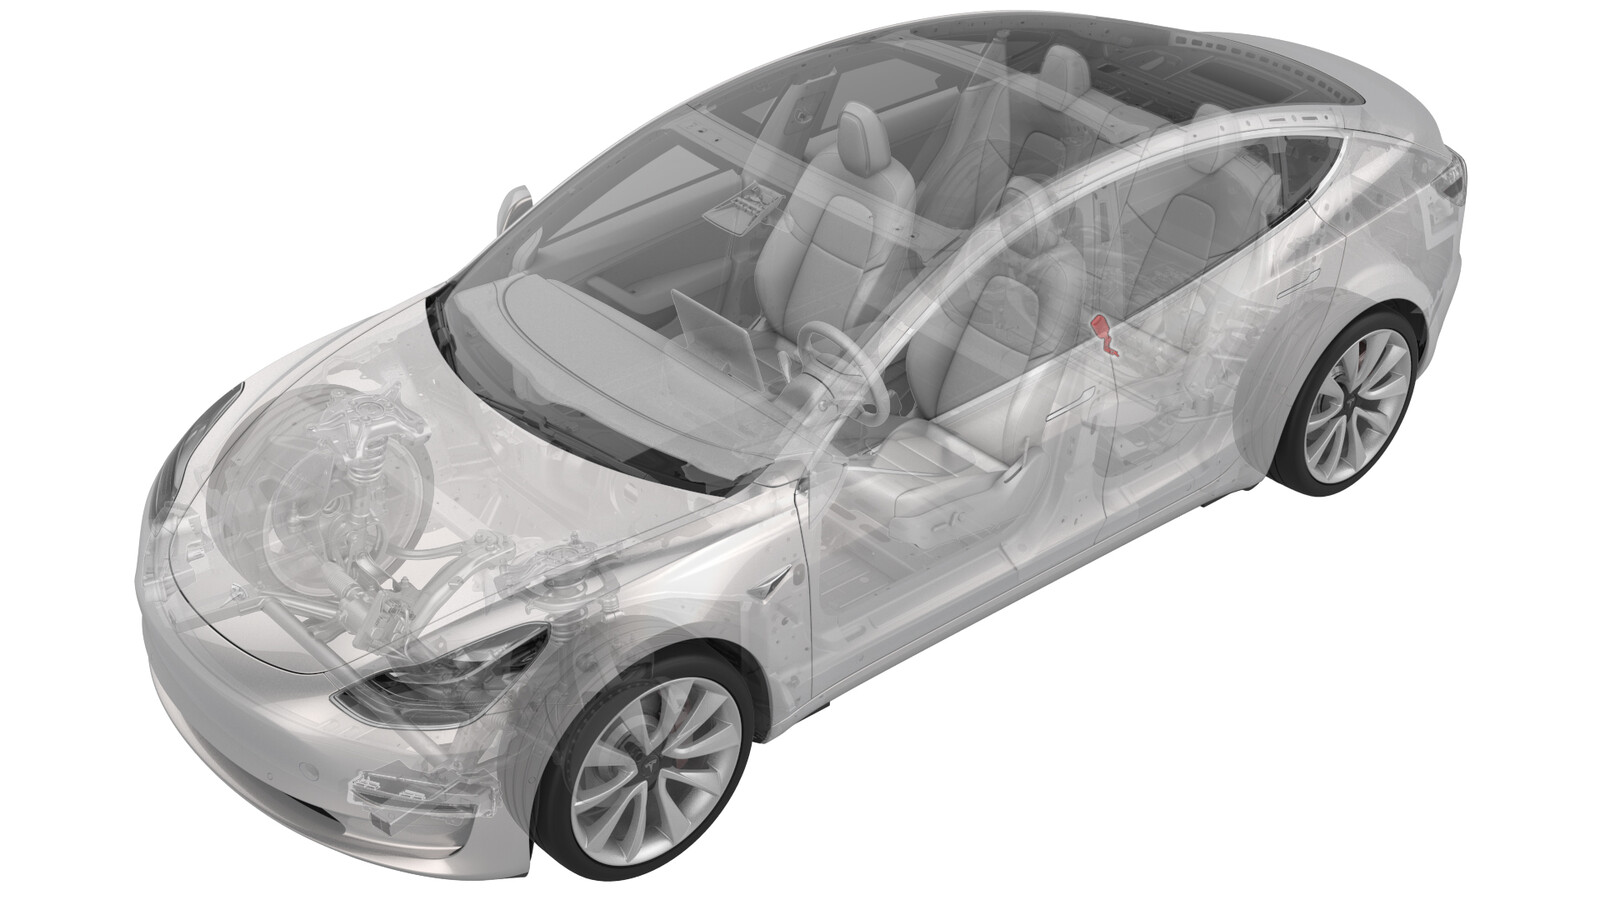
Buckle - 2nd Row - LH (Remove and Replace)
 Correction code
20057002
0.18
NOTE: Unless otherwise explicitly
stated in the procedure, the above correction code and FRT reflect all of the work
required to perform this procedure, including the linked procedures. Do not stack correction codes unless
explicitly told to do so.
NOTE: See Flat Rate
Times to learn more about FRTs and how they are created.
NOTE: See Personal Protection to make sure wearing proper PPE when
performing the below procedure. NOTE: See Ergonomic Precautions for safe and healthy working
practices.
Correction code
20057002
0.18
NOTE: Unless otherwise explicitly
stated in the procedure, the above correction code and FRT reflect all of the work
required to perform this procedure, including the linked procedures. Do not stack correction codes unless
explicitly told to do so.
NOTE: See Flat Rate
Times to learn more about FRTs and how they are created.
NOTE: See Personal Protection to make sure wearing proper PPE when
performing the below procedure. NOTE: See Ergonomic Precautions for safe and healthy working
practices.
Equipment:
- 2152873-00-A Tool, Inductive Heating
Torque Specifications
| Description | Torque Value | Recommended Tools | Reuse/Replace | Notes |
|---|---|---|---|---|
| Patched bolt that attaches the LH buckle to the body of the vehicle |  40 Nm (29.5 lbs-ft) |
|
Replace | Bolt is patched. Inductive heater can be used if bolt is difficult to remove. |
Remove
- Remove the 2nd row lower seat cushion. See Seat Cushion - Lower - 2nd Row (Remove and Replace).
-
Disconnect the LH rear seat belt buckle electrical connector.
-
Release the plastic bracket that attaches the female side of the electrical connector to the body studs.
-
Remove and discard the bolt
that attaches the LH 2nd row buckle to the body, and then remove the buckle
from the vehicle.
 40 Nm (29.5 lbs-ft)TIpIf the bolt is hard to remove, use an inductive heating tool to melt the adhesive patch material. Position the inductive heating tool coil around the bolt, and then heat the bolt for 20 seconds. Allow the bolt to cool down for 2 minutes, and then remove and discard the bolt. The inductive heater coil, bolt, and adjacent areas will be extremely hot.WarningPersons that have a pacemaker or any other kind of electronic or metal surgical implant must stay at least 1 m (3 ft) away from the inductive heater while it is in use.WarningRemove all metallic items (such as coins, keys, electronics, and tools) from pockets before using the inductive heater.WarningEnsure that there is a properly-maintained fire extinguisher in the work area before using the inductive heater.WarningUse the inductive heater in a well-ventilated area.
Callout Description 1 LH 2nd Row Buckle on Top 2 Center 2nd Row Seatbelt Anchor in the Middle 3 LH Inner Ancillary Bay Rail at the Bottom
Install
-
This video shows how to properly stack the 2nd row LH seat buckle onto the
2nd row center seat belt anchor:
-
Set the 2nd row center seat
belt anchor onto the 2nd row LH inner ancillary bay rail, with the belt to the
RH side.
-
Make sure that the belt is not twisted, and lays flat against the 2nd row
seatback.
-
Set the guide pin of the 2nd row LH seat buckle bracket into the hole of
the 2nd row LH inner ancillary bay rail, and pivot the bracket down onto the
anchor, aligning the guide pin to the slot in the anchor.
-
Install a new bolt to attach the seat buckle bracket, the seat belt anchor,
and the inner ancillary bay rail to the body.40 Nm (29.5 lbs-ft)
-
Verify the stacking.
Callout Description 1 LH 2nd Row Buckle on Top 2 Center 2nd Row Seatbelt Anchor in the Middle 3 LH Inner Ancillary Bay Rail at the Bottom -
Install the plastic bracket that attaches the female side of the electrical connector to the body studs.
-
Connect the LH rear seat belt buckle electrical connector.
- Install the 2nd row lower seat cushion. See Seat Cushion - Lower - 2nd Row (Remove and Replace).