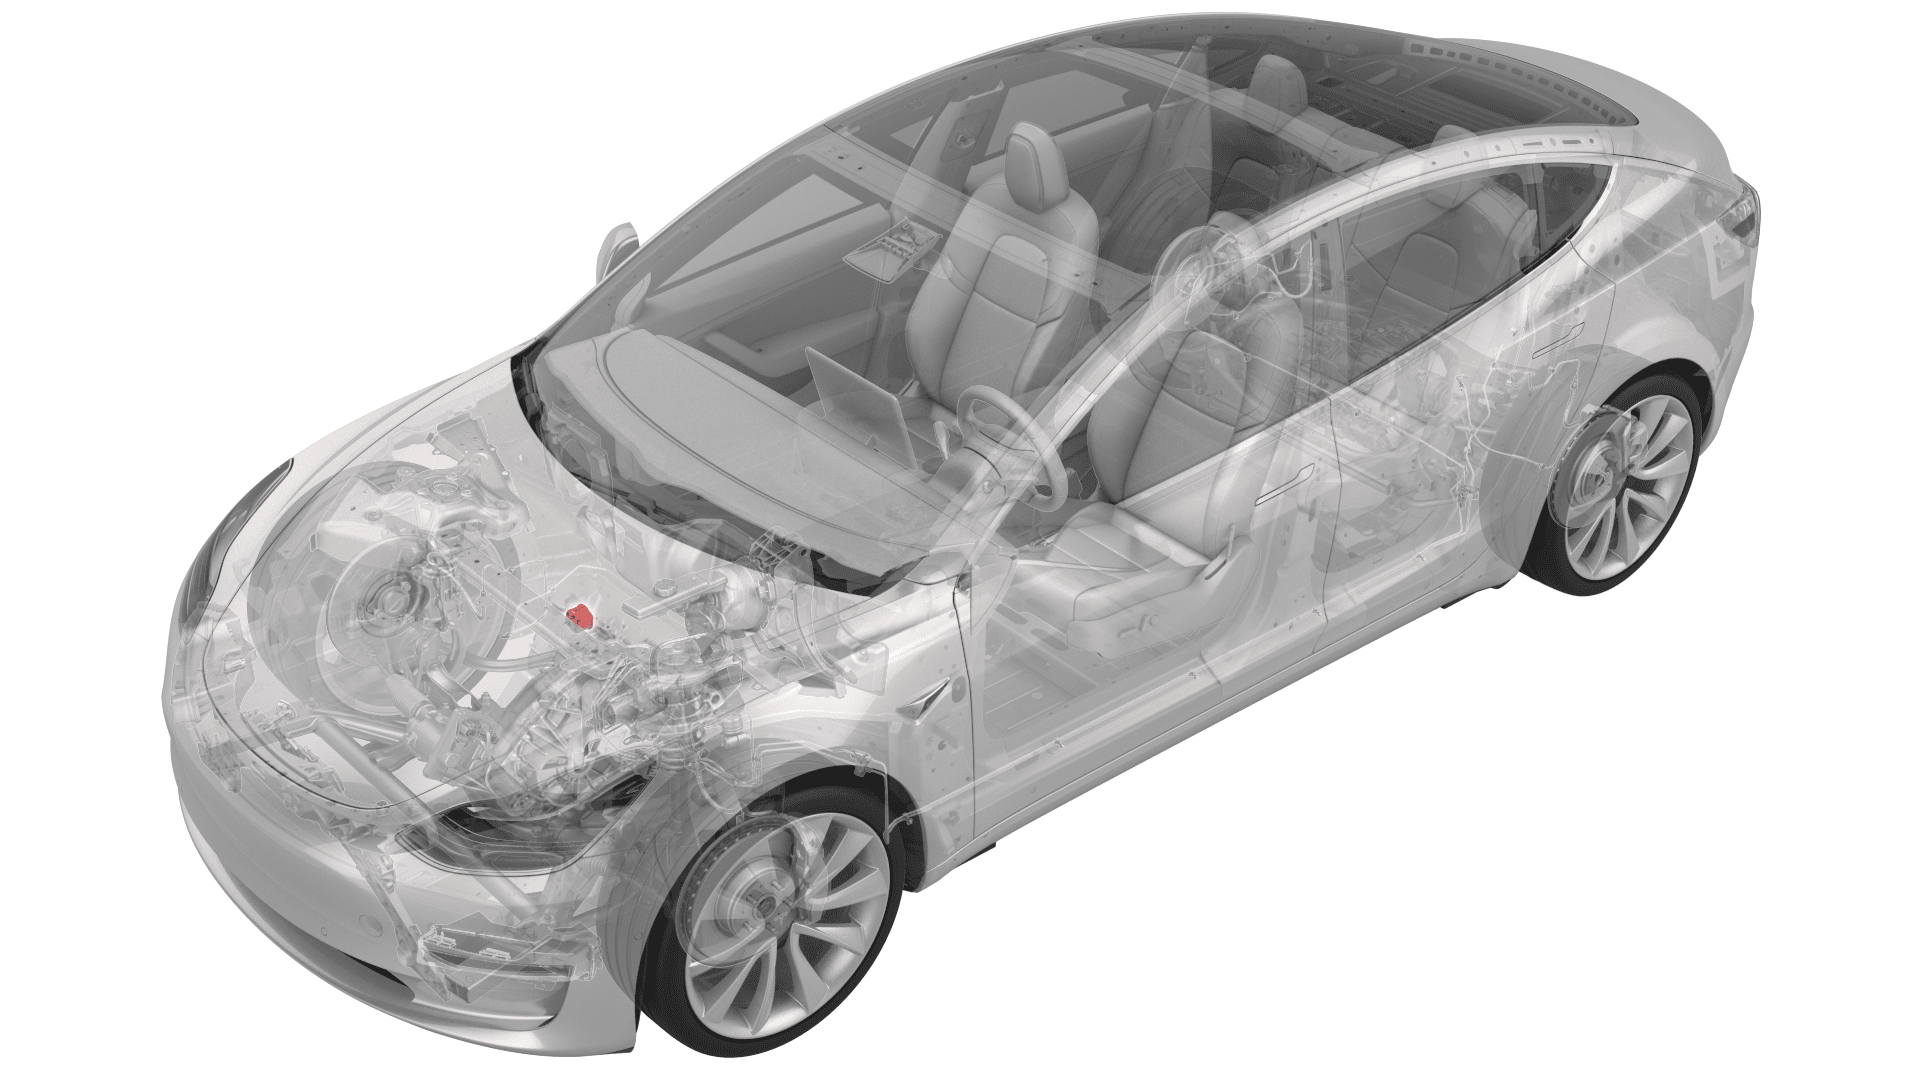
Bushing – Front Drive Unit – RH (Remove and Replace)
 Correction code
39011102
2.94
NOTE: Unless otherwise explicitly
stated in the procedure, the above correction code and FRT reflect all of the work
required to perform this procedure, including the linked procedures. Do not stack correction codes unless
explicitly told to do so.
NOTE: See Flat Rate
Times to learn more about FRTs and how they are created. To provide feedback on
FRT values, email ServiceManualFeedback@tesla.com.
NOTE: See Personal Protection to make sure wearing proper PPE when
performing the below procedure. See Ergonomic Precautions for safe and healthy working practices.
Remove
- Remove the front subframe assembly from the vehicle. See Subframe Assembly - Front (Dual Motor) (Remove and Install).
-
Install the bushing tool on the RH front drive unit bushing.
NoteUse cups "K", "B", and "I" when assembling the special tool, as shown.
Figure 1. Other assemblies hidden for clarity -
Turn the bearing-side bushing tool nut with a wrench while holding the opposite nut in place.
CAUTIONApply torque only to the bearing-side bushing tool nut.
Figure 2. Apply torque only to the nut highlighted red -
When the bushing has been pushed out of the front drive unit, separate the bushing tool, and then remove the bushing.
Install
-
Set up the bushing tool to press in the new bushing.
NoteUse cups "L", "J", and "C" when assembling the special tool, as shown.NoteMake sure the rubber tab is visible at the top of cup "J".
Figure 3. Cups "L", "J", and "C" used to install the bushing Figure 4. Rubber tab visible at the top of cup "J" -
Turn the bearing-side bushing tool nut with a wrench until the bushing flange makes contact with the front drive unit.
CAUTIONApply torque only to the bearing-side bushing tool nut.NoteWhile installing the bushing, make sure the rubber tab remains visible at the top of cup "J".
Figure 5. Apply torque only to the nut highlighted red - Separate the bushing tool, and then remove it from the drive unit.
-
Make sure the bushing alignment lug is oriented to 12 o'clock.
Figure 6. Other assemblies hidden for clarity - Install the front subframe assembly on the vehicle. See Subframe Assembly - Front (Dual Motor) (Remove and Install).