Overhead Console - Rear (Remove and Replace)
 Correction code
15202402
0.18
NOTE: Unless otherwise explicitly
stated in the procedure, the above correction code and FRT reflect all of the work
required to perform this procedure, including the linked procedures. Do not stack correction codes unless
explicitly told to do so.
NOTE: See Flat Rate
Times to learn more about FRTs and how they are created.
NOTE: See Personal Protection to make sure wearing proper PPE when
performing the below procedure. NOTE: See Ergonomic Precautions for safe and healthy working
practices.
Correction code
15202402
0.18
NOTE: Unless otherwise explicitly
stated in the procedure, the above correction code and FRT reflect all of the work
required to perform this procedure, including the linked procedures. Do not stack correction codes unless
explicitly told to do so.
NOTE: See Flat Rate
Times to learn more about FRTs and how they are created.
NOTE: See Personal Protection to make sure wearing proper PPE when
performing the below procedure. NOTE: See Ergonomic Precautions for safe and healthy working
practices.
- 2026-04-14: Updated procedure: added 12V disconnect/reconnect and removed Toolbox steps.
Remove
- Disconnect 12/LV power. See 12V/LV Power (Disconnect and Connect).
- Connect 12V/LV power, but leave the 12V/LV battery and first responder loop (if equipped) disconnected.
-
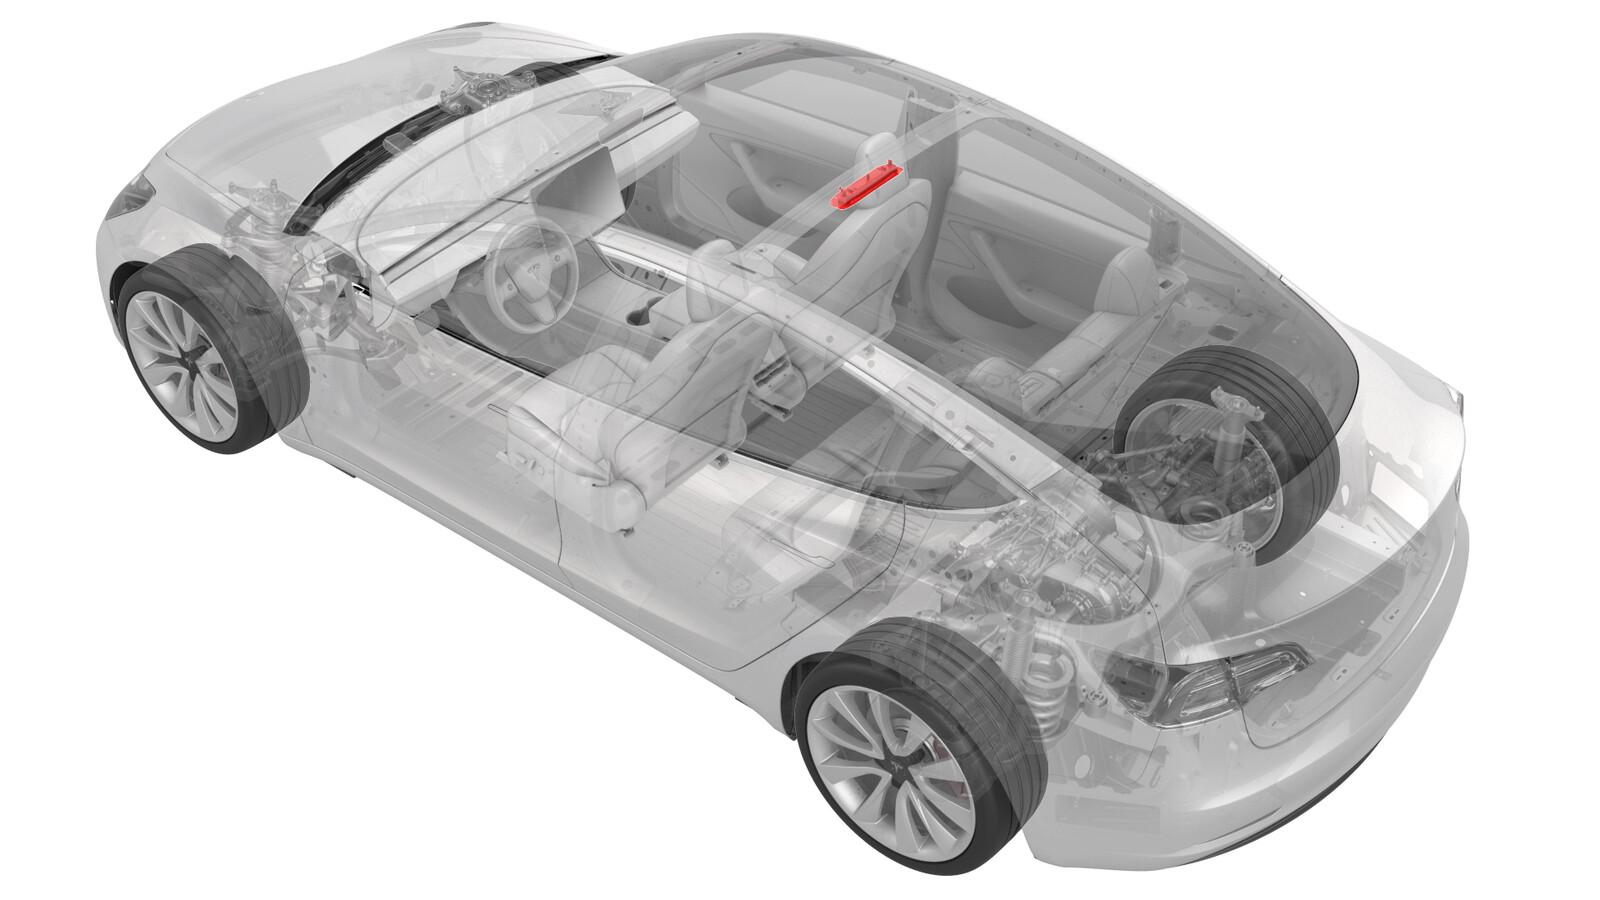
Release the clips (x2) that attach the rear overhead console to the headliner, and then lower the console from the headliner.
CAUTIONTo avoid damaging the headliner, do not pry against the headliner. Insert a 90 degree trim tool near the dome light and pull downwards to release the clip, and then move to the other side to release the remaining clip.NoteRear overhead console without intrusion sensors shown. Procedure identical for model with intrusion sensors.
-
Disconnect the connector from the rear
overhead console, and then remove the console from the vehicle.
Install
-
Install the connector to the new rear overhead console.
- Install the new rear overhead console into the headliner.
- Connect the 12V/LV battery and first responder loop (if equipped).