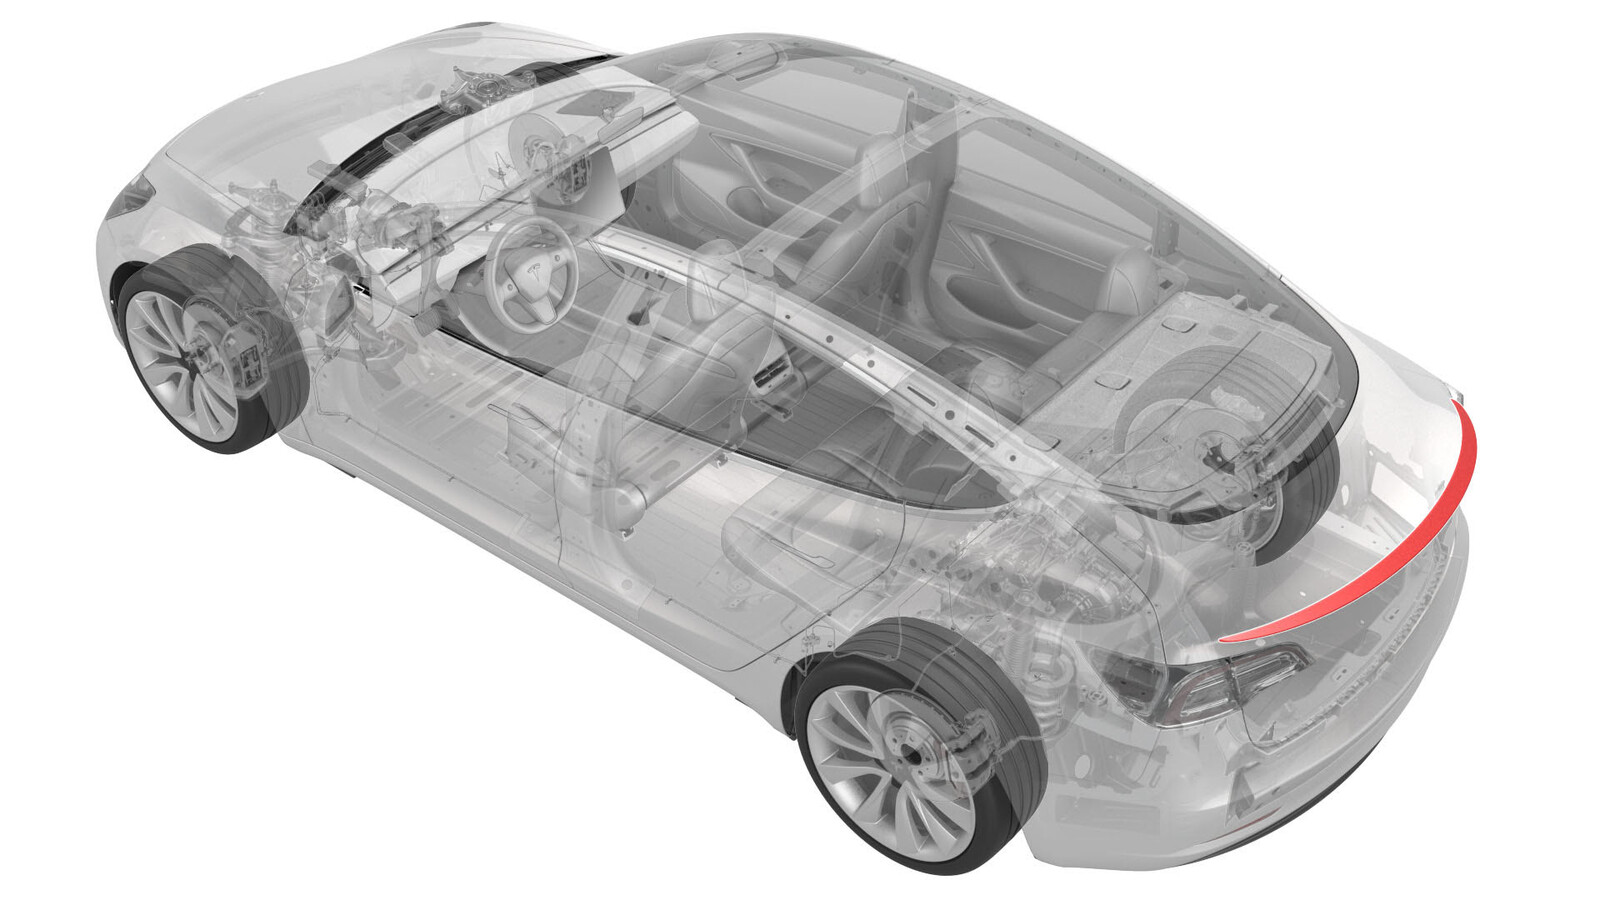
Spoiler - Rear (Remove and Install)
 Correction code
12220401
0.60
NOTE: Unless otherwise explicitly
stated in the procedure, the above correction code and FRT reflect all of the work
required to perform this procedure, including the linked procedures. Do not stack correction codes unless
explicitly told to do so.
NOTE: See Flat Rate
Times to learn more about FRTs and how they are created.
NOTE: See Personal Protection to make sure wearing proper PPE when
performing the below procedure. NOTE: See Ergonomic Precautions for safe and healthy working
practices.
Correction code
12220401
0.60
NOTE: Unless otherwise explicitly
stated in the procedure, the above correction code and FRT reflect all of the work
required to perform this procedure, including the linked procedures. Do not stack correction codes unless
explicitly told to do so.
NOTE: See Flat Rate
Times to learn more about FRTs and how they are created.
NOTE: See Personal Protection to make sure wearing proper PPE when
performing the below procedure. NOTE: See Ergonomic Precautions for safe and healthy working
practices.
- 2025-05-08: Updated spoiler wet-out video.
- 2025-03-03: Added wet-out instructions, video of wet-out process, and noted that adhesion promoter SHOULD NOT be used.
Equipment:
- 1479070-00-A Kit, Spoiler Alignment, M3
- 1453028-00-A KIT, BADGE REMOVAL
Remove
-
Use a towel and/or compressed air to clean the area surrounding the spoiler.
WarningTo avoid personal injury, eye protection must be worn while using compressed air.
- Assemble the badge removal kit by cutting an approximately 24 inch section of fishing line and connecting each end of the fishing line to a handle using a knot.
-
Apply masking tape to mark
the original location of the rear spoiler.
-
Starting from one end of the spoiler, carefully use the badge removal kit to release the spoiler from the trunk.
CAUTIONCare must be taken to avoid damage to paintwork and exterior trim.
- Use a vacuum to remove any debris or dirt from the trunk.
-
Using a rubber wheel, remove any remaining adhesive from the trunk.
WarningTo avoid personal injury, eye and ear protection must be worn while performing this step.
Clean Spoiler
-
Remove all residual tape from the spoiler using a rubber wheel, trim tool, and isopropyl alcohol (IPA) wipes. Make sure that all residue has been removed and that the spoiler is completely dry before continuing.
WarningTo avoid personal injury, eye and ear protection must be worn while performing this step.
- Clean the bottom of the spoiler with isopropyl alcohol (IPA) wipes, and allow it to dry for one minute before continuing.
-
Install the adhesive tape onto the spoiler by peeling off the backing of the adhesive tape and aligning the back side of the tape onto the spoiler.
Install
-
Clean the spoiler installation surface with isopropyl alcohol (IPA) wipes, and allow it to dry before continuing.
NoteClean any moisture or contaminates that might be present from rain or vehicle washing, otherwise this might result in poor adhesion of the rear spoiler.NoteIf the trunk surface requires any paint correction, request assistance from the body shop or shop detailer before the installation of the rear spoiler.NoteThe acceptable ambient and part temperature for installation is 15-43 degrees Celsius (60-110 degrees Fahrenheit) for proper adhesion.
-
Without removing the adhesive backing on the new rear spoiler, align the
spoiler using the masking tape applied during removal.
-
Apply masking tape to the center of the rear spoiler and trunk, and then
use a marker to draw centering lines on the masking tape.
NoteThe centering lines should be approximately 25mm apart.
-
Verify the rear spoiler fitment on the trunk lid.
NoteEach rear spoiler might have a slight different contour. Make sure the rear spoiler is centered on the trunk lid and its corners are laying flat.
-
Use a plastic trim tool to cut the masking tape to allow removal of the
rear spoiler..
CAUTIONDo not damage the surfaces of the trunk lid or rear spoiler while using a plastic razor blade.
-
Remove the rear spoiler from the trunk lid, and then remove the adhesive
backing from the rear spoiler.
CAUTIONDo not apply adhesion promoter to the trunklid, as it can impair adhesion of the spoiler tape and/or damage the paint.
- Align the two marks on the masking tape on the rear spoiler with the two marks on the masking tape on the trunk lid. Hold the corners of the rear spoiler away from the trunk lid to install the center section of the rear spoiler first.
- Secure each end of the rear spoiler to the trunk lid.
-
Wet out the adhesive: working on one
small section at a time, apply > 20 pounds of pressure for 10 seconds on the spoiler.
Wet out the entire length of the spoiler, with extra emphasis on the ends of the
spoiler.
-
Remove the masking tape from the vehicle, and then clean the work area.
NoteMake sure that the rear spoiler corners are laid flat to the trunk lid and symmetrical.