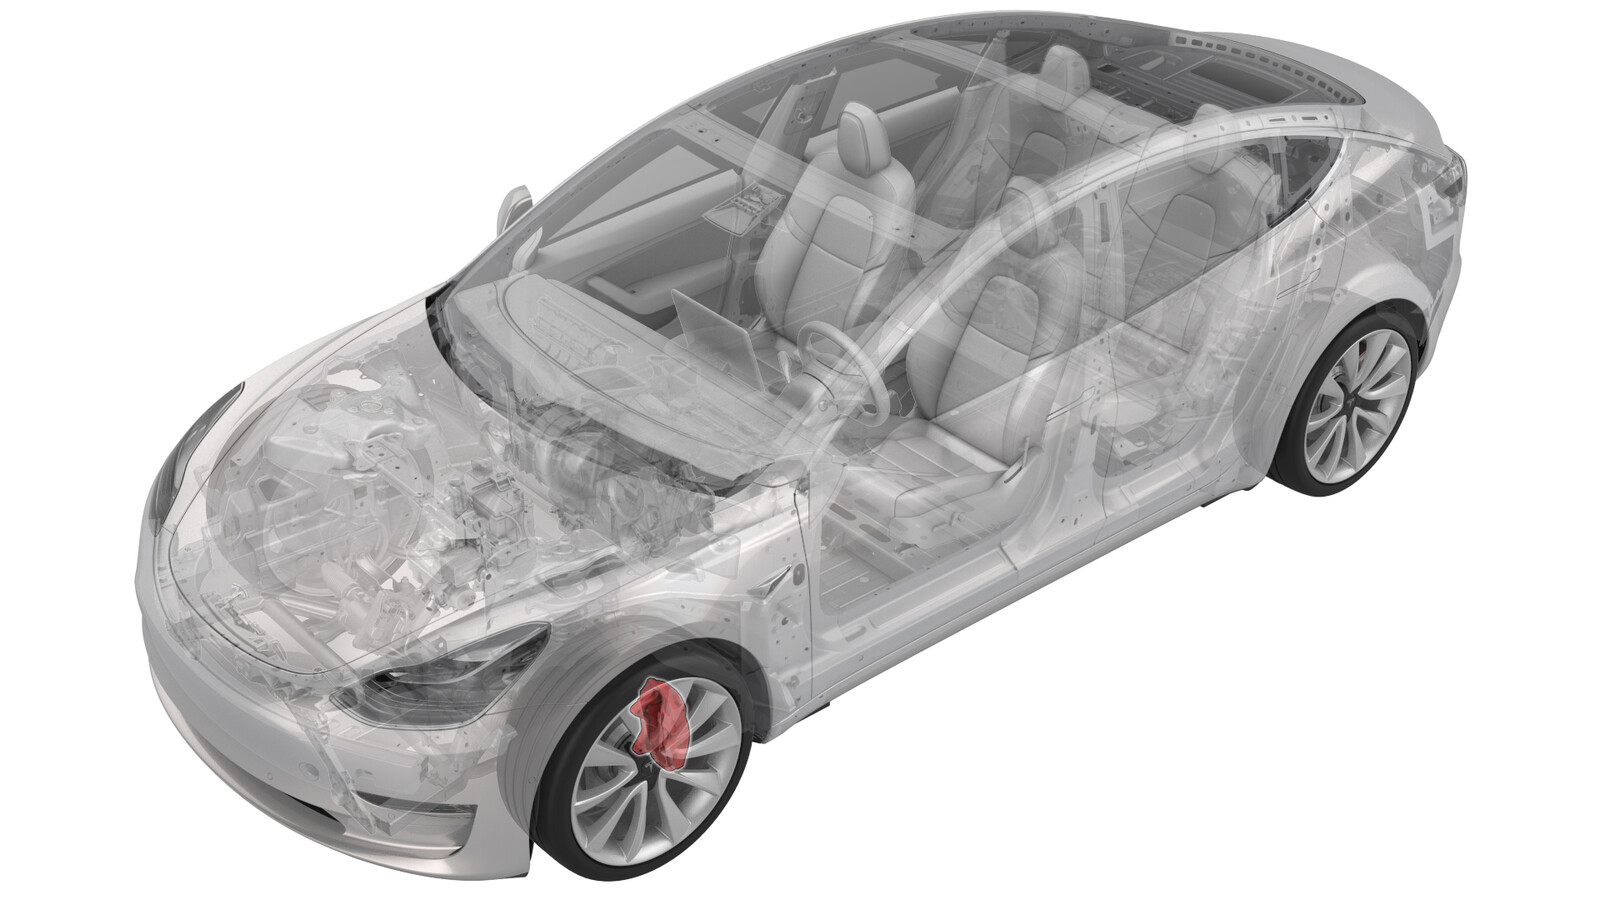
Brake Caliper - Front - LH (Remove and Replace)
 Correction code
33010302
0.54
NOTE: Unless otherwise explicitly
stated in the procedure, the above correction code and FRT reflect all of the work
required to perform this procedure, including the linked procedures. Do not stack correction codes unless
explicitly told to do so.
NOTE: See Flat Rate
Times to learn more about FRTs and how they are created. To provide feedback on
FRT values, email ServiceManualFeedback@tesla.com.
NOTE: See Personal Protection to make sure wearing proper PPE when
performing the below procedure. See Ergonomic Precautions for safe and healthy working practices.
- 2024-06-06: Updated the torque specification table.
Torque Specifications
| Description | Torque Value | Recommended Tools | Reuse/Replace | Notes |
|---|---|---|---|---|
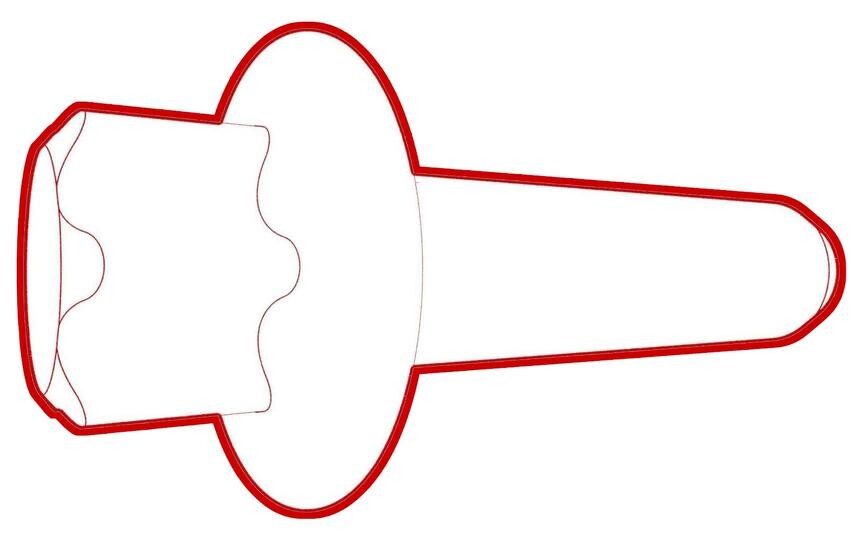
| Bolts that attach the LH front brake caliper to the LH front knuckle |
 94 Nm (69.3 lbs-ft) |
|
Replace | 1088969-00-B |
Remove
-
Place the vehicle on the
2-post lift.
TIpEnsure the vehicle is not charging.
- Remove the rear underhood apron. See Underhood Apron - Rear (Remove and Replace).
- Remove the LH front wheel. See Wheel Assembly (Remove and Install).
- Remove the LH front jounce hose. See Brake Hose - Flexible - Front - LH (Remove and Replace).
-
Remove and discard the bolts
that attach the LH front brake caliper to the LH front knuckle, and then
remove the caliper from the vehicle.
TIpUse of the following tool(s) is recommended:
- Cordless Ratchet/Impact Driver
- 3/8 in to ½ in adapter
- External Torx E18
- Ratchet/torque wrench
Install
-
Install the LH front brake
caliper onto the LH front knuckle, and then install new bolts to attach the
caliper to the knuckle.
 94 Nm (69.3 lbs-ft)TIpUse of the following tool(s) is recommended:
- Cordless Ratchet/Impact Driver
- 3/8 in to ½ in adapter
- External Torx E18
- Ratchet/torque wrench
- Install a new LH front jounce hose. See Brake Hose - Flexible - Front - LH (Remove and Replace).
- Lower the vehicle.
- Perform the bleed procedure for the LH front brake caliper. See Brake Fluid Bleed - One Caliper.
- Install the LH front wheel. See Wheel Assembly (Remove and Install).
- Install the rear underhood apron. See Underhood Apron - Rear (Remove and Replace).
-
Select one of the
following:
- If the brake pads were not replaced with the brake caliper, go to the next step, and then finish this procedure.
- If the brake pads were replaced with the brake caliper, go to step 8
-
Perform a road test and burnish the
brake pads. See Brake Pads - Burnishing.
NoteEnsure proper brake pedal feel and brake performance.NoteAdd correction code 33013000 as a separate activity to the SV.