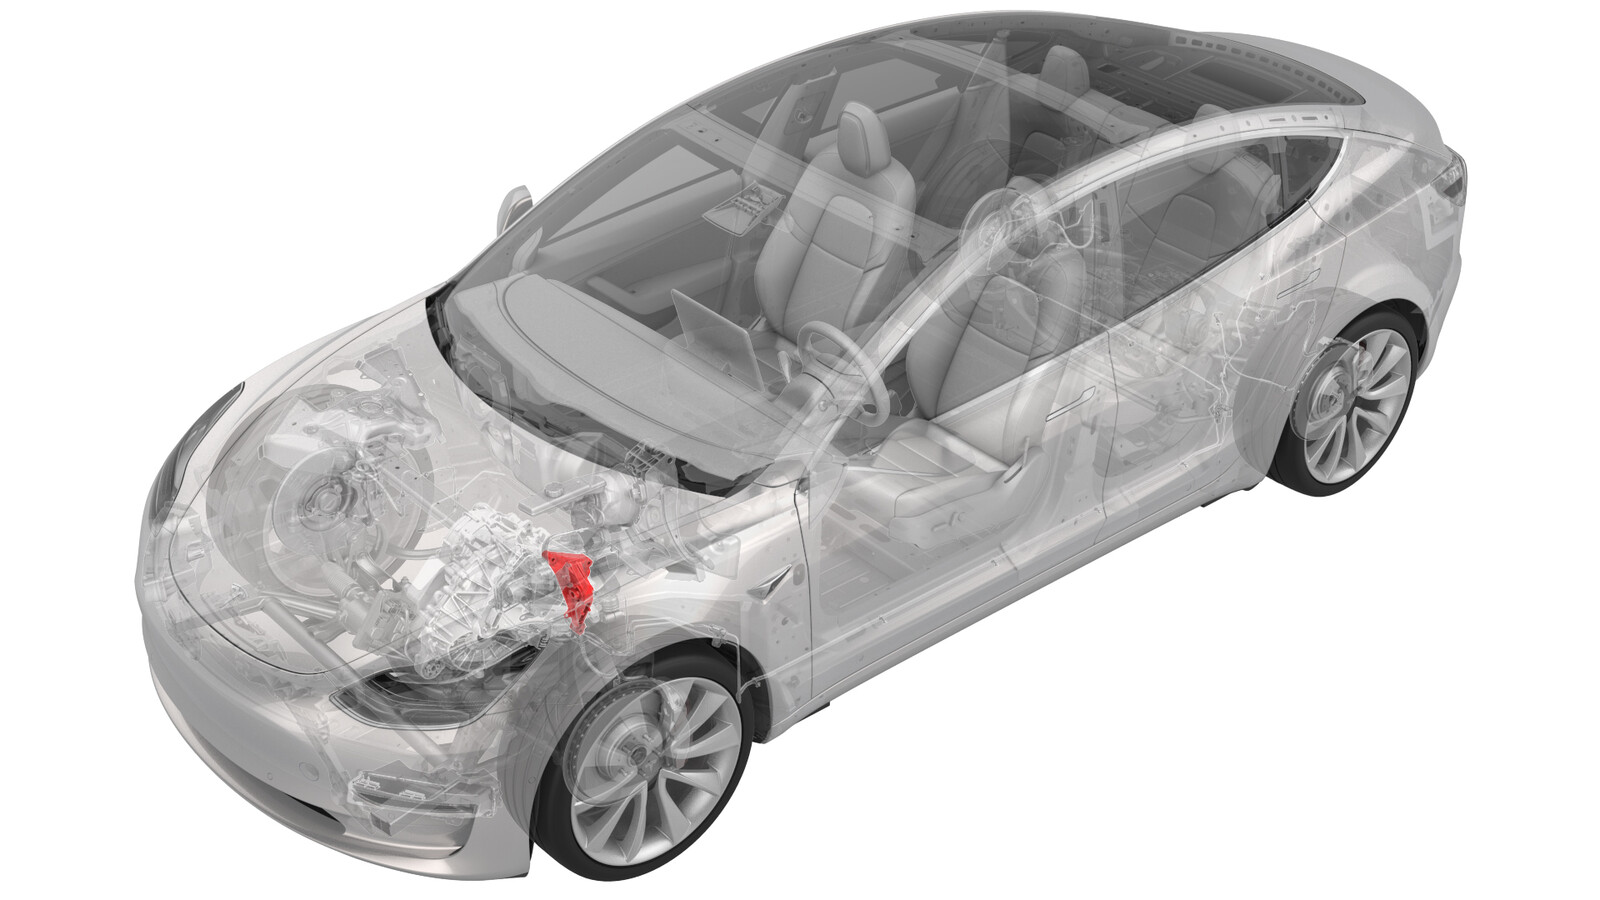
Mount - Front Drive Unit - LH (Remove and Replace)
 Correction code
39012600
3.12
NOTE: Unless otherwise explicitly
stated in the procedure, the above correction code and FRT reflect all of the work
required to perform this procedure, including the linked procedures. Do not stack correction codes unless
explicitly told to do so.
NOTE: See Flat Rate
Times to learn more about FRTs and how they are created. To provide feedback on
FRT values, email ServiceManualFeedback@tesla.com.
NOTE: See Personal Protection to make sure wearing proper PPE when
performing the below procedure. See Ergonomic Precautions for safe and healthy working practices.
- 2025-06-17: Updated the mount bolts from "reuse" to "replace" and added the bolt PN.
- 2024-07-03: Changed last step to perform alignment check/adjust to reference to alignment requirement table.
- 2023-07-26: Fixed broken link and added tooling info.
Remove
- Remove the front subframe assembly. See Subframe Assembly - Front (Dual Motor) (Remove and Install).
-
Release the clips that
attach the front subframe electrical harness to the front drive unit
inverter.
-
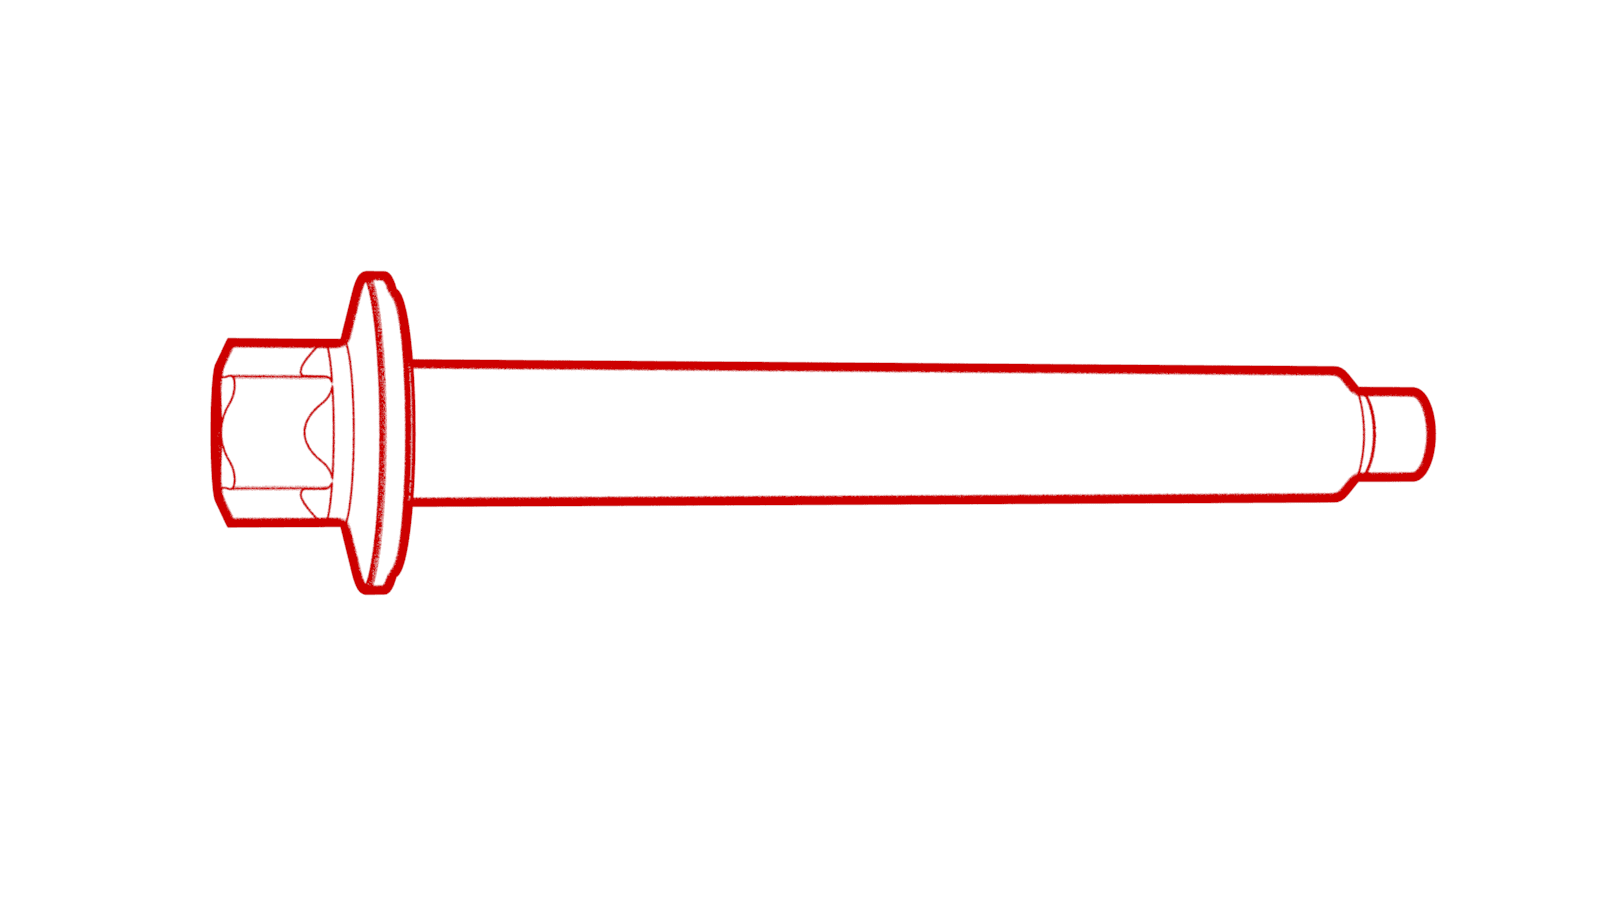
Remove and discard the bolts
that attach the LH front drive unit mount to the front drive unit, and then
remove the mount from the front drive unit.
 35 Nm (25.8 lbs-ft) + 55 degreesTIpUse of the following tool(s) is recommended:
- Ratchet/torque wrench
- External Torx E14
Install
-
Install the LH front drive
unit mount to the front drive unit, and then install new bolts that attach
the mount to the front drive unit.
 35 Nm (25.8 lbs-ft) + 55 degreesNoteBolt PN: 1111864-00-BTIpUse of the following tool(s) is recommended:
- Torque wrench with angle measurement
- External Torx E14
-
Fasten the clips that attach the front drive unit harness to the front
drive unit inverter.
- Install the front subframe assembly. See Subframe Assembly - Front (Dual Motor) (Remove and Install).
- Refer to the Alignment Requirement tables to determine whether an EPAS alignment check (EC) or four wheel alignment check (AC) is necessary. If performed, add the alignment check/adjust correction code as a separate activity to the SV. See Alignment Requirement - Suspension.