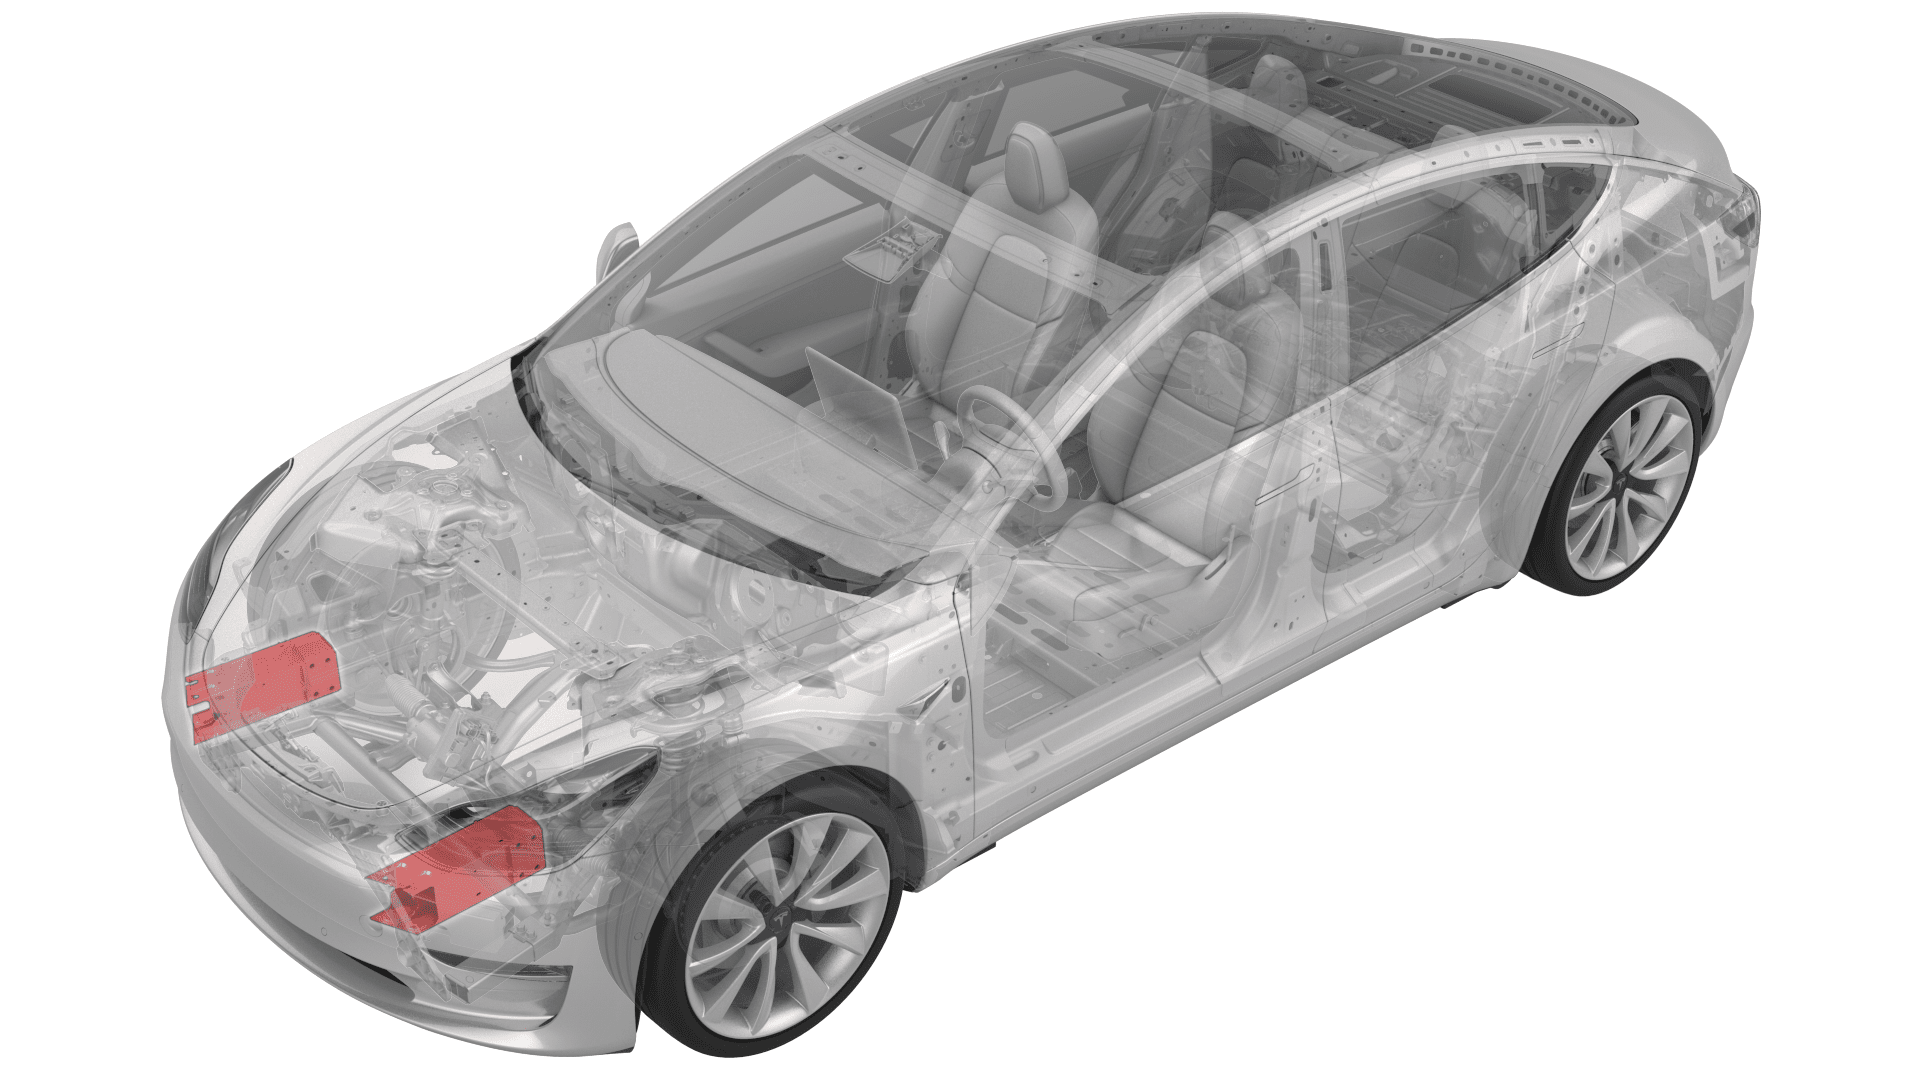
Crush Can - Upper - Front - LH (Remove and Replace)
 Correction code
10012402
1.14
NOTE: Unless otherwise explicitly
stated in the procedure, the above correction code and FRT reflect all of the work
required to perform this procedure, including the linked procedures. Do not stack correction codes unless
explicitly told to do so.
NOTE: See Flat Rate
Times to learn more about FRTs and how they are created.
NOTE: See Personal Protection to make sure wearing proper PPE when
performing the below procedure. NOTE: See Ergonomic Precautions for safe and healthy working
practices.
Correction code
10012402
1.14
NOTE: Unless otherwise explicitly
stated in the procedure, the above correction code and FRT reflect all of the work
required to perform this procedure, including the linked procedures. Do not stack correction codes unless
explicitly told to do so.
NOTE: See Flat Rate
Times to learn more about FRTs and how they are created.
NOTE: See Personal Protection to make sure wearing proper PPE when
performing the below procedure. NOTE: See Ergonomic Precautions for safe and healthy working
practices.
- 2024-02-22: Added 12V/LV Power (Disconnect and Connect).
- 2023-06-16: Updated torque for the fastener that attaches the crush can to the fender support.
Remove
- Raise and support the vehicle. See Raise Vehicle - 2 Post Lift.
- Remove the rear underhood apron. See Underhood Apron - Rear (Remove and Replace).
- Remove the cabin intake duct. See Duct - Upper - Cabin Intake (Remove and Replace).
- Remove the hood latch cover. See Cover - Hood Latch (Remove and Replace).
- Remove the underhood storage unit. See Underhood Storage Unit (Remove and Replace).
- Disconnect 12V/LV power. See 12V/LV Power (Disconnect and Connect).
- Remove the front fascia assembly. See Fascia - Front (Remove and Install).
-
Disconnect the electrical harness from the LH front airbag sensor connector.
-
Disconnect the electrical harness from the center front airbag sensor connector.
-
Disconnect the electrical harness from the RH front airbag sensor connector.
-
Remove the bolts that attach the front bumper with the energy absorbers to the LH and RH crush cans.
-
Carefully remove the front bumper with the energy absorbers from the vehicle.
CAUTIONDo not damage the body when prying the front bumper.NoteLightly tap the front bumper with a dead blow harmer to assist with removal of the front bumper.
-
Remove the bolts (x2) that attach the bottom of the cooling fan module to the ankle catcher, and then set the cooling fan module onto the front subframe.
NoteLift the condenser fan module up to ease removal of the bolts.
-
Release the clips (x3) that attach the electrical harness to the LH front crush can.
-
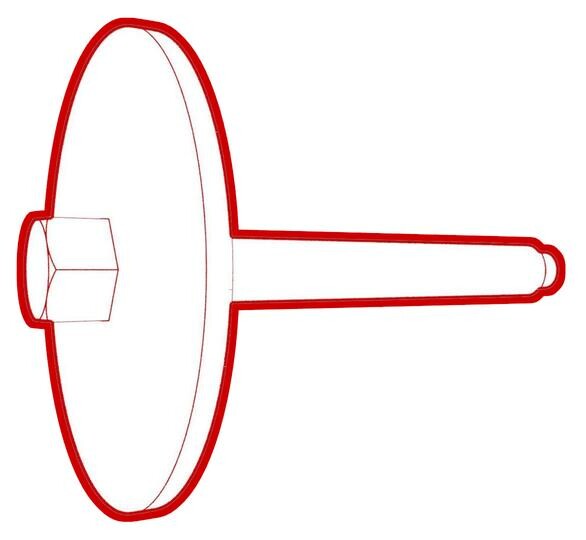
Remove the bolts (x4) that attach the LH front crush can to the LH front inner rail.
-
Remove the bolt that attaches the LH front fender support to the LH front crush can.
-
Remove the LH front crush can from the LH front inner rail.
Install
-
Install the LH front crush can into the LH front inner rail.
NoteLightly tap the crush can with a dead blow harmer to assist with installation into the inner rail.
-
install the bolt that
attaches the LH front fender support to the LH front crush can.
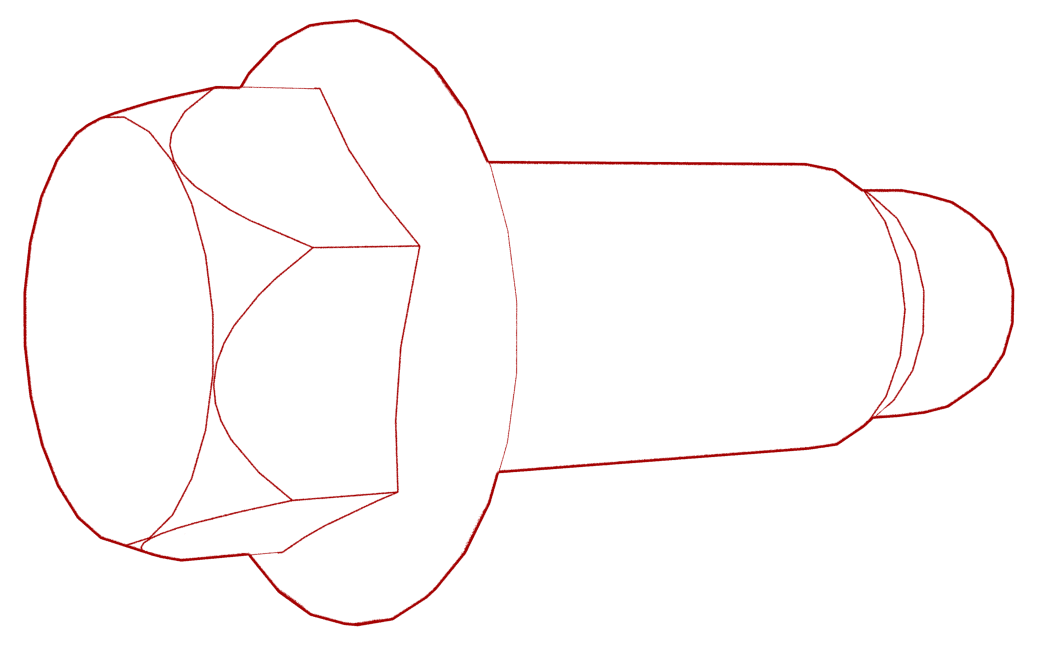 30 Nm (22.1 lbs-ft)
 -
Install the bolts (x4) that attach the LH front crush can to the LH front inner rail.
 90 Nm (66.4 lbs-ft)
 -
Fasten the clips (x3) that attach the electrical harness to the LH front crush can.
-
Lift the condenser fan module off of the front subframe, and then install the bolts (x2) that attach the bottom of the condenser fan module to the ankle catcher.
 10 Nm (7.4 lbs-ft)NoteLift the condenser fan module up to ease installation of the bolts.
 -
Install the front bumper with energy absorbers into the LH and RH crush cans, and then install the bolts (x4) that attach the front bumper to the crush cans.
 75 Nm (55.3 lbs-ft)
 -
Connect the electrical harness to the RH front airbag sensor connector.
-
Connect the electrical harness to the center front airbag sensor connector.
-
Connect the electrical harness to the LH front airbag sensor connector.
- Install the front fascia assembly. See Fascia - Front (Remove and Install).
- Install the underhood storage unit. See Underhood Storage Unit (Remove and Replace).
- Reconnect 12V/LV power. See 12V/LV Power (Disconnect and Connect).
- Install the hood latch cover. See Cover - Hood Latch (Remove and Replace).
- Install the cabin intake duct. See Duct - Upper - Cabin Intake (Remove and Replace).
- Install the rear underhood apron. See Underhood Apron - Rear (Remove and Replace).
- Remove the vehicle from the lift.