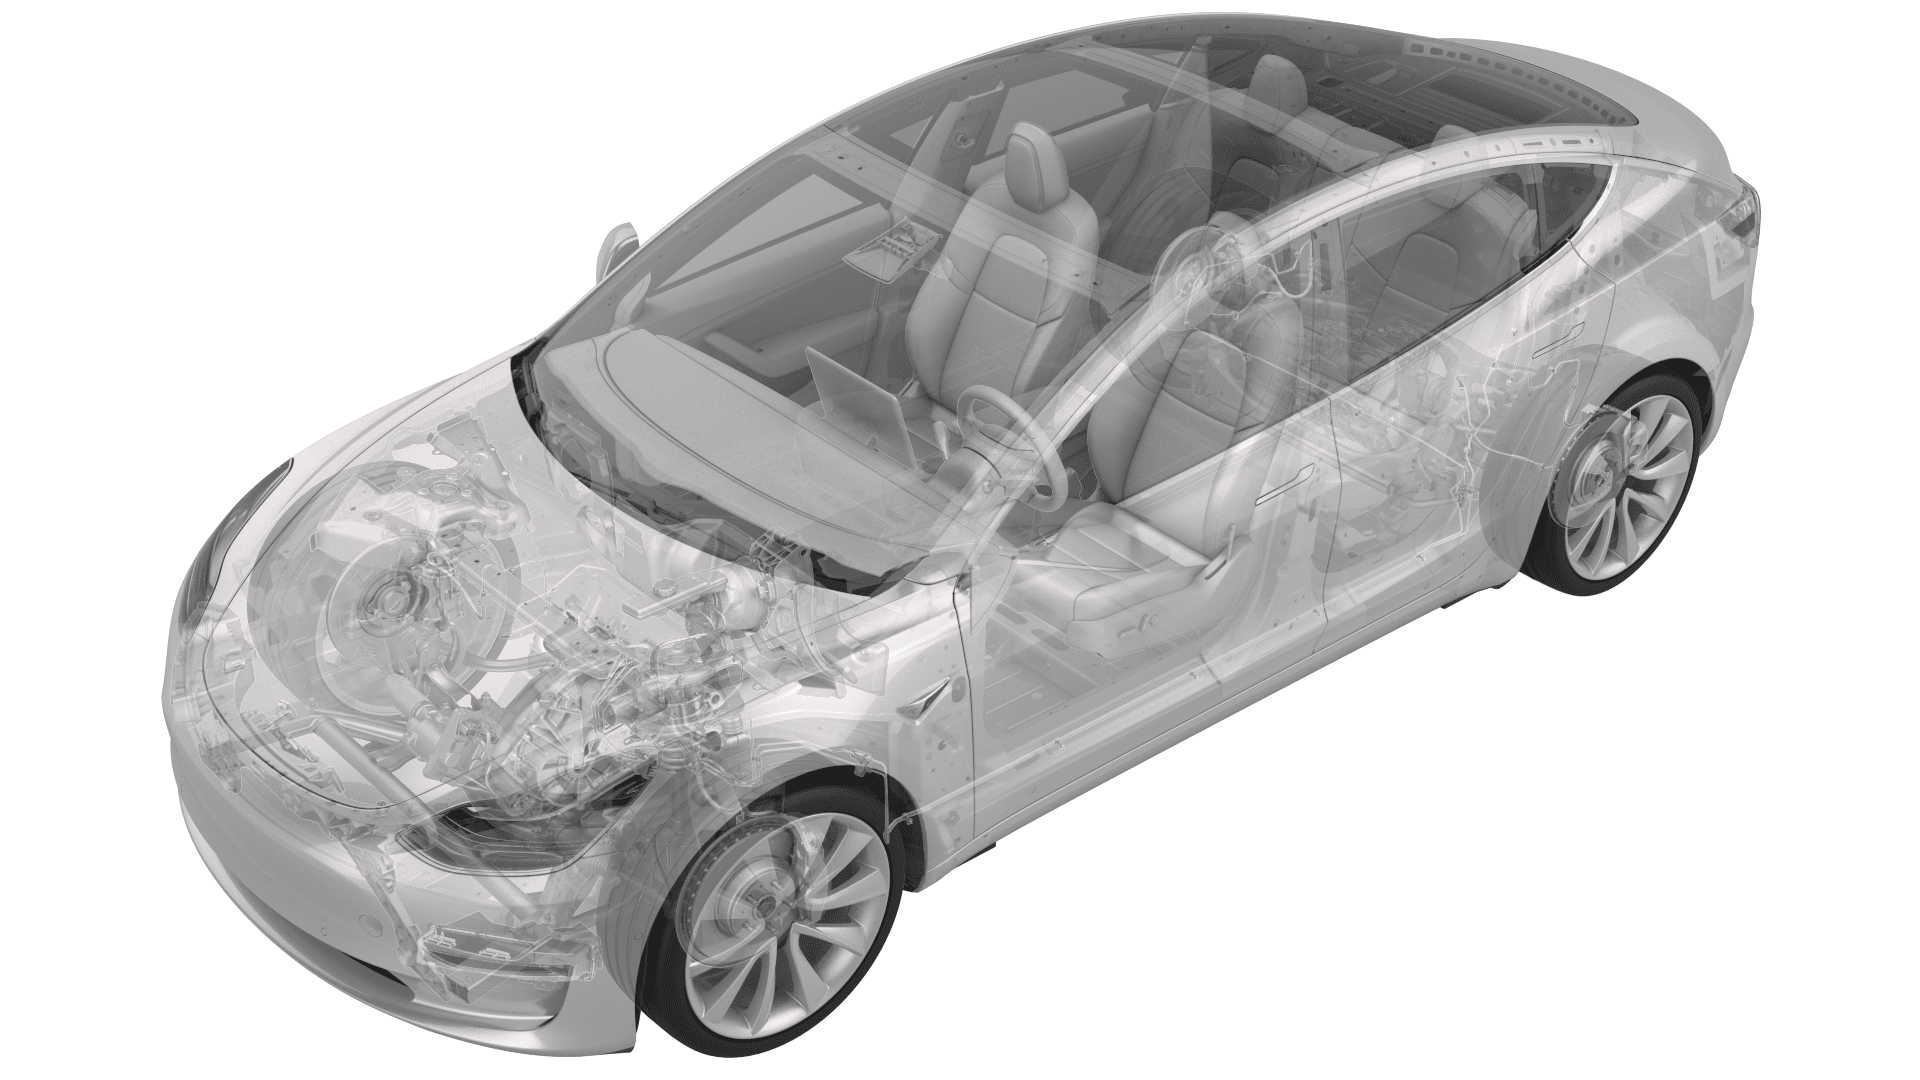
Hose - Inverter Inlet - Front Drive Unit (Non-Heat Pump) (Remove and Replace)
 Correction code
18300112
1.08
NOTE: Unless otherwise explicitly
stated in the procedure, the above correction code and FRT reflect all of the work
required to perform this procedure, including the linked procedures. Do not stack correction codes unless
explicitly told to do so.
NOTE: See Flat Rate
Times to learn more about FRTs and how they are created. To provide feedback on
FRT values, email ServiceManualFeedback@tesla.com.
NOTE: See Personal Protection to make sure wearing proper PPE when
performing the below procedure. See Ergonomic Precautions for safe and healthy working practices.
Remove
- Remove the 2nd row lower seat cushion. See Seat Cushion - Lower - 2nd Row (Remove and Replace).
- Remove the rear underhood apron. See Underhood Apron - Rear (Remove and Replace).
- Remove the cabin intake duct. See Duct - Upper - Cabin Intake (Remove and Replace).
- Disconnect 12V power. See 12V/LV Power (Disconnect and Connect).
- If equipped, remove the RH front wheel center cap. See Cap - Wheel (Remove and Replace).
- Loosen the RH front wheel lug nuts.
- Raise the vehicle. See Raise Vehicle - 2 Post Lift.
- Remove the front aero shield panel. See Panel - Aero Shield - Front (Remove and Replace).
- Partially lower the vehicle, and then remove the RH front wheel. See Wheel Assembly (Remove and Install).
- Remove the RH front wheel arch liner. See Wheel Arch Liner - Front - LH (Remove and Replace).
- Fully raise the vehicle, and then position a coolant drain container underneath the RH front side of the HV battery.
-
Release the clip to separate the front drive unit inverter coolant inlet hose, and then drain the coolant into the coolant drain container.
- Plug the female side of the front drive unit inverter coolant inlet hose.
-
Release the clip that attaches the front drive unit inverter inlet hose to the vehicle.
-
Release the clip that attaches the front drive unit inverter inlet hose to the front subframe.
-
Release the clip that attaches the front drive unit inverter inlet hose to the exterior of the front drive unit gearbox.
Figure 1. Other assemblies hidden for clarity -
Release the clip that connects the front drive unit inverter inlet hose to the front drive unit inverter coolant coupling, and then remove the hose from the vehicle.
Install
-
Position the front drive unit inverter inlet hose to the vehicle, and then install the clip that connects the hose to the front drive unit inverter coolant coupling.
CAUTIONPerform a push-pull test to verify that the hose is fully seated.
-
Install the clip that attaches the front drive unit inverter inlet hose to the exterior of the front drive unit gearbox.
Figure 2. Other assemblies hidden for clarity -
Install the clip that attaches the front drive unit inverter inlet hose to the front subframe.
-
Remove the plug, and then install the clip to reconnect the front drive unit inverter inlet hose.
CAUTIONPerform a push-pull test to verify that the hose is fully seated.
-
Install the clip that attaches the front drive unit inverter inlet hose the vehicle.
- Remove the coolant drain container from underneath the vehicle.
- Install the RH front wheel arch liner. See Wheel Arch Liner - Front - LH (Remove and Replace).
- Position the RH front wheel on the vehicle, and then hand-tighten the wheel lug nuts.
- Install the front aero shield panel. See Panel - Aero Shield - Front (Remove and Replace).
-
Lower the vehicle, and then tighten the RH front wheel lug nuts. See Wheel Assembly (Remove and Install).
NoteUse only hand tools to remove or install the fasteners. Do not use impact or power tools.NoteUse a 6 point socket. Do not use a 12 point socket or a specialty socket.
- If equipped, install the RH front wheel center cap. See Cap - Wheel (Remove and Replace).
- Connect 12V power. See 12V/LV Power (Disconnect and Connect).
- Refill the cooling system. See Cooling System (Vacuum Refill).
- Install the cabin intake duct. See Duct - Upper - Cabin Intake (Remove and Replace).
- Install the rear underhood apron. See Underhood Apron - Rear (Remove and Replace).
- Install the 2nd row lower seat cushion. See Seat Cushion - Lower - 2nd Row (Remove and Replace).