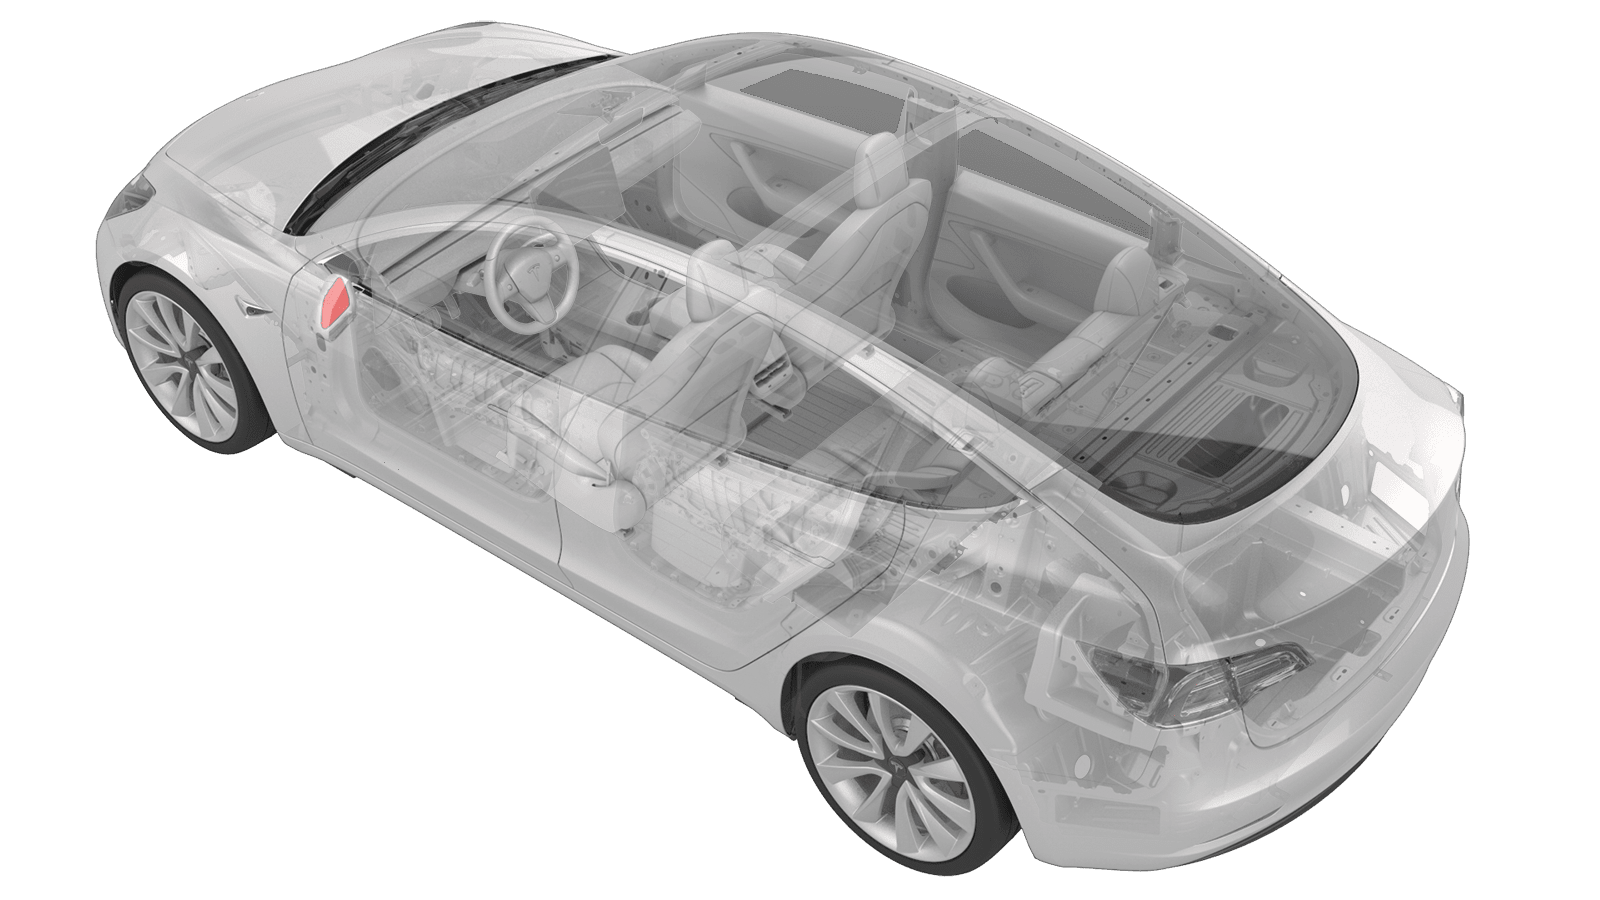
Glass - Door Mirror - LH (Remove and Replace)
 Correction code
12092002
0.06
NOTE: Unless otherwise explicitly
stated in the procedure, the above correction code and FRT reflect all of the work
required to perform this procedure, including the linked procedures. Do not stack correction codes unless
explicitly told to do so.
NOTE: See Flat Rate
Times to learn more about FRTs and how they are created. To provide feedback on
FRT values, email ServiceManualFeedback@tesla.com.
NOTE: See Personal Protection to make sure wearing proper PPE when
performing the below procedure. See Ergonomic Precautions for safe and healthy working practices.
Remove
-
Press the outside of the
door mirror glass fully in so that it is angled away from the vehicle.
-
Insert a plastic trim tool
behind the glass in the bottom inboard corner, and then carefully release
the tabs that attach the door mirror glass to the mirror assembly.
-
Use a paint pen to mark the
upper black harness connector.
NoteThe paint marking is used to aid installation.
-
Disconnect the electrical
connectors (x3) from the door mirror glass.
- Remove the door mirror glass from the vehicle.
Install
-
Connect the electrical
connectors (x3) to the door mirror glass.
NoteRefer to the paint marking made during removal to determine which electrical connector is the upper one.
-
Align the center of the door
mirror glass to the center of the door mirror assembly and then install the
door mirror glass so that the 8 tabs are fully engaged.
NoteWhen aligned correctly, the metal tab on the door mirror glass goes the top right of the door mirror assembly.CAUTIONTake care not to damage component(s).
- Adjust the door mirror glass back to its original location.
- Clean the door mirror glass to remove any smudges or fingerprints.