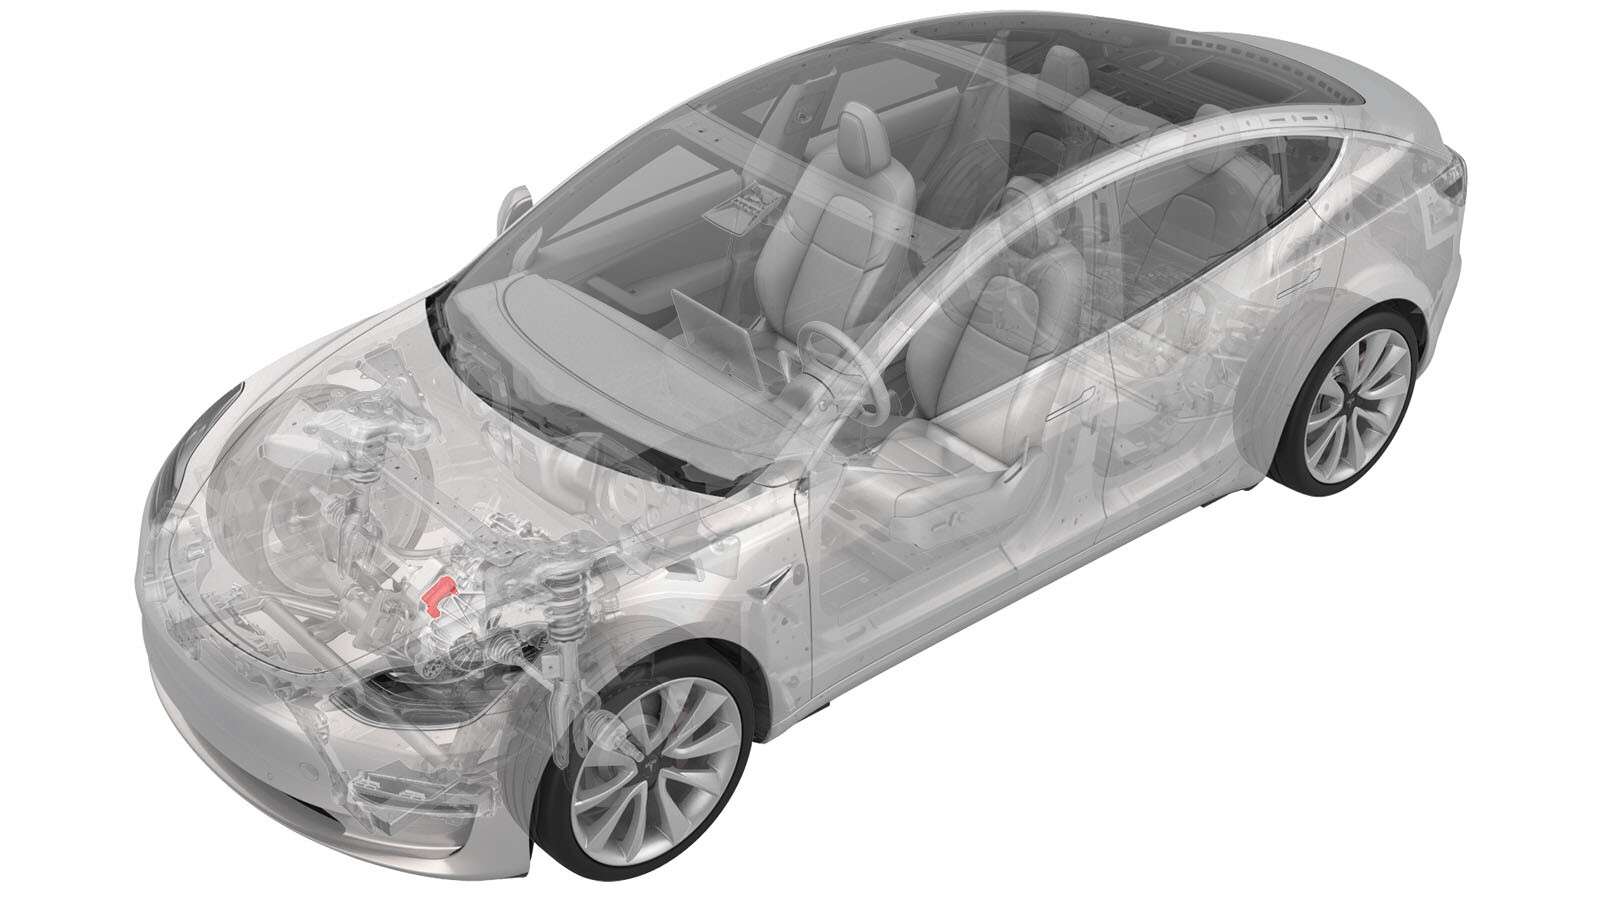
Actuator - 5-Way Valve (Dual Motor) (Remove and Replace)
 Correction code
18306312
0.54
NOTE: Unless otherwise explicitly
stated in the procedure, the above correction code and FRT reflect all of the work
required to perform this procedure, including the linked procedures. Do not stack correction codes unless
explicitly told to do so.
NOTE: See Flat Rate
Times to learn more about FRTs and how they are created.
NOTE: See Personal Protection to make sure wearing proper PPE when
performing the below procedure. NOTE: See Ergonomic Precautions for safe and healthy working
practices.
Correction code
18306312
0.54
NOTE: Unless otherwise explicitly
stated in the procedure, the above correction code and FRT reflect all of the work
required to perform this procedure, including the linked procedures. Do not stack correction codes unless
explicitly told to do so.
NOTE: See Flat Rate
Times to learn more about FRTs and how they are created.
NOTE: See Personal Protection to make sure wearing proper PPE when
performing the below procedure. NOTE: See Ergonomic Precautions for safe and healthy working
practices.
- 2025-04-29: Corrected torque figures for the bolts that attach the shock tower brace to the vehicle.
Equipment:
- 1447556-00-A Wrench, Diverter Valve, Model 3
- 1108272-00-B Cap, Logic Conn, Inv, 3DU
Remove
- Remove the 2nd row lower seat cushion. See Seat Cushion - Lower - 2nd Row (Remove and Replace).
- Remove the underhood storage unit. See Underhood Storage Unit (Remove and Replace).
- Disconnect the 12V power. See 12V/LV Power (Disconnect and Connect).
-
Remove the nuts that attach the superbottle to the brace.
 8 Nm (5.9 lbs-ft)
 -
Remove the bolts that attach the battery bracket to the shock tower brace.
 15 Nm (11.1 lbs-ft)
 -
Remove the inner bolts that
attach the shock tower brace to the RH shock tower.
-
Remove the outer bolt that
attaches the shock tower brace to the RH shock tower.
-
Remove the inner bolts that
attach the shock tower brace to the LH shock tower.
-
Remove the outer bolt that
attaches the shock tower brace to the LH shock tower.
-
Release the shock tower brace using the inflatable air bag.
TIpUse a flat head screwdrive to lift the the shock tower brace, and then place the inflatable air bag on both ends of the shock tower brace.
-
Release the clip that attaches the battery return hose to the superbottle.
-
Release the clip that attaches the electrical harness to the lower LH side of the superbottle.
TIpLift the superbottle for better access.
-
Disconnect the electrical harness from the 5-way valve actuator connector.
TIpLift the superbottle for better access.
-
Remove the screws that attach the 5-way valve actuator to the 5-way valve cover.
-
Remove the 5-way valve actuator from the 5-way valve cover.
Install
-
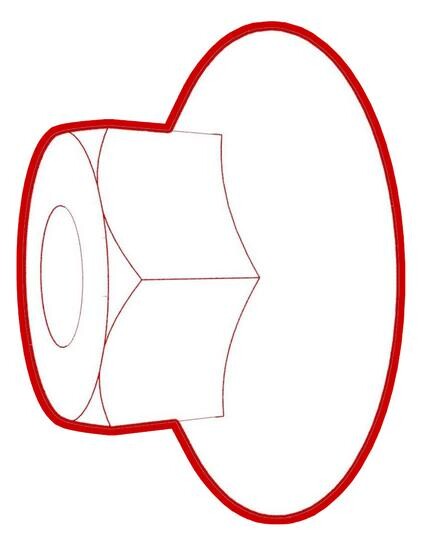
Use the diverter valve wrench to align the larger stemshell shaft spline with the larger recess on the 5-way valve actuator, and then position the 5-way valve actuator on the 5-way valve cover.
CAUTIONVery little force is needed to mate the actuator to the cover. If the actuator does not mate to the cover easily, remove the actuator and check the stemshell shaft alignment.
Figure 1. One spline (highlighted red) is larger than the other splines Figure 2. Position the actuator on the valve cover -
Install the screws that attach the 5-way valve actuator to the 5-way valve cover.
 2 Nm (1.5 lbs-ft)
 - Connect the electrical harness to the 5-way valve actuator connector.
- Install the clip that attaches the electrical harness to the lower LH side of the superbottle.
- Install the clip that attaches the battery return hose to the superbottle.
- Deflate and remove the air bag, and then replace the shock tower brace back to the original position.
-
Install the outer bolt that
attaches the shock tower brace to the LH shock tower.
 62 Nm (45.7 lbs-ft)
 -
Install the inner bolts (x2)
that attach the shock tower brace to the LH shock tower.55 Nm (40.6 lbs-ft)
-
Tighten the outer bolt that
attaches the shock tower brace to the RH shock tower.62 Nm (45.7 lbs-ft)
-
Tighten the inner bolts (x2)
that attach the shock tower brace to the RH shock tower.55 Nm (40.6 lbs-ft)
-
Install the bolts that attach the battery bracket to the shock tower
brace.15 Nm (11.1 lbs-ft)
-
Install the nuts that attach the superbottle to the shock tower brace.8 Nm (5.9 lbs-ft)
- Connect 12V power. See 12V/LV Power (Disconnect and Connect).
- Install the underhood storage unit. See Underhood Storage Unit (Remove and Replace).
- Install the 2nd row lower seat cushion. See Seat Cushion - Lower - 2nd Row (Remove and Replace).