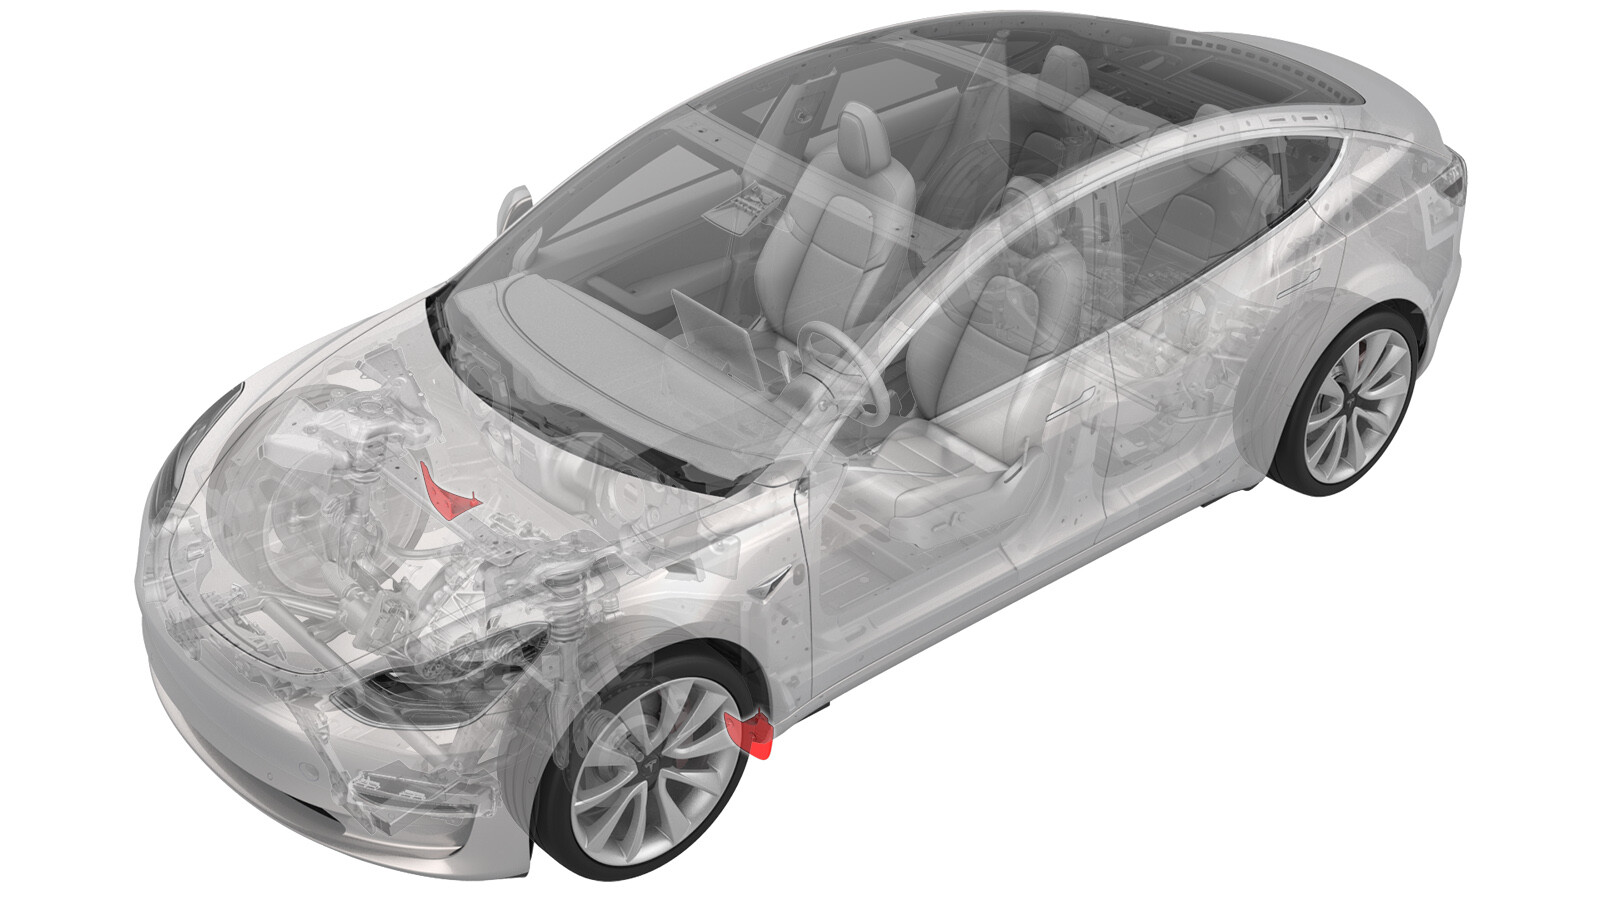
Mud Flaps (Retrofit)
 Correction code
12207006
0.12
NOTE: Unless otherwise explicitly
stated in the procedure, the above correction code and FRT reflect all of the work
required to perform this procedure, including the linked procedures. Do not stack correction codes unless
explicitly told to do so.
NOTE: See Flat Rate
Times to learn more about FRTs and how they are created.
NOTE: See Personal Protection to make sure wearing proper PPE when
performing the below procedure. NOTE: See Ergonomic Precautions for safe and healthy working
practices.
Correction code
12207006
0.12
NOTE: Unless otherwise explicitly
stated in the procedure, the above correction code and FRT reflect all of the work
required to perform this procedure, including the linked procedures. Do not stack correction codes unless
explicitly told to do so.
NOTE: See Flat Rate
Times to learn more about FRTs and how they are created.
NOTE: See Personal Protection to make sure wearing proper PPE when
performing the below procedure. NOTE: See Ergonomic Precautions for safe and healthy working
practices.
Procedure
- Turn the steering wheel fully to the left to provide access to the working area.
-
Remove and discard the push clips that attach the front LH wheel arch liner to the lower rocker panel cover.
- Open the front LH lower rocker panel bolt access cover.
-
Remove and discard the front bolt and washer that attaches the LH lower rocker panel cover to the body.
-
Put on cut-resistant gloves then use a retractable blade knife to carefully cut off the open access cover from the lower rocker panel.
WarningEnsure cut-resistant gloves are worn during this step to avoid personal injury.
-
Install the LH mud flap (1st GENERATION KITS):
-
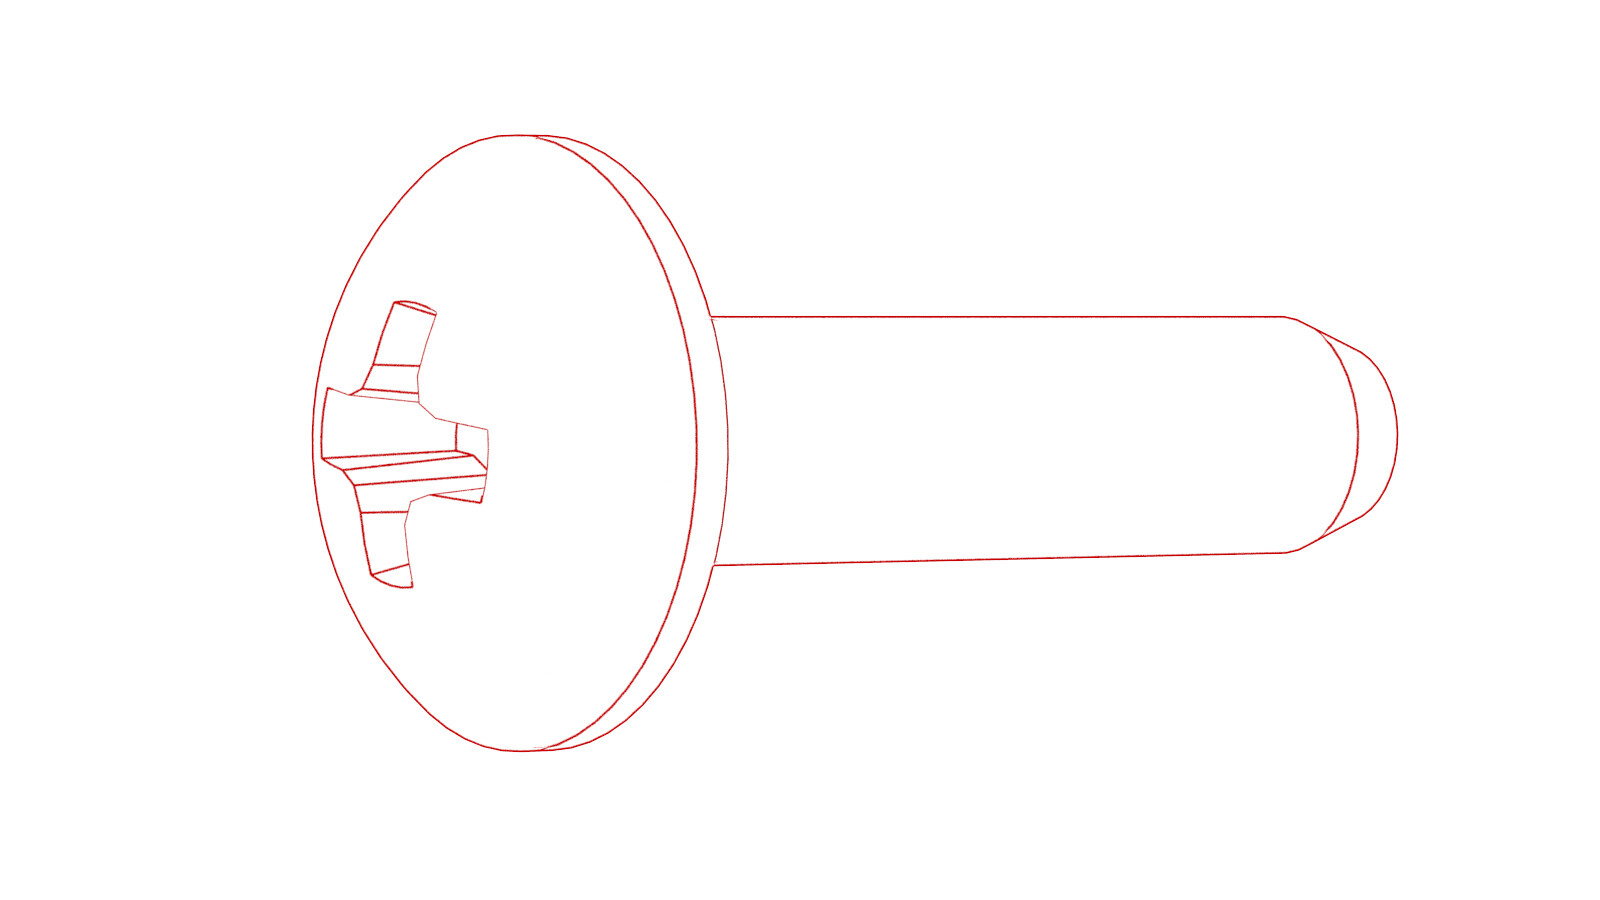
Place washers over the screws, then install the screws and washers that secure the mud flap to the U-nuts in the front LH wheel arch liner.
 1.5 Nm (1.1 lbs-ft)
 -
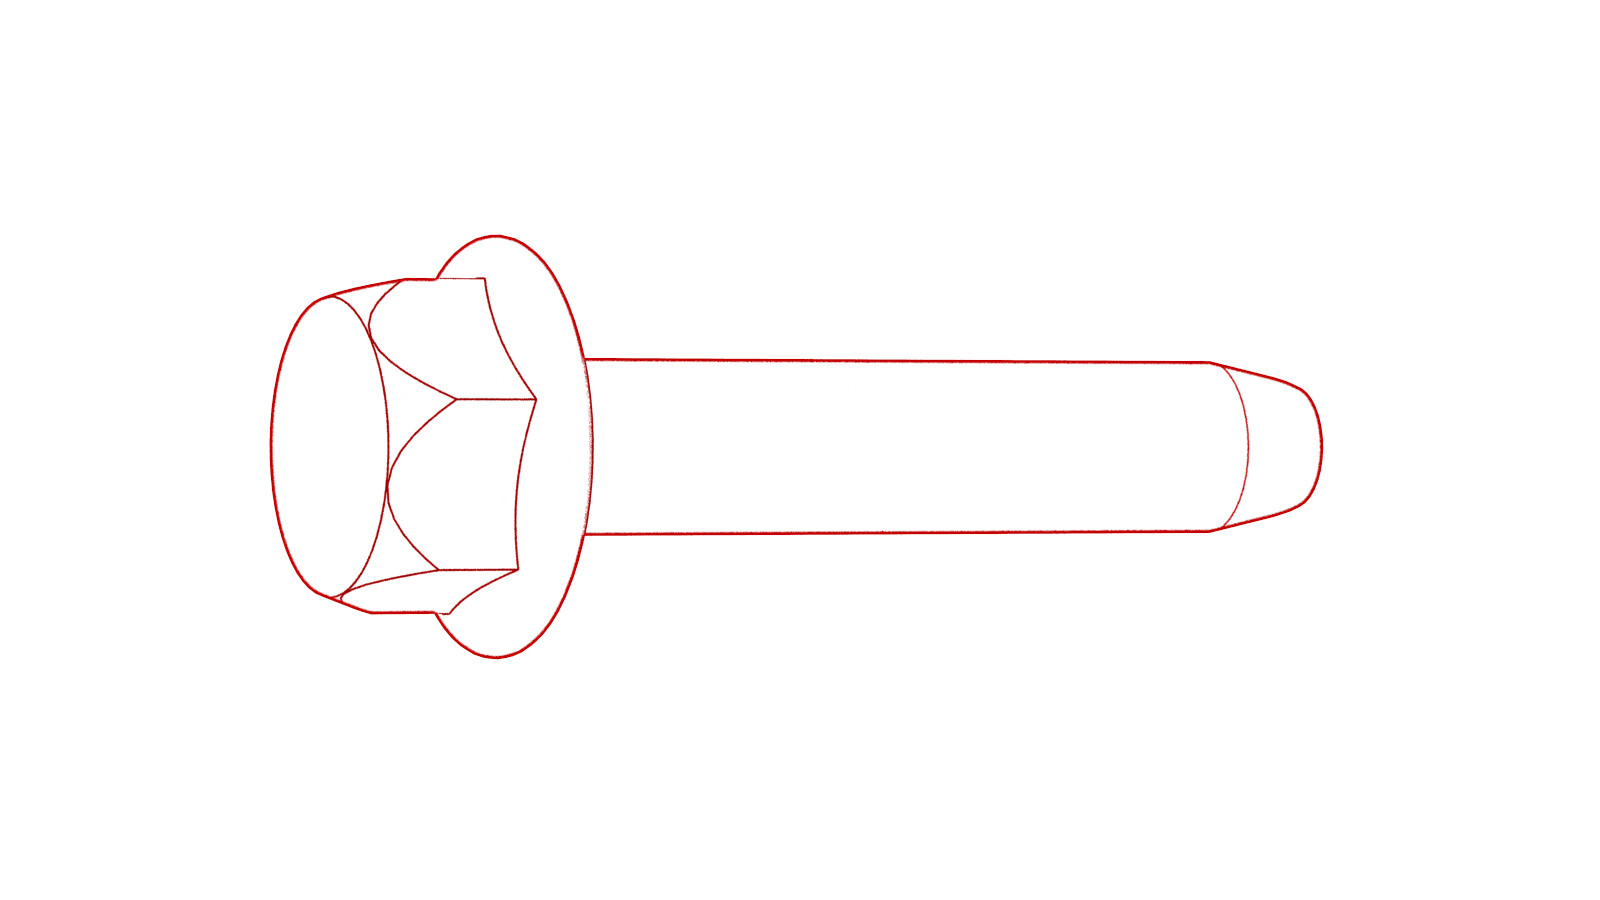
Install the bolt that attaches the bottom of the mud flap to the lower rocker panel cover.
 5 Nm (3.7 lbs-ft)
-
Place washers over the screws, then install the screws and washers that secure the mud flap to the U-nuts in the front LH wheel arch liner.
-
Install the LH mud flap (2nd GENERATION KITS):
-
Install the bolt that attaches the bottom of the mud flap to the lower rocker panel cover.5 Nm (3.7 lbs-ft)
-
Install the bolt that attaches the bottom of the mud flap to the lower rocker panel cover.
- Ensure the mud flap is aligned with the body. Make adjustments as necessary.
- Perform this procedure on the RH side of the vehicle to retrofit the RH mud flap.