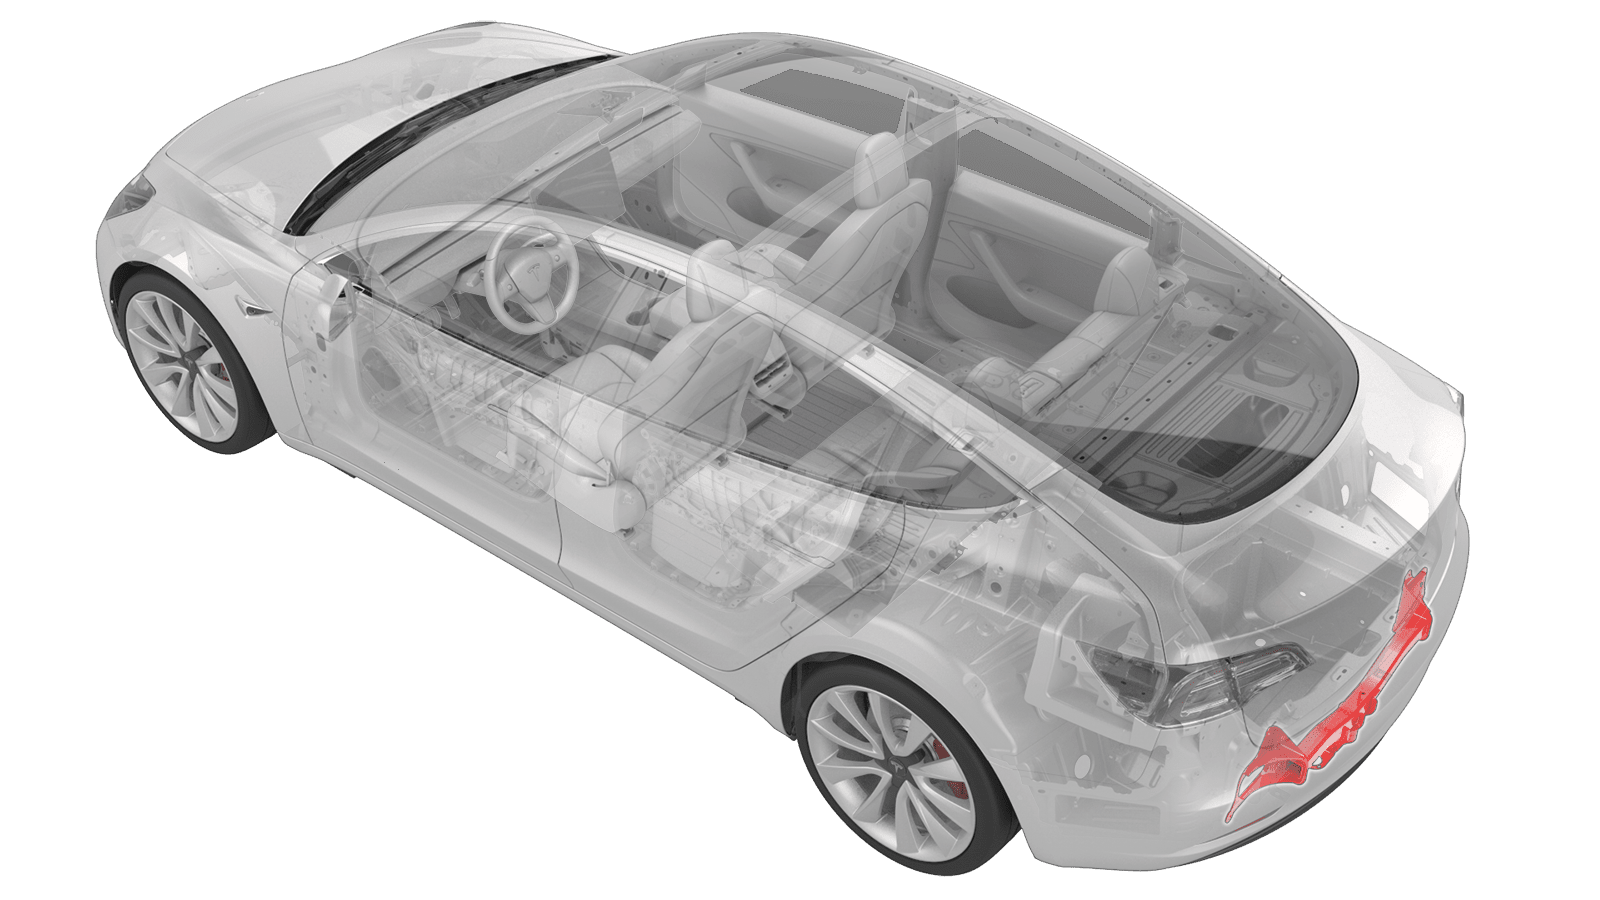
Assembly - Trailer Hitch (Remove and Replace)
 Correction code
12300202
0.84
NOTE: Unless otherwise explicitly
stated in the procedure, the above correction code and FRT reflect all of the work
required to perform this procedure, including the linked procedures. Do not stack correction codes unless
explicitly told to do so.
NOTE: See Flat Rate
Times to learn more about FRTs and how they are created. To provide feedback on
FRT values, email ServiceManualFeedback@tesla.com.
NOTE: See Personal Protection to make sure wearing proper PPE when
performing the below procedure. See Ergonomic Precautions for safe and healthy working practices.
- 2024-05-16: Added instructions to prevent corrosion on EU trailer sockets.
Torque Specifications
| Description | Torque Value | Recommended Tools | Reuse/Replace | Notes |
|---|---|---|---|---|
| Trailer hitch assembly to body studs |
 60 Nm (44.2 lbs-ft) |
|
Reuse |
Remove
- Remove the rear fascia. See Fascia - Rear (Remove and Install).
-
Disconnect the electrical
harness from the rear Bluetooth passive entry antenna connector.
-
Release the clips that
attach the electrical harnesses to the center rear bracket assembly.
-
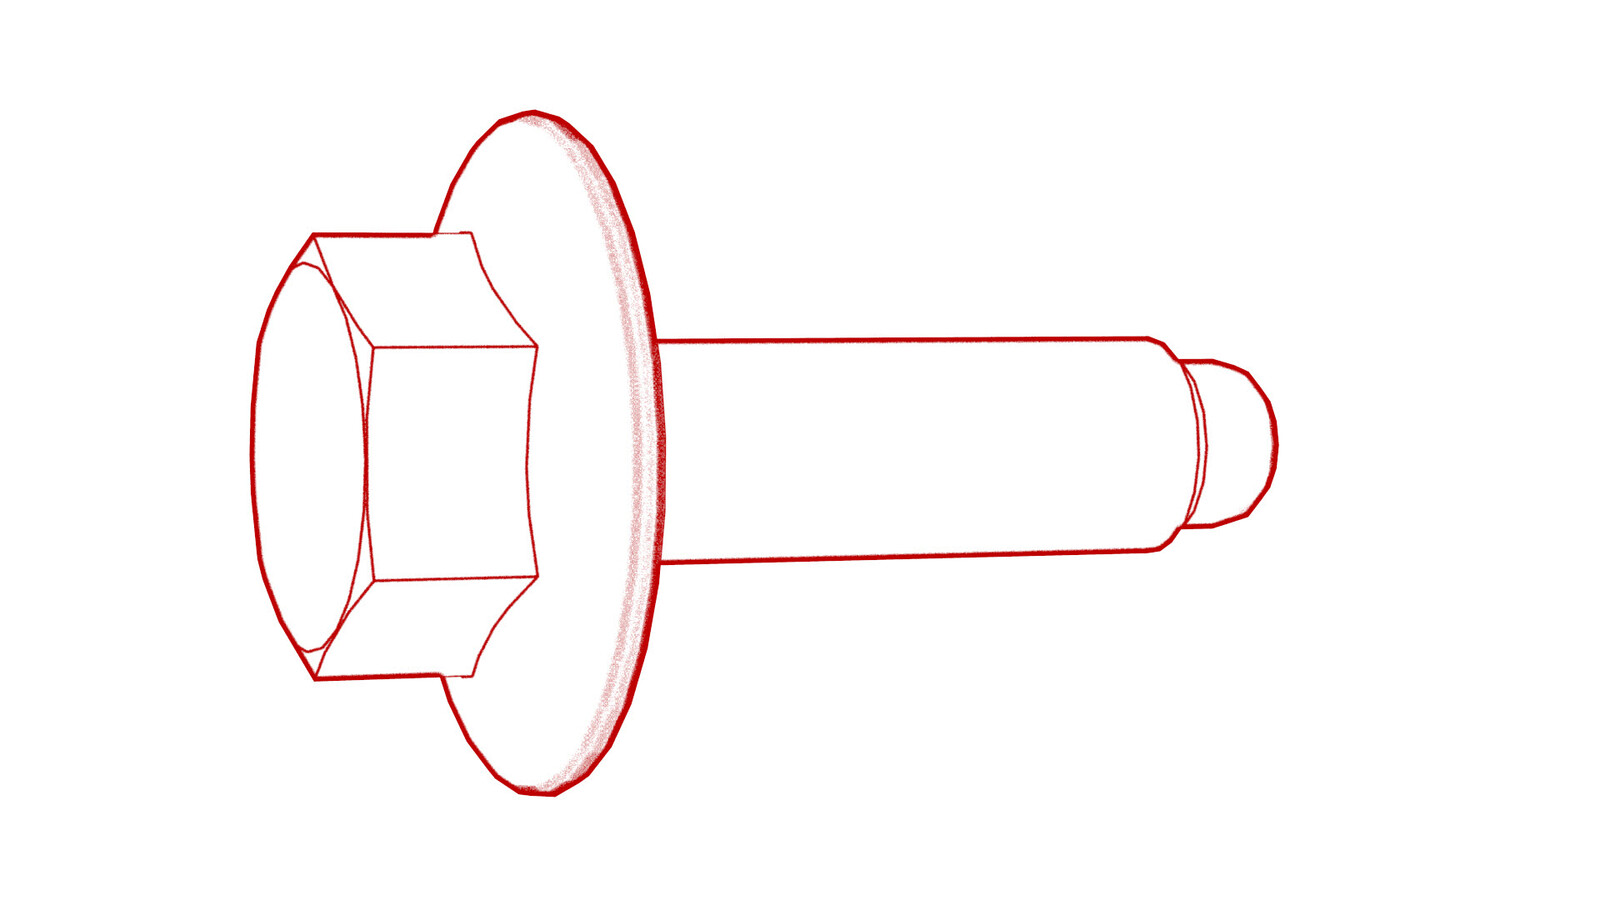
Remove the bolts (x5) that
attach the center rear bracket to the body, and then remove the bracket from
the vehicle.
-
Disconnect the trailer hitch
jumper harness and body electrical harness from the trailer hitch ECU
connectors.
-
Remove the nut that attaches
the trailer hitch ECU to the stud on the trailer hitch assembly, and then
remove the ECU from the hitch assembly.
NoteUse a 10mm deep socket.
-
Release the fir tree clip
that attaches the trailer hitch jumper harness to the trailer hitch
assembly.
-
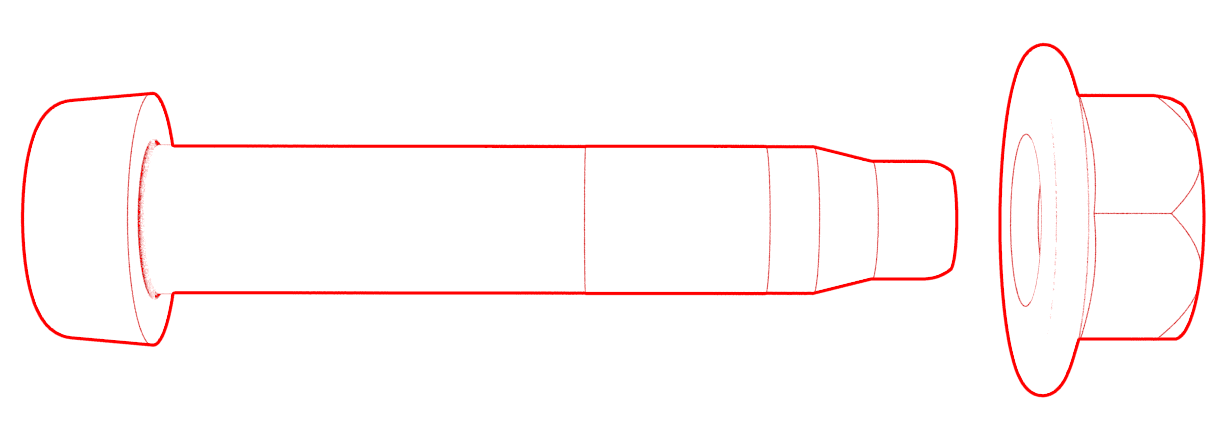
Remove the bolts (x3) and
nuts (x3) that attach the trailer hitch jumper harness to the bracket on the
trailer hitch assembly, maneuver the jumper harness through the opening in
the bracket on the trailer hitch assembly, and then remove the jumper
harness from the hitch assembly.
NoteThe bolts are inserted from the bottom, and the nuts are on top.
-
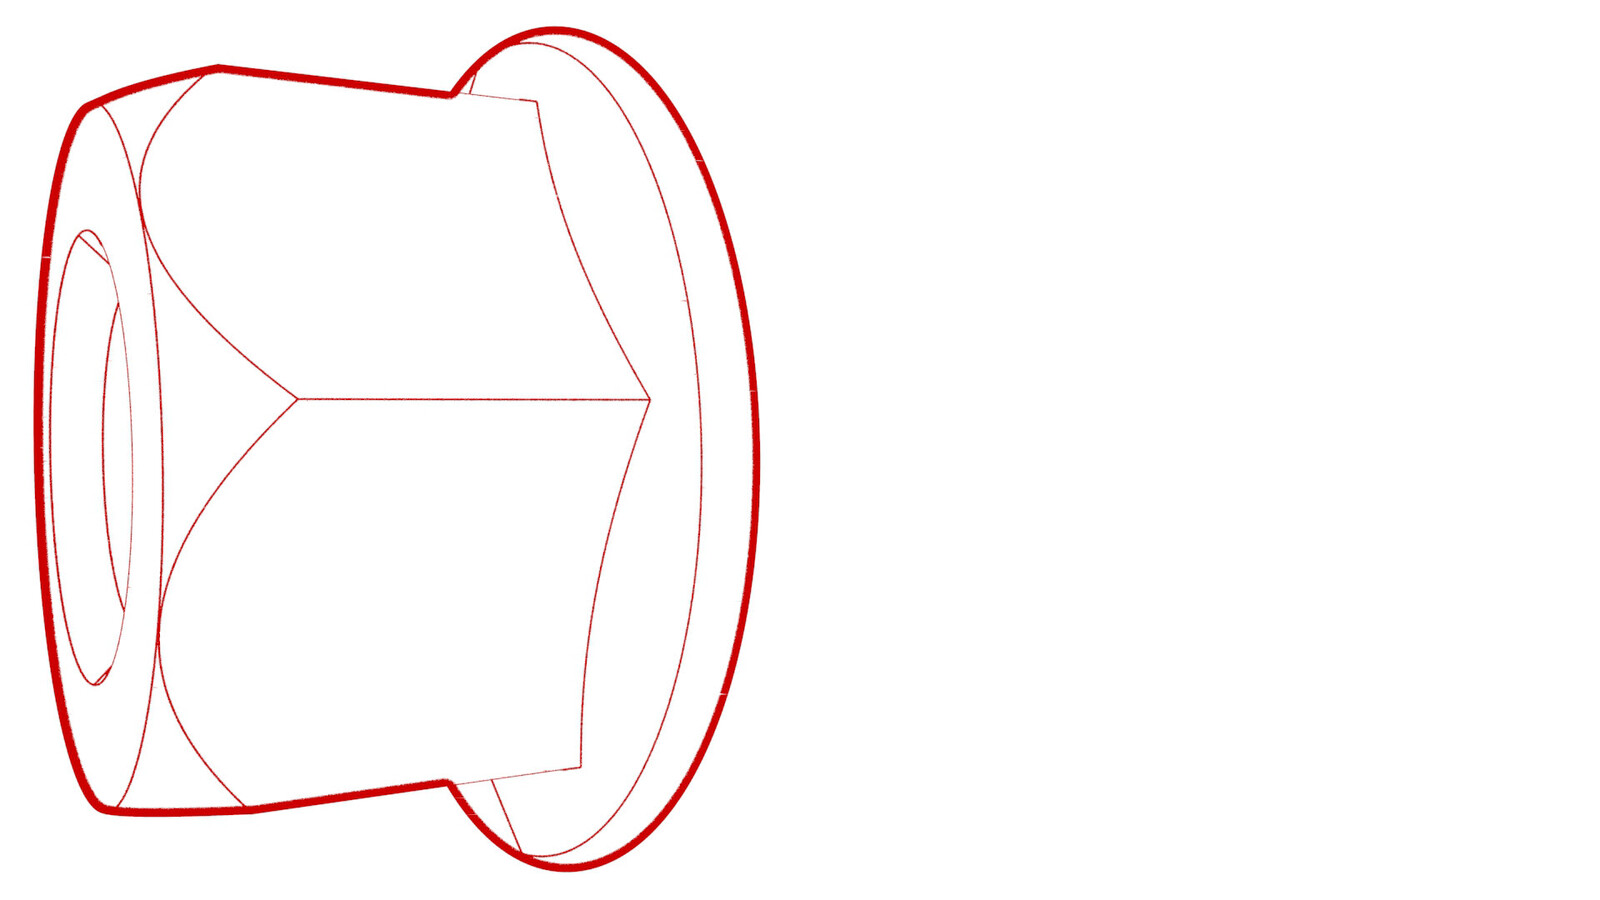
Remove the nuts (x6) that
attach the trailer hitch assembly to the studs on the body.
TIpUse of the following tool(s) is recommended:
- With the help of an assistant, remove the trailer hitch assembly from the vehicle.
Install
- With the help of an assistant, install the trailer hitch assembly over the studs on the body.
-
Install the nuts (x6) that
attach the trailer hitch assembly to the studs on the body.
 60 Nm (44.2 lbs-ft)TIpUse of the following tool(s) is recommended:
 -
For EU trailer sockets only: Before installing the trailer jumper
harness, perform these substeps to prevent water ingress.
-
Maneuver the trailer hitch jumper harness through the opening in the
bracket on the trailer hitch assembly, and then install the jumper harness
to the bracket so that the holes align and the protective cover pivots to
the LH side.
-
Install the screws (x3) and nuts (x3) that attach the jumper harness to the
bracket.
 2.5 Nm (1.8 lbs-ft)NoteThe bolts are inserted from the bottom, and the nuts are on top.
 -
Fasten the fir tree clip
that attaches the trailer hitch jumper harness to the trailer hitch
assembly.
-
Inspect the base of the stud
on the trailer hitch assembly for a beveled shoulder or epoxy washer:
- If the stud has an epoxy washer or the base of the stud has a shoulder that is greater than 0.8 mm, continue to the next step.
- If the stud does not have an epoxy washer and the base of the stud has a shoulder that is 0.8 mm or less, place an epoxy washer (1016456-00-B or later) onto the stud before installing the ECU.
CAUTIONInstalling the ECU onto a stud that does not have a washer or a shoulder that is greater than 0.8 mm may result in damage to the ECU when tightening the nut. -
Install the trailer hitch
ECU onto the stud of the trailer hitch assembly, and then install the nut
that attaches the ECU to the hitch assembly.
 6 Nm (4.4 lbs-ft)TIpUse of the following tool(s) is recommended:
- 10 mm deep socket
-
Connect the trailer hitch
jumper harness and body electrical harness to the trailer hitch ECU
connectors.
-
Instal the center rear
bracket to the body, and then install the bolts (x5) that attach the bracket
to the body.
 4 Nm (2.9 lbs-ft)
 -
Fasten the clips that attach
the electrical harnesses to the center rear bracket assembly.
-
Connect the electrical
harness to the rear Bluetooth passive entry antenna connector.
- Install the rear fascia. See Fascia - Rear (Remove and Install).