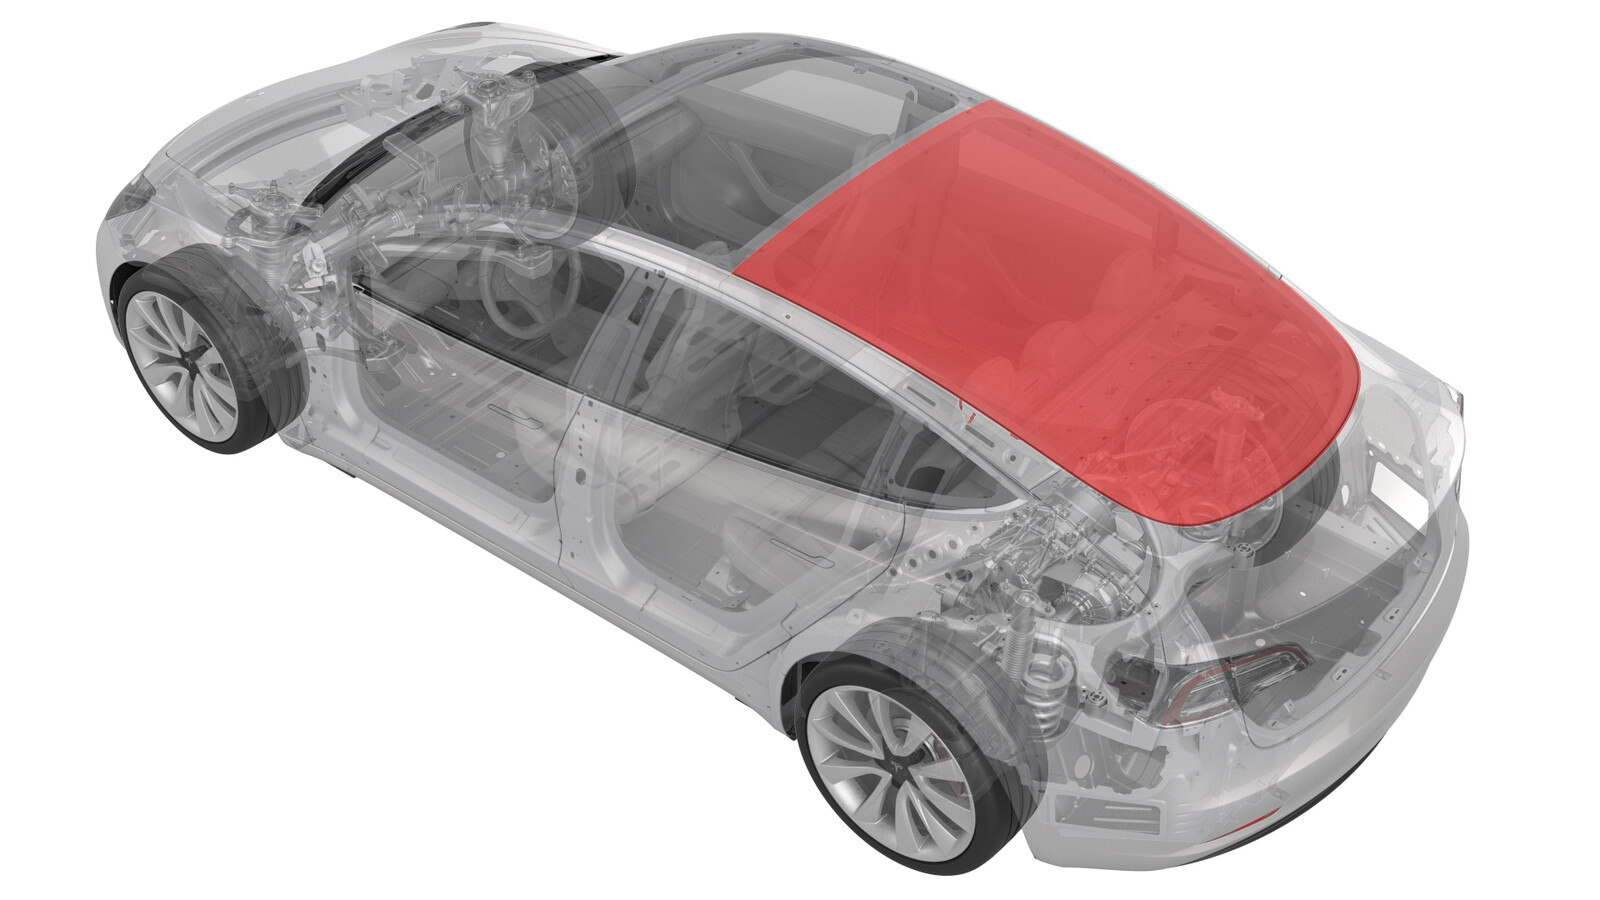
Glass - Backlight (Heat Pump) (Remove and Install)
 Correction code
10204111
1.26
NOTE: Unless otherwise explicitly
stated in the procedure, the above correction code and FRT reflect all of the work
required to perform this procedure, including the linked procedures. Do not stack correction codes unless
explicitly told to do so.
NOTE: See Flat Rate
Times to learn more about FRTs and how they are created. To provide feedback on
FRT values, email ServiceManualFeedback@tesla.com.
NOTE: See Personal Protection to make sure wearing proper PPE when
performing the below procedure. See Ergonomic Precautions for safe and healthy working practices.
Remove
-
Open all doors and lower the
windows.
NoteLatch the rear doors to prevent accidental closure.
- Move the front seats fully forward.
-
Release the clips that attach the LH upper B-pillar trim to the B-pillar,
and then move the trim aside.
- Remove the LH side rail trim. See Trim - Side Rail - LH (Remove and Replace).
- Release the clip that attach the screw covers to the LH rear coat hook.
-
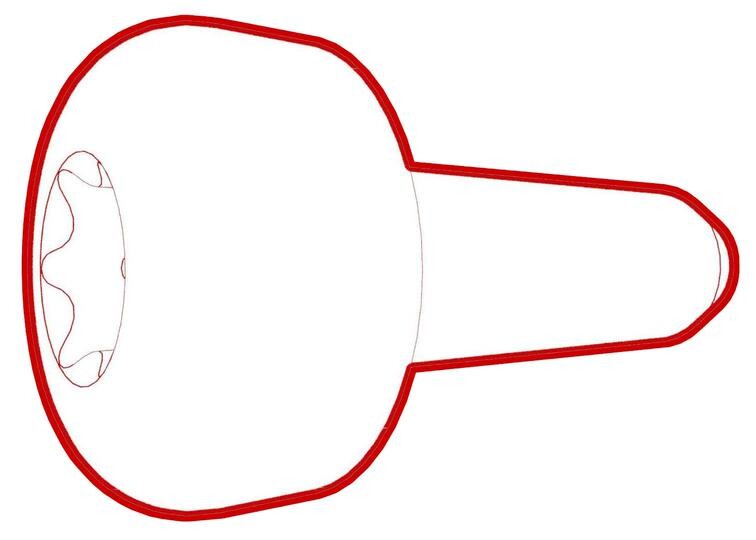
Remove the screw that attach
the LH rear coat hook to the body.
- Repeat step 3 through step 6 for the RH side of the vehicle.
-
Release clips (x4) that
attach the rear end of the headliner to the body.
NoteIf necessary, use an air bladder between the headliner and body for additional clearance.CAUTIONBe cautious not to damage the headliner.
- Remove the LH 2nd row seat side bolster. See Bolster - Side - Seat - 2nd Row - LH (Remove and Replace).
- Remove the LH upper C-pillar trim. See Trim - C-Pillar - Upper - LH (Remove and Replace).
-
Release the clip and tabs
that attach the LH rear C-pillar trim to the body, and then set the trim
aside.
NotePull the rear of the trim forward, and then upward to remove it.
-
Disconnect the electrical
connector from the FM antenna amplifier.
-
Disconnect the backlight
electrical harness connector from the antenna amplifier on the LH side
C-pillar.
-
Disconnect the ground noise
filter antenna connector on the LH side of the vehicle.
-
Release the LH side
backlight busbar harness from the body.
- Remove the RH 2nd row seat side bolster. See Bolster - Side - Seat - 2nd Row - LH (Remove and Replace).
- Remove the RH upper C-pillar trim. See Trim - C-Pillar - Upper - LH (Remove and Replace).
-
Release the clip and tabs that attach the RH rear C-pillar trim to the
body, and then set the trim aside.
NotePull the rear of the trim forward, and then upward to remove it.
Figure 1. LH shown; RH similar -
Disconnect the 12V noise
filter antenna connector on the RH side of the vehicle.
-
Release the RH side
backlight busbar harness from the body.
-
Disconnect the backlight
electrical harness connector from the tuner on the RH C-pillar.
- Remove the package tray trim. See Trim - Package Tray (Remove and Replace).
-
Use masking tape to tape the backlight glass antenna connectors to the
backlight glass.
- Use the exterior switch to open the trunk.
-
Apply masking tape to the
exterior of the LH and RH roof pillars to protect the paint from
damage.
- Cut a suitable length of square wire to use with T-handles.
- Secure the wire to the starter tool and push the tool through the urethane at the lower side of the RH C-pillar.
- Remove the wire from the starter tool and remove the tool from the urethane.
- Secure each end of the wire with a T-handle.
-
With an assistant, use the
T-handles to cut the urethane that attaches the backlight glass to the body.
Cut in a counter-clockwise motion over the top of the backlight glass to the
lower side of the LH C-pillar. Return to the starting point in a clockwise
motion and continue past the bottom of the backlight glass to the lower side
of the LH C-pillar.
CAUTIONUse caution when working around the headliner area.
- Cut the square wire and remove the T-handles.
- Attach suction cups to the LH and RH sides of the backlight glass.
-
With an assistant, remove
the backlight glass from the vehicle.
- Use a scraper to carefully remove the old urethane from the body.
- Use an IPA wipe to clean the urethane path on the vehicle. Allow 1 minute for the IPA to dry.
-
Use a scraper to carefully
remove the old seal from the backlight glass.
- Use a scraper to remove the old urethane from the backlight glass.
- Use an IPA wipe to clean the surface of the backlight glass. Allow 1 minute for the IPA to dry.
Install
-
Peel the adhesive backing
off the new seal at the corner and slowly apply the adhesive backing to the
adhesive path on the backlight glass.
NoteFirmly press the seal onto the glass during installation. Ensure the adhesive is installed as close to the edge of the glass as possible.
-
Peel the adhesive backing
off at the end of the new trunk flip seal, and then slowly apply the seal to
the old adhesive path on the backlight glass.
NoteStart by installing the trunk flip seal where the backlight glass seal ends. Firmly press the seal onto the glass during installation. Ensure the adhesive is installed as close to the edge of the glass as possible.NoteThere will be overlap at the end of the seal. Cutting the seal is in the next step.
-
Cut the trunk flip seal
overlap.
-
Install the new net pads
onto the backlight glass.
Note
Figure 2. Side Net Pads Figure 3. Upper Net Pads Figure 4. Rear Net Pads - Verify the suction handles are secured to the backlight glass.
- With an assistant, position the backlight glass onto the vehicle for a dry fit and note any locations where the net pads need to be adjusted.
-
If necessary, perform net
pad adjustment.
- With an assistant, remove the backlight glass and set it on a stand.
-
Apply urethane primer:
- Apply urethane primer to the vehicle along the urethane path and in areas that were damaged during removal of the backlight glass.
- Apply urethane primer to the backlight glass along the urethane path.
NoteAllow the primer to dry for at least 2 minutes before continuing. -
Apply urethane to the body
following the original path.
NoteMake sure that the urethane bead has a triangular cross-section of approximate width 8 mm and height 13 mm.
- With an assistant, install the backlight glass to the vehicle.
- Check the gap and flush of the backlight glass to the body before fully seating the backlight glass.
- Remove the masking tape from the exterior C-pillars.
- Close the trunk.
- Fully seat the backlight glass, check the gap and flush, and adjust as necessary.
- Use an IPA wipe to clean any debris or visible urethane from the backlight glass and body.
-
Apply masking tape to attach
the backlight glass to the body while the urethane cures.
NoteFor urethane curing time, follow urethane manufacturer's recommendations.
- Remove the suction cups from the backlight glass.
- Install the read end of the headliner to the body.
-
Install the screws that
attach the LH coat hook to the body.
 2.5 Nm (1.8 lbs-ft)
 - Fasten the clips that attach the screw cover to the LH rear coat hook, and then push the coat hook to close.
-
Install the clips that attach the LH upper B-pillar trim to the
B-pillar.
- Repeat step 20 through step 22 for the RH side of the vehicle.
- Install the package tray trim. See Trim - Package Tray (Remove and Replace).
-
Connect the backlight
electrical harness connector to the tuner on the RH C-pillar.
-
Attach the RH side backlight
busbar harness to the body.
-
Connect the 12V noise filter
antenna connector on the RH side of the vehicle.
-
Install the clip and tabs
that attach the RH rear C-pillar trim to the body.
NotePull the rear of the trim forward, and then upward to remove it.
- Install the RH upper C-pillar trim. See Trim - C-Pillar - Upper - LH (Remove and Replace).
- Install the RH side rail trim. see Trim - Side Rail - LH (Remove and Install).
- Install the RH 2nd row seat side bolster. See Bolster - Side - Seat - 2nd Row - LH (Remove and Replace).
-
Attach the LH side backlight
busbar harness to the body.
-
Connect the ground noise
filter antenna connector on the LH side of the vehicle.
-
Connect the backlight
harness connector to the antenna amplifier.
-
Connect the electrical
connector to the FM antenna amplifier.
-
Install the clip and tabs
that attach the LH rear C-pillar trim to the body.
NotePull the rear of the trim forward, and then upward to remove it.
- Install the LH upper C-pillar trim. See Trim - C-Pillar - Upper - LH (Remove and Replace).
- Install the LH side rail trim. see Trim - Side Rail - LH (Remove and Install).
- Install the LH 2nd row seat side bolster. See Bolster - Side - Seat - 2nd Row - LH (Remove and Replace).
- Return the front seats to the original position.
- Connect a laptop with Toolbox 3.0 to the vehicle.
- Select the 'Actions/Autodiag' tab and search for 'VCRIGHT'.
-
Select TEST-RESET_VCRIGHTvia Toolbox: (link)via Service Mode Plus:
- Low Voltage ➜ Power Distribution ➜ Reset VCRIGHT
- Mid Voltage ➜ Power Distribution ➜ Reset VCRIGHT
- Disconnect the laptop from the vehicle.
- Raise all windows and close all doors.
-
Remove the masking tape
after the urethane has cured.
CAUTIONDo not drive the vehicle until the adhesive manufacturer’s recommended minimum drive-away time has passed. Dow Betaseal Express has a drive-away time of 1 hour minimum in temperatures of 0˚F (-18˚C) or warmer. If necessary, leave the tape applying pressure to the glass on the vehicle and advise the customer that they can remove it after 24 hours. Additionally, advise the customer that they should avoid high driving speeds and speed bumps for the next 24 hours.