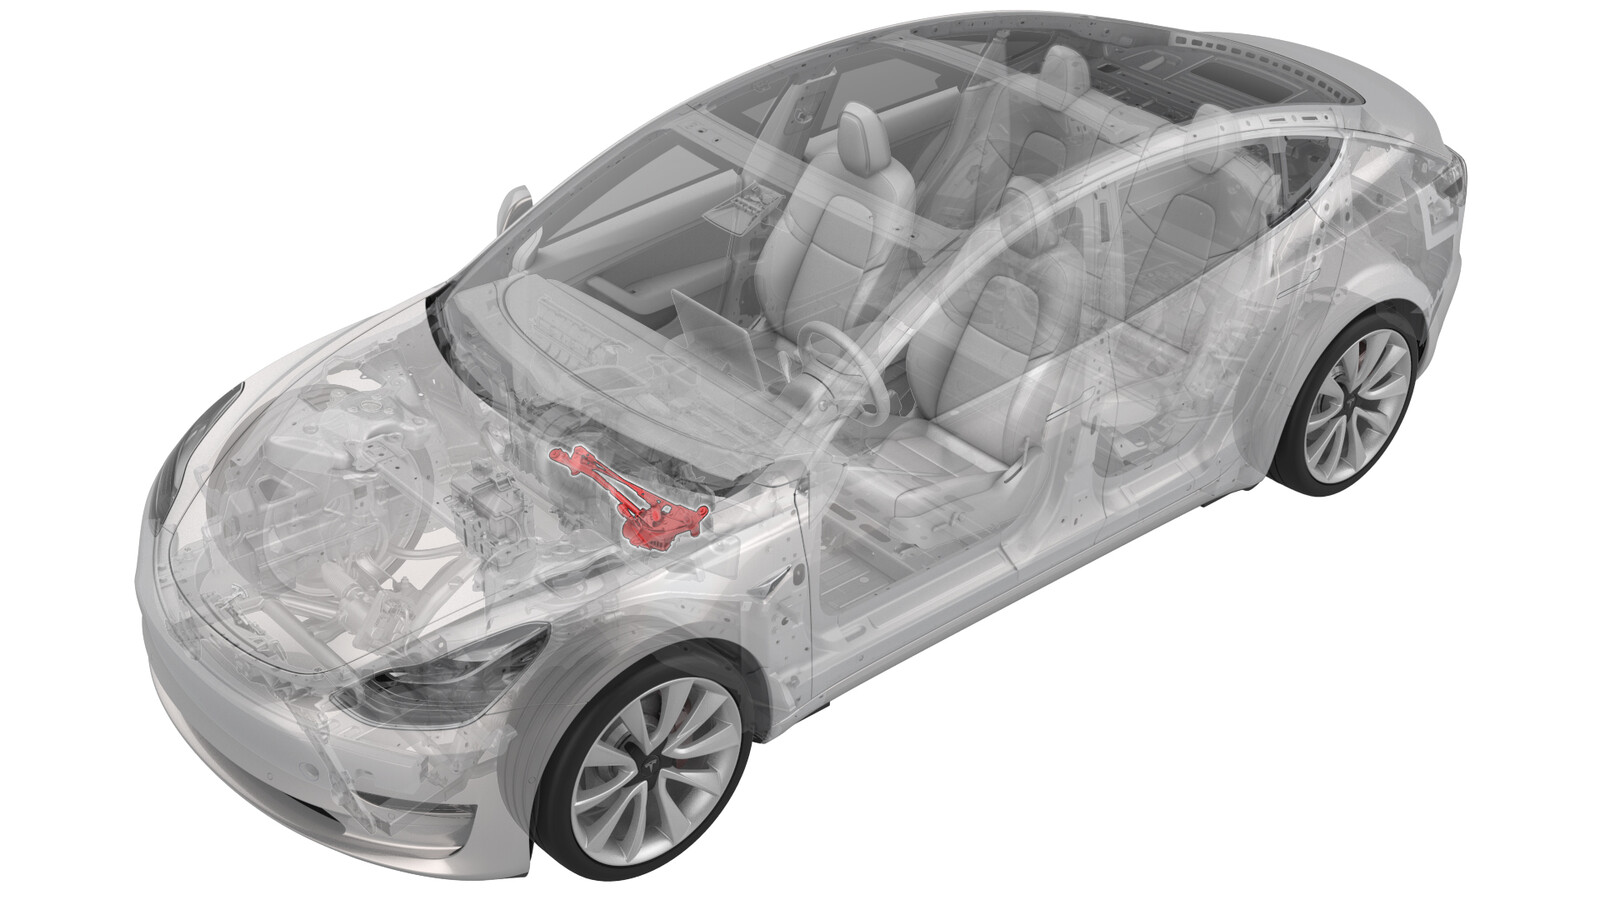
Wiper Module (Remove and Replace)
 Correction code
17502502
0.36
NOTE: Unless otherwise explicitly
stated in the procedure, the above correction code and FRT reflect all of the work
required to perform this procedure, including the linked procedures. Do not stack correction codes unless
explicitly told to do so.
NOTE: See Flat Rate
Times to learn more about FRTs and how they are created. To provide feedback on
FRT values, email ServiceManualFeedback@tesla.com.
NOTE: See Personal Protection to make sure wearing proper PPE when
performing the below procedure. See Ergonomic Precautions for safe and healthy working practices.
- 2024-04-04: Added post replacement instructions.
Torque Specifications
| Description | Torque Value | Recommended Tools | Reuse/Replace | Notes |
|---|---|---|---|---|
| Bolts that attach the wiper module to the vehicle |  7 Nm (5.2 lbs-ft) |
|
Reuse |
Remove
- Remove the rear underhood apron. See Underhood Apron - Rear (Remove and Replace).
- Remove the cabin intake duct. See Duct - Upper - Cabin Intake (Remove and Replace).
- Right-Hand Drive (RHD) only: Remove the outer HVAC plenum duct. See Plenum - Inlet - HVAC (Remove and Replace).
- Remove the hood latch cover. See Cover - Hood Latch (Remove and Replace).
- Remove the underhood storage carpet. See Carpet - Underhood Storage (Remove and Install).
- Remove the underhood storage unit. See Underhood Storage Unit (Remove and Replace).
-
Remove the wiper arms. See Wiper Arms (Remove and Replace).
NoteFor cars built on or after March 9th, 2019, the wiper module assembly does not have pigtail. Switch to "Wiper Service Mode" when removing it (China only).
-
Release the clips that attach the LH and RH shock tower covers to the vehicle, and then remove the covers from the vehicle.
LH shock tower cover shown, RH similar
-
Release the clips that attach the cowl screen to the vehicle, and then remove the cowl screen from the vehicle.
-
Disconnect the electrical connector from the wiper module.
WarningDo not place limbs within the module linkage area as the wiper arms will automatically transition to Parking Mode.
-
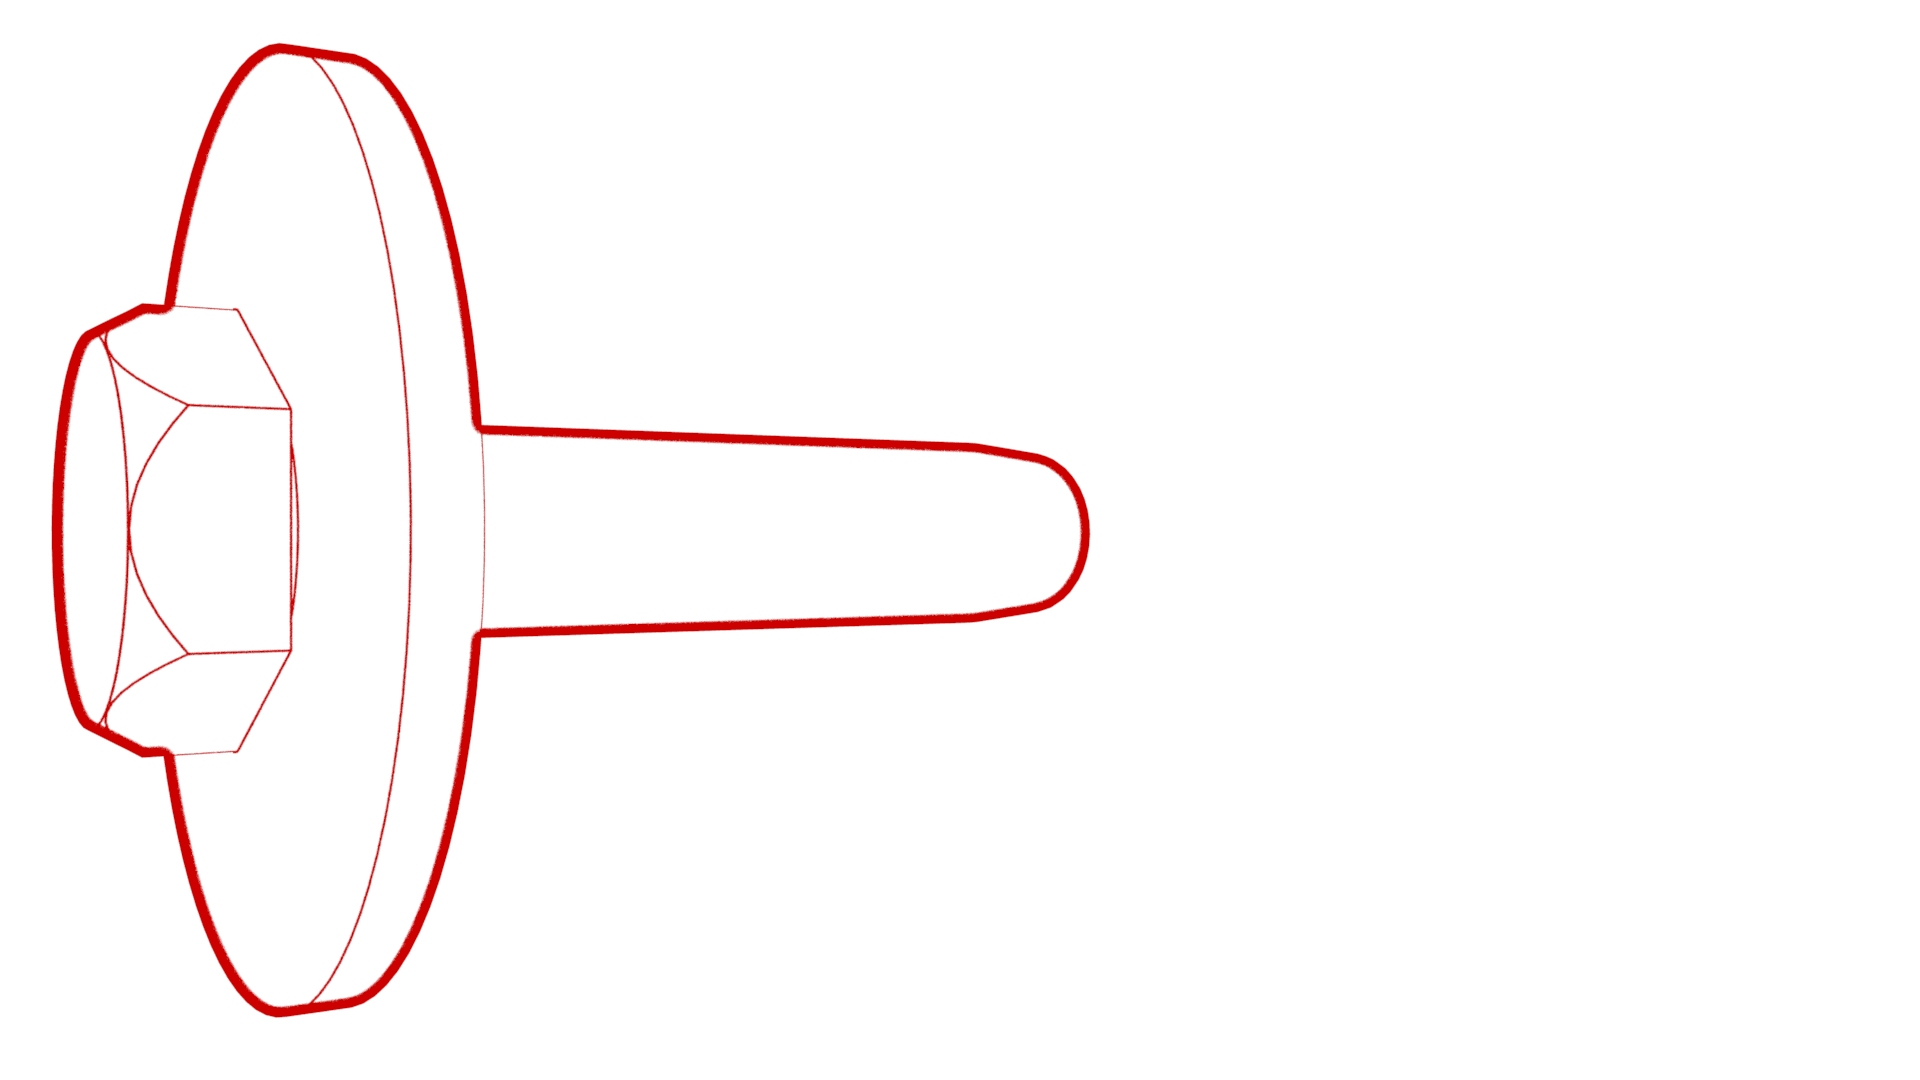
Remove the bolts that attach the wiper module to the body, and then remove the wiper module from the vehicle.
NoteUse of the following tool(s) is recommended:
- 10 mm socket
Figure 1. Left-Hand Drive (LHD) Figure 2. RHD
Install
-
Install the bolts that attach the wiper module to the vehicle.
 7 Nm (5.2 lbs-ft)NoteUse of the following tool(s) is recommended:
- 10 mm socket
Figure 3. LHD Figure 4. RHD -
Connect the electrical connector to the wiper module.
WarningDo not place limbs within the module linkage area as the wiper arms will automatically transition to Parking Mode.
-
Connect the clips that attach the cowl screen to the vehicle.
-
Connect the clips that attach the LH and RH shock tower covers to the vehicle.
LH shock tower cover shown, RH similar
- Install the wiper arms. See Wiper Arms (Remove and Replace).
- Install the underhood storage unit. See Underhood Storage Unit (Remove and Replace).
- Install the underhood storage carpet. See Carpet - Underhood Storage (Remove and Install).
- Install the hood latch cover. See Cover - Hood Latch (Remove and Replace).
- Right-Hand Drive (RHD) only: Install the outer HVAC plenum duct. See Plenum - Inlet - HVAC (Remove and Replace).
- Install the cabin intake duct. See Duct - Upper - Cabin Intake (Remove and Replace).
- Install the rear underhood apron. See Underhood Apron - Rear (Remove and Replace).
- Enable Service Mode through the touchscreen. See Service Mode.
- Perform a software reinstall. See Software Reinstall - Touchscreen.
- Run the Wiper Replacement procedure: on the touch screen, touch , touch Run, and allow the routine to complete.
- Verify the operation of the windshield washers and wipers.