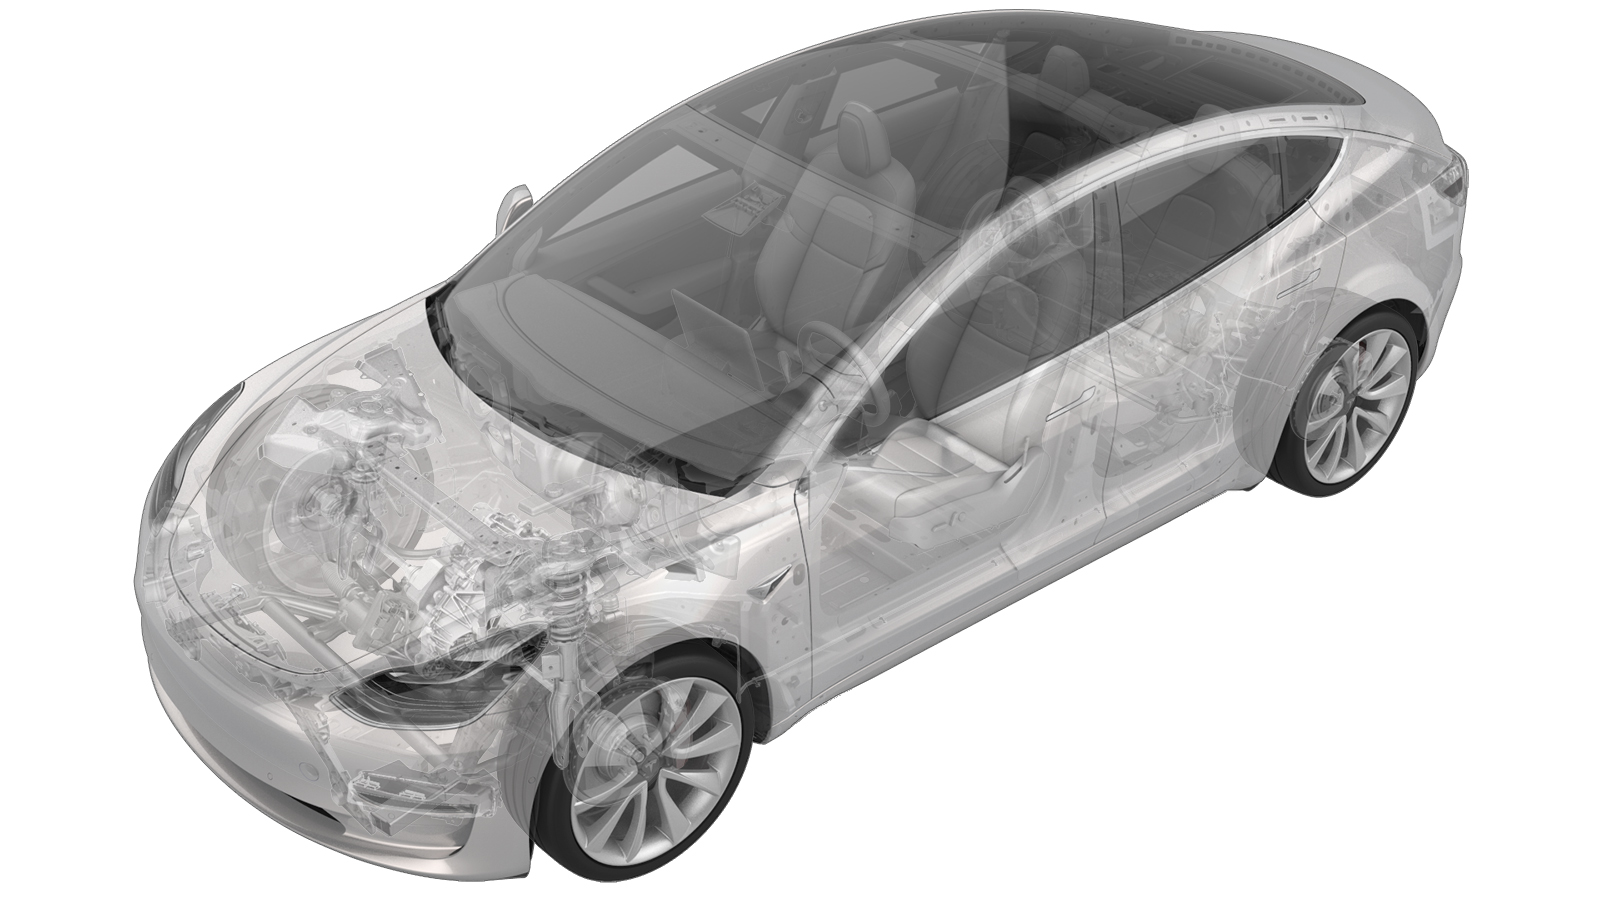
Headlamps (SAE-to-Global) - Headlamp Assembly - Pair (Retrofit)
 Correction code
174001060.72
NOTE: Unless otherwise explicitly
stated in the procedure, the above correction code and FRT reflect all of the work
required to perform this procedure, including the linked procedures. Do not stack correction codes unless
explicitly told to do so.
NOTE: See Flat Rate
Times to learn more about FRTs and how they are created. To provide feedback on
FRT values, email ServiceManualFeedback@tesla.com.
NOTE: See Personal Protection to make sure wearing proper PPE when
performing the below procedure. See Ergonomic Precautions for safe and healthy working practices.
- 2024-06-27: Updated Toolbox 3 headlamps configuration "Global" direction.
Retrofit
- Open the LH front door.
- Lower the LH front window.
- Remove the LH and RH headlights. See Headlight - LH (Remove and Replace).
-
Install the new LH and RH headlights. See Headlight - LH (Remove and Replace).
NoteDo not adjust the headlights at this time. Headlight adjustment will be performed later in this procedure.
- If not already performed, enable Service Mode through the touchscreen. See Service Mode.
- Enable Service Mode +. See Service Mode Plus.
-
In Toolbox 3, click on the Dashboards tab, search for “infotainment”, click , and then change the "headlamps" configuration to "GLOBAL".
NoteIf you do not see this configuration displayed, update the vehicle to software version 2024.20 or later.
- On the vehicle touchscreen, perform a software reinstall concurrently with the rest of the steps in this procedure. See Software Reinstall - Touchscreen.
-
If the vehicle is equipped with a Virtual Pitch Sensor (VPS), in Toolbox 3, click the Actions tab, search for “PROC_ICE_X_SET-VIRTUAL-PITCH-SENSOR”, and then click Change leveling system of Virtual Pitch Sensor.
NoteMake sure the vehicle is running firmware version 2024.8.9 or later to run this routine.
- Click Run and allow the routine to complete. Click X at the top right of the window to exit once the routine is complete.
-
In Toolbox 3, go to and confirm the "headlightLevelerType" configuration is "VIRTUAL_PITCH_SENSOR".
- Disconnect the laptop from the vehicle. See Toolbox (Connect and Disconnect).
- Adjust the headlights. See Headlights - Adjust - Global (Tool Method).
- Disable Service Mode through the touchscreen. See Service Mode.
- Raise the LH front window.
- Close the LH front door.