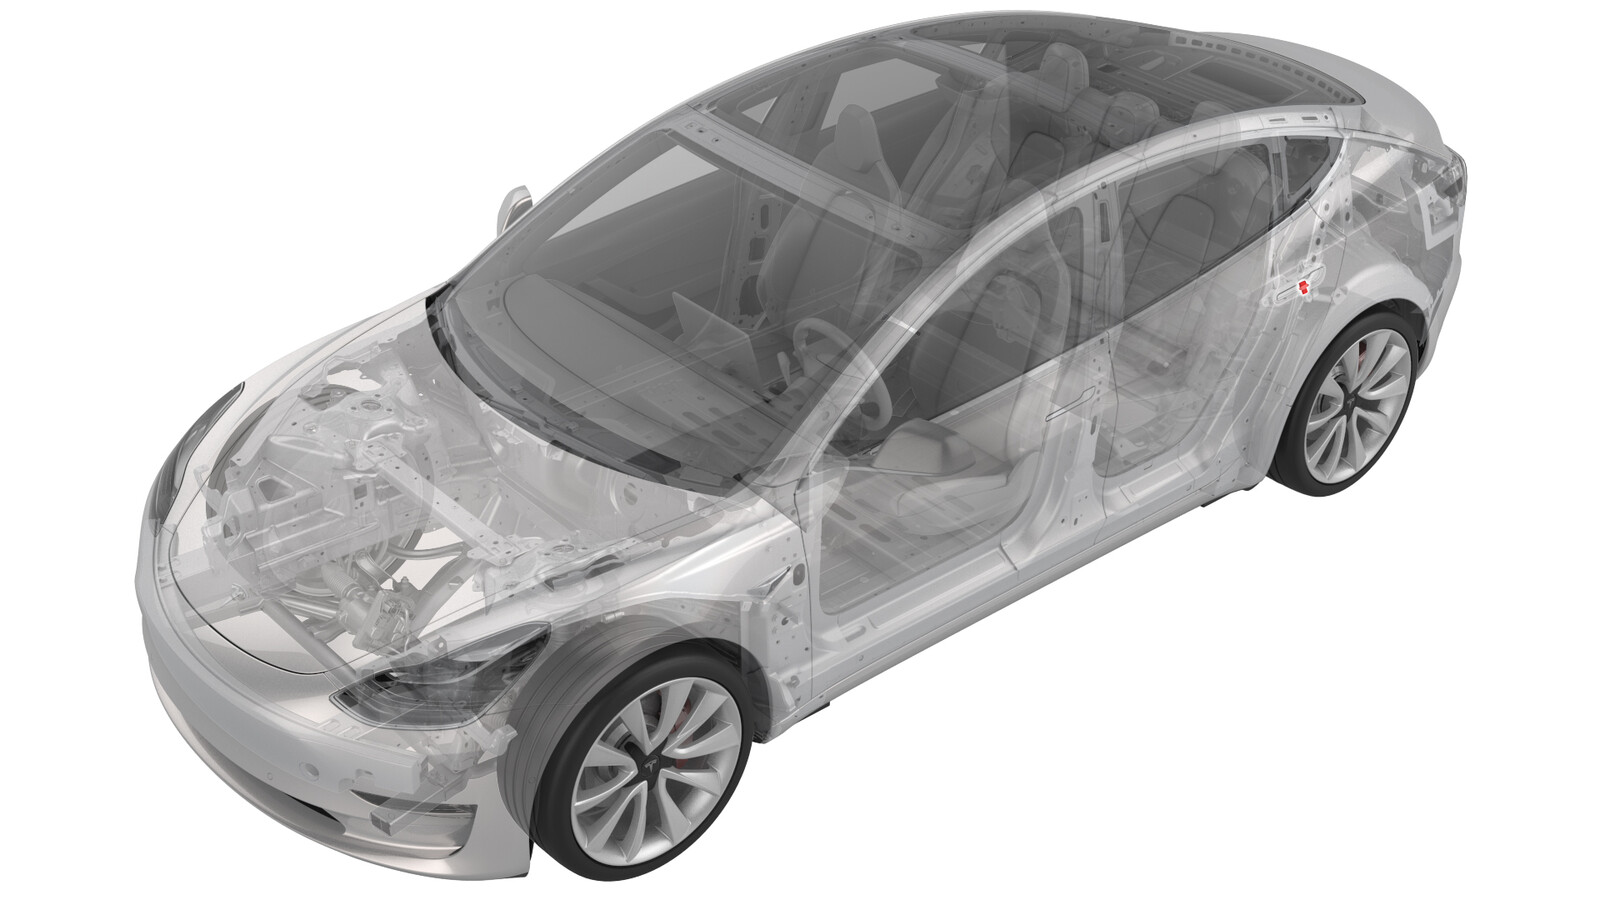
Hall Sensor - Exterior Release - Door - Rear - LH (Remove and Replace)
 Correction code
11455102
0.60
NOTE: Unless otherwise explicitly
stated in the procedure, the above correction code and FRT reflect all of the work
required to perform this procedure, including the linked procedures. Do not stack correction codes unless
explicitly told to do so.
NOTE: See Flat Rate
Times to learn more about FRTs and how they are created. To provide feedback on
FRT values, email ServiceManualFeedback@tesla.com.
NOTE: See Personal Protection to make sure wearing proper PPE when
performing the below procedure. See Ergonomic Precautions for safe and healthy working practices.
Remove
- Remove the rear LH door trim panel. See Panel - Door Trim - Rear - LH (Remove and Install).
- Remove the LH rear door inner belt seal. See Seal - Inner Belt - Rear Door - LH (Remove and Replace).
- Remove the rear LH door glass. See Glass - Door - LH - Rear (Remove and Replace).
- Remove the LH rear window motor/regulator assembly. See Window Regulator - Rear - LH (Remove and Replace).
- Remove the LH rear door exterior release handle. See Handle - Exterior Release - Door - Rear - LH (Remove and Replace).
-
Remove the screws that attach the hall sensor to the LH rear door exterior handle, and then remove the sensor from the handle.
Install
-
Install the screws (x2) that attach the new hall sensor to the door handle.
 1.2 Nm (.9 lbs-ft)
 - Install the LH rear door exterior release handle. See Handle - Exterior Release - Door - Rear - LH (Remove and Replace).
- Position the LH rear window motor/regulator assembly onto the door for installation.
-
Install the bolts that attach the LH rear window motor/regulator assembly to the door.
 4 Nm (2.9 lbs-ft)NoteHand start the bolts to avoid stripping the threads.
 - Install the clips (x2) that attach the manual latch release cable to the window regulator panel.
- Position the window glass onto the door for installation.
-
Install the new bolts that attach the window glass to the regulator isolator clamps.
 12 Nm (8.8 lbs-ft)
 - Install the clips (x6) that attach the inner belt seal to the door.
- Connect the window switch special tool.
-
Connect the electrical connector to the LH rear door puddle light.
- Raise the window fully and close the LH rear door.
- Adjust the gap and flush of the door glass, if necessary. See Glass - Door - LH - Rear (Adjust).
- Disconnect the window switch special tool.
- Connect the LH rear window motor/regulator assembly electrical connector.
- Install the plugs (x2) that cover the LH rear window motor/regulator assembly bolts.
-
Disconnect the electrical connector from the LH rear door puddle light.
- Install the rear LH door trim panel. See Panel - Door Trim - Rear - LH (Remove and Install).
- Connect a laptop with Toolbox 3 to the vehicle.
- Get into the driver seat, and then close the LH front door.
-
In Toolbox, type "window" in the search field.
NoteMake sure "Actions" is selected, if not already.
- Click on the Play button next to TEST-SELF_VCLEFT_REAR-L_CALIBRATE-WINDOWvia Toolbox: (link), and then select Run.
- Press the LH rear window switch down to the lowest position to activate the auto-lower function, and allow the window to lower completely.
- Pull on the switch to the highest position to activate the auto-raise function, and allow the window to raise completely.