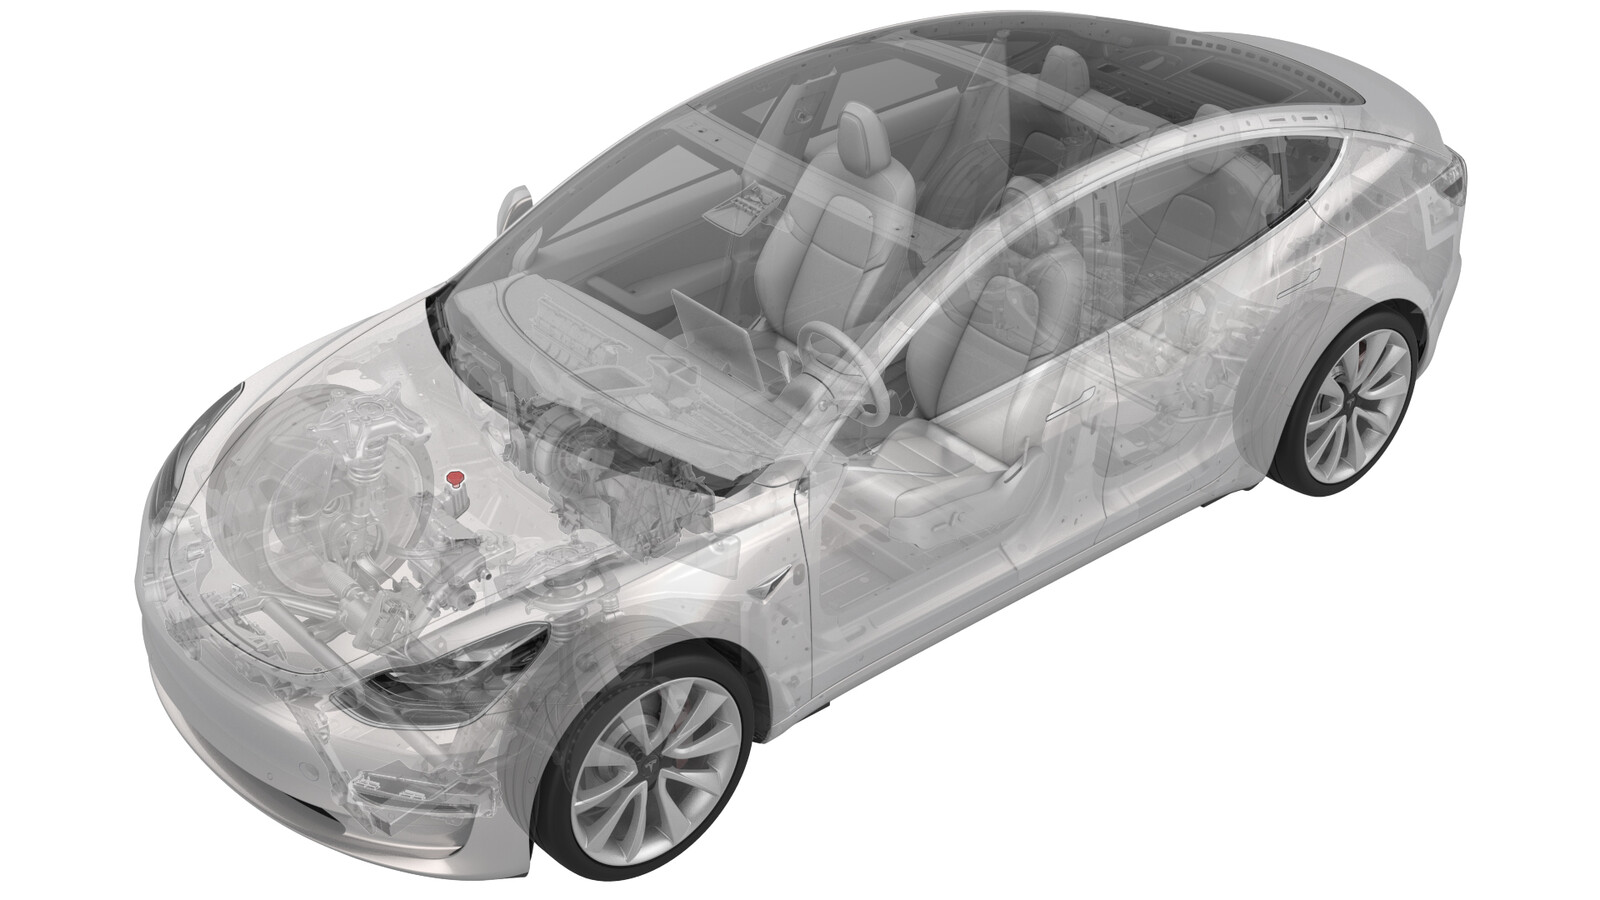
Cooling System (Partial Refill and Bleed)
 Correction code
18300000
0.60
NOTE: Unless otherwise explicitly
stated in the procedure, the above correction code and FRT reflect all of the work
required to perform this procedure, including the linked procedures. Do not stack correction codes unless
explicitly told to do so.
NOTE: See Flat Rate
Times to learn more about FRTs and how they are created. To provide feedback on
FRT values, email ServiceManualFeedback@tesla.com.
NOTE: See Personal Protection to make sure wearing proper PPE when
performing the below procedure. See Ergonomic Precautions for safe and healthy working practices.
Remove
- Remove the rear underhood apron. See Underhood Apron - Rear (Remove and Replace).
- Remove the cabin intake duct. See Duct - Upper - Cabin Intake (Remove and Replace).
- Remove the outer HVAC plenum duct. See Plenum - Inlet - HVAC (Remove and Replace).
Procedure
- Connect a laptop with Toolbox 3 to the vehicle.
-
Type "thermal" into the search field.
NoteMake sure "Actions" is selected if not already.
- Click the play button next to PROC_VCFRONT_X_THERMAL-FILL-DRAINvia Toolbox: (link), and then select Run.
-
Remove the cap from the super/coolant bottle.
Figure 1. Model 3 (non-heat pump) with superbottle; other components removed for clarity Figure 2. Model Y with coolant bottle; Model 3 (heat pump) similar. Other components removed for clarity - Add coolant to the super/coolant bottle, so that the liquid level is at the MAX line (heat pump vehicles) or approx. 6 mm above the MAX line (non-heat pump vehicles).
- Type"vcfront" into the search field.
-
Click the play button next to TEST_VCFRONT_X_THERMAL-COOLANT-AIR-PURGEvia Toolbox: (link)via Service Mode:
- Thermal ➜ Actions ➜ Coolant Purge Stop or Coolant Purge Start
- Thermal ➜ Coolant System ➜ Coolant Purge Start
- Drive Inverter ➜ Front Drive Inverter Replacement ➜ Coolant Air Purge
- Drive Inverter ➜ Rear Drive Inverter Replacement ➜ Coolant Air Purge
- Drive Inverter ➜ Rear Left Drive Inverter Replacement ➜ Coolant Air Purge
- Drive Inverter ➜ Rear Right Drive Inverter Replacement ➜ Coolant Air Purge
- Drive Unit ➜ Front Drive Unit Replacement ➜ Coolant Air Purge
- Drive Unit ➜ Rear Drive Unit Replacement ➜ Coolant Air Purge
NoteMake sure that the drive rails are off. Turning on the drive rails will stop the routine.NoteWhile the routine is running, monitor the super/coolant bottle and add coolant as necessary to keep the fluid level between NOM and MAX.NoteThe test lasts approximately 10 minutes.NoteTest will vary speeds from 3,500 to 6,500 RPM, viewable under the PT Thermal tab.NoteIf speeds hover at around 7,000 RPM, perform this procedure again. - Heat pump vehicles only: After the air purge routine is complete, inspect the coolant bottle fluid level and add coolant to the MAX line.
- Non-heat pump vehicles only: After the air purge routine is complete, inspect the superbottle fluid level, and add coolant to approximately 6 mm (0.25 in) above the MAX line.
- Install the cap on the super/coolant bottle.
Install
Installation procedure is the reverse of removal.