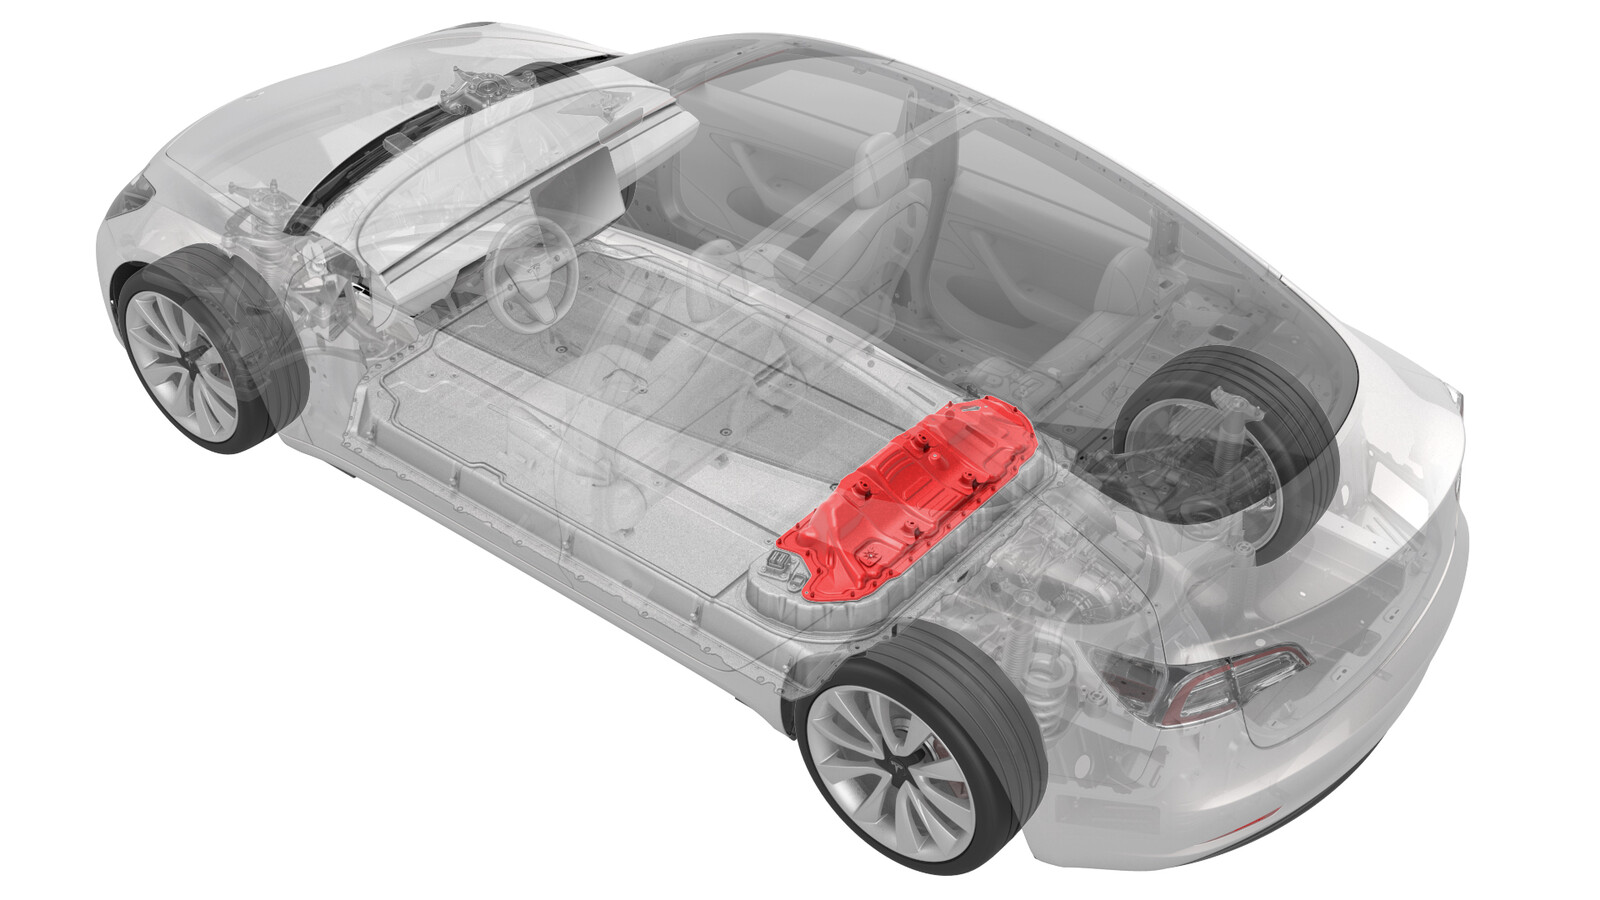
Cover - Ancillary Bay (Remove and Replace)
 Correction code
16101002
1.08
NOTE: Unless otherwise explicitly
stated in the procedure, the above correction code and FRT reflect all of the work
required to perform this procedure, including the linked procedures. Do not stack correction codes unless
explicitly told to do so.
NOTE: See Flat Rate
Times to learn more about FRTs and how they are created.
NOTE: See Personal Protection to make sure wearing proper PPE when
performing the below procedure. NOTE: See Ergonomic Precautions for safe and healthy working
practices.
Correction code
16101002
1.08
NOTE: Unless otherwise explicitly
stated in the procedure, the above correction code and FRT reflect all of the work
required to perform this procedure, including the linked procedures. Do not stack correction codes unless
explicitly told to do so.
NOTE: See Flat Rate
Times to learn more about FRTs and how they are created.
NOTE: See Personal Protection to make sure wearing proper PPE when
performing the below procedure. NOTE: See Ergonomic Precautions for safe and healthy working
practices.
Equipment:
- 1127845-00-A Asy, Service Cover, Penthouse, Model 3
- 1059330-00-B Skt, 1/4in Dr, 5-Lobe Torx Plus External
- 1076971-02-A Wrench, Torque + Angle, 1/4" Dr
- 1108272-00-B Cap, Logic Conn, Inv, 3DU
High Voltage Awareness Care Pointsfor additional safety information.
Remove
-
Remove the ancillary bay cover. See Cover - Ancillary Bay (Remove and Install).
NoteTurn the adjustable elements (x4) clockwise to remove them from the ancillary bay cover as well.
Install
- Install the ancillary bay cover. See Cover - Ancillary Bay (Remove and Install).
-
Install and hand-tighten the
adjustable elements (x4) on the ancillary bay cover counter-clockwise so
that they are fully engaged.
CAUTIONHand-tighten only.
- Perform the ancillary bay air leak test before installing the ancillary rails and the 2nd row seat cushion. Ancillary Bay Air Leak Test (Inspection)
- Install the 2nd row lower seat cushion. See Seat Cushion - Lower - 2nd Row (Remove and Replace).
- Connect 12V power. See 12V/LV Power (Disconnect and Connect).