2026-08-10
A/C Refrigerant Leak Detection
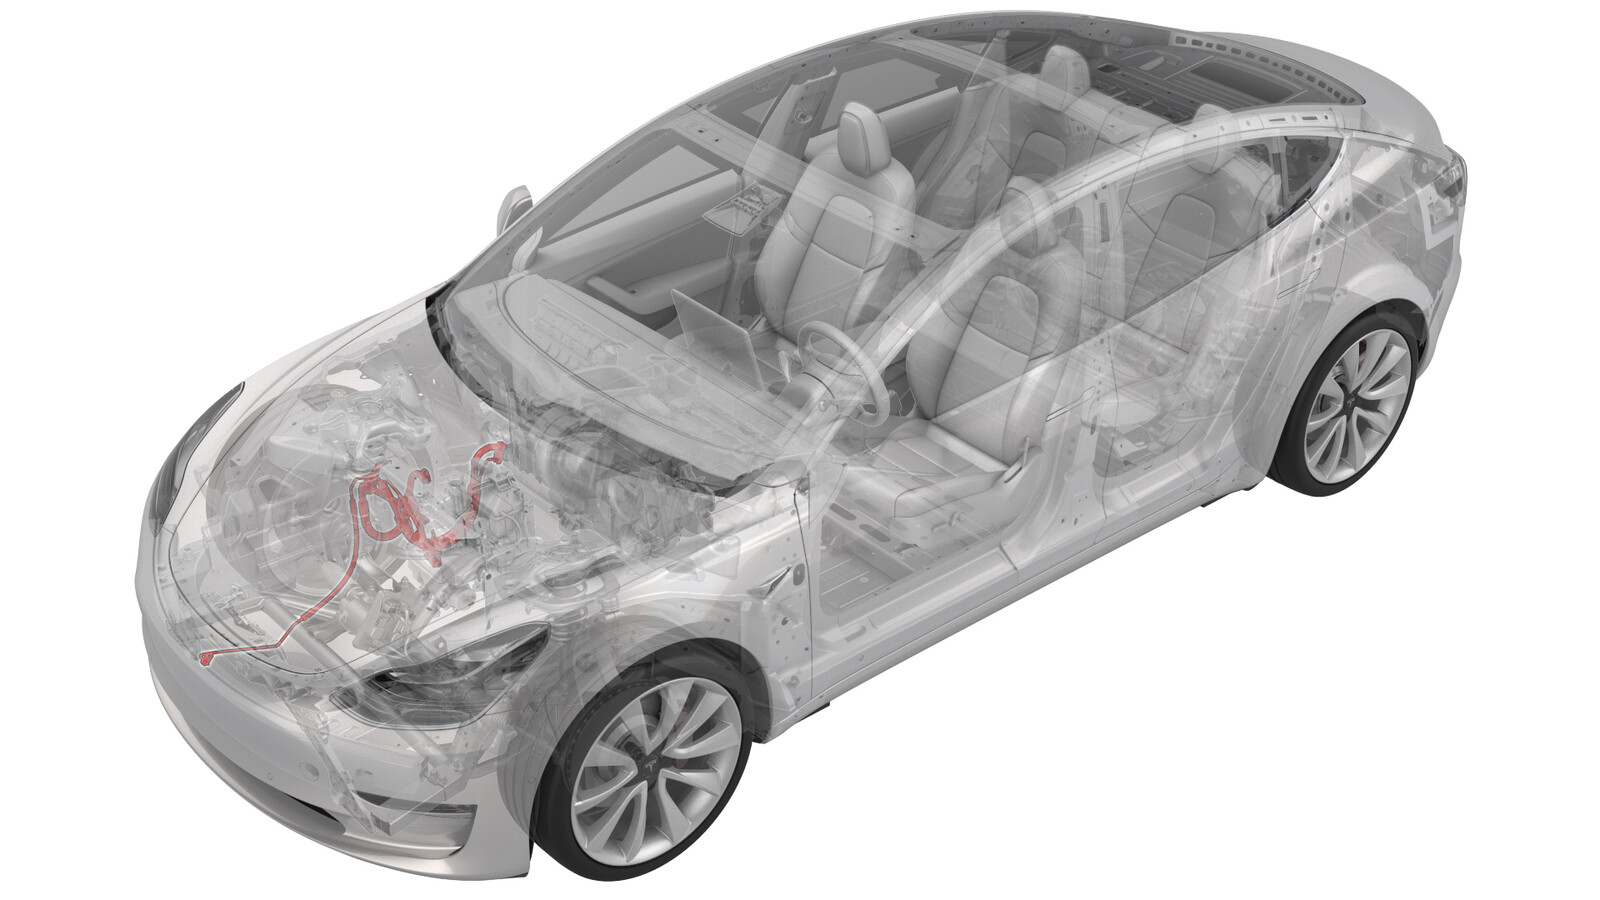 Correction code
00100004
Adjustable FRT (General Diagnosis)
NOTE: Track all time and
work spent diagnosing the A/C system using correction code 00100004. Do not add
"A/C Refrigerant (Recovery & Recharge)" to the activity.
NOTE: See Flat Rate
Times to learn more about FRTs and how they are created.
NOTE: See Personal Protection to make sure wearing proper PPE
when performing the below procedure. NOTE: See Ergonomic Precautions for safe and healthy working
practices.
Correction code
00100004
Adjustable FRT (General Diagnosis)
NOTE: Track all time and
work spent diagnosing the A/C system using correction code 00100004. Do not add
"A/C Refrigerant (Recovery & Recharge)" to the activity.
NOTE: See Flat Rate
Times to learn more about FRTs and how they are created.
NOTE: See Personal Protection to make sure wearing proper PPE
when performing the below procedure. NOTE: See Ergonomic Precautions for safe and healthy working
practices.
- 2026-08-10: Updated correction code guidance.
Equipment:
- 1053591-00-A Tool, Flashlight, UV
- 1080563-01-A UV Leak Detection Kit
Procedure
- Remove the rear underhood apron. See Underhood Apron - Rear (Remove and Replace).
- Remove the cabin intake duct. See Duct - Upper - Cabin Intake (Remove and Replace).
- Remove the hood latch cover. See Cover - Hood Latch (Remove and Replace).
- Remove the underhood storage unit. See Underhood Storage Unit (Remove and Replace).
- Remove the caps from the A/C ports.
-
Connect the hoses from the A/C machine to the vehicle, and then perform the A/C recovery.
NoteRecord the amount of A/C refrigerant and oil that has been recovered after the A/C system is discharged.
-
Perform the A/C system vacuum.
NoteThe A/C system vacuum takes 30 minutes to complete.
- Perform the A/C refrigerant refill.
- Set the temperature to LO on both driver and passenger sides and set the A/C system to AUTO.
-
Use UV light and the UV inspection kit to check for A/C refrigerant leaks in the TXV valve area.
NoteIf an A/C refrigerant leak is found, replace the TXV valve. See TXV Valve - Evaporator (Non-Heat Pump)(Remove and Replace).
-
Use UV light and the UV inspection kit to check for A/C refrigerant leaks in the chiller and EXV valve area.
NoteIf an A/C refrigerant leak is found, replace the chiller and EXV valve. See Chiller and EXV Assembly (Non-Heat Pump) (Remove and Replace).
-
Use UV light and the UV inspection kit to check for A/C refrigerant leaks in the compressor discharge and suction lines area.
NoteIf an A/C refrigerant leak is found, replace the compressor to condenser high pressure pipe. See Pipe - High Pressure - Compressor to Condenser (Non-Heat Pump) (Remove and Replace).
-
Use UV light and the UV inspection kit to check for A/C refrigerant leaks in the high/low pressure refrigerant pipes area.
NoteIf an A/C refrigerant leak is found, replace the high/low pressure refrigerant pipes. See Pipes - Refrigerant - High / Low Pressure (Non-Heat Pump) (Remove and Replace).
- Remove the front aero shield panel. See Panel - Aero Shield - Front (Remove and Replace).
- Remove the front fascia valance. See Valance - Front Fascia (Remove and Replace).
-
Use UV light and the UV inspection kit to inspect both condenser connections and the condenser itself for A/C refrigerant leaks.
NoteIf an A/C refrigerant leak is found, replace the condenser. See Condenser (Remove and Replace).
- Install the front fascia valance. See Valance - Front Fascia (Remove and Replace).
- Install the front aero shield panel. See Panel - Aero Shield - Front (Remove and Replace).
- Lower the vehicle.
- Remove the vehicle from the lift.
- Remove the A/C lines from the vehicle.
- Install the caps onto the A/C ports.
- Install the underhood storage unit. See Underhood Storage Unit (Remove and Replace).
- Install the hood latch cover. See Cover - Hood Latch (Remove and Replace).
- Install the cabin intake duct. See Duct - Upper - Cabin Intake (Remove and Replace).
-
Install the rear underhood apron. See Underhood Apron - Rear (Remove and Replace).